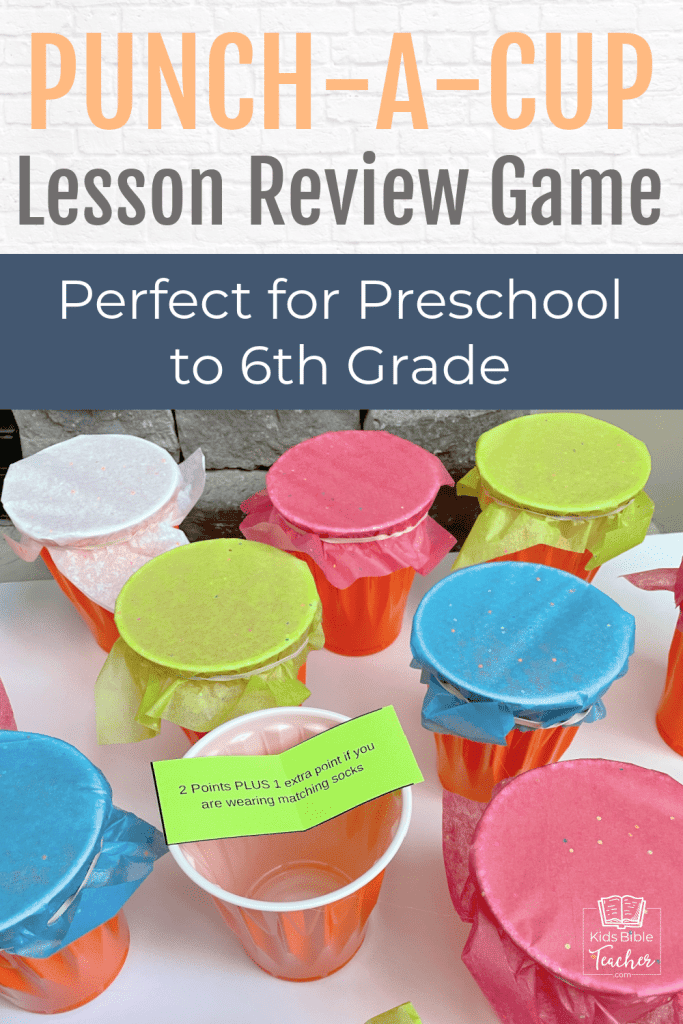
The Punch-A-Cup Lesson Review Game is a game that my kids absolutely love! It does take a few supplies and about 5 minutes to make, but once you have made your Punch-A-Cup board, you can reuse it many times.
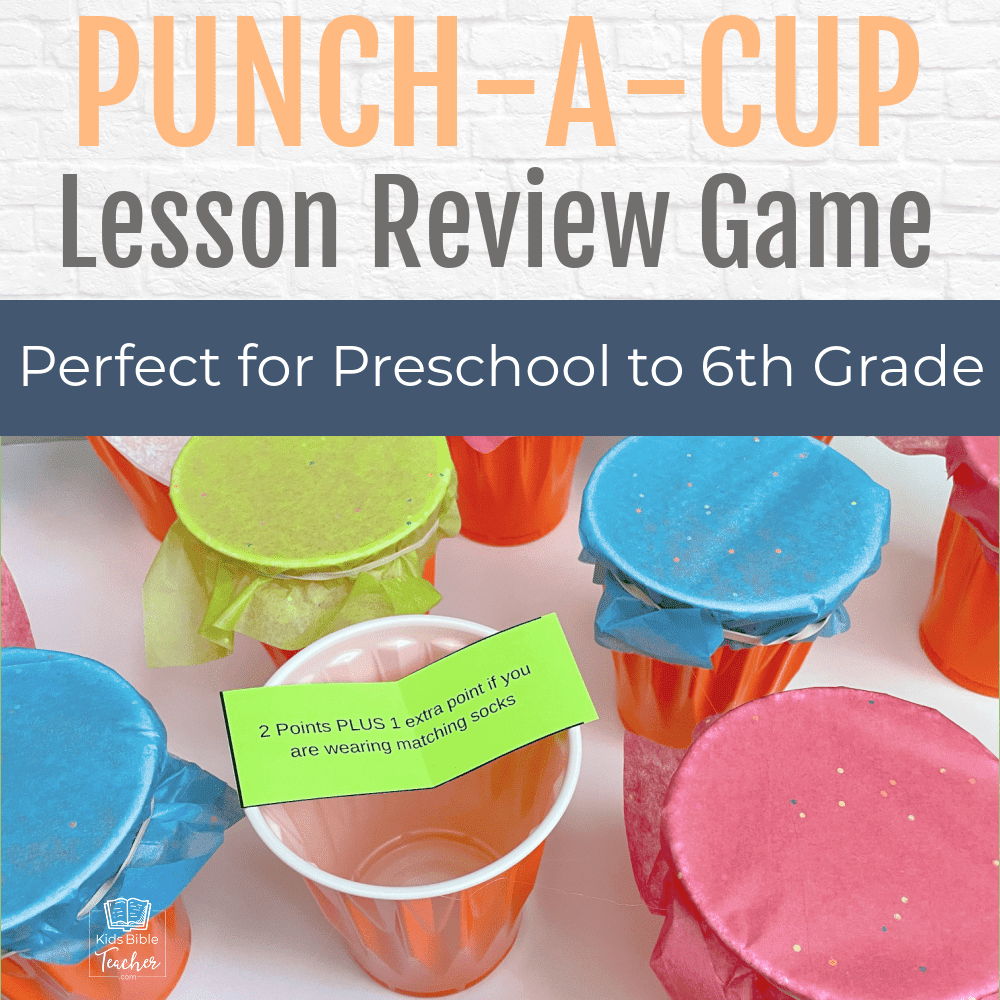
This game is excellent for kids in preschool up to 6th grade. There are different ways to play for different age groups.
Basic Overview of Punch-A-Cup Lesson Review Game
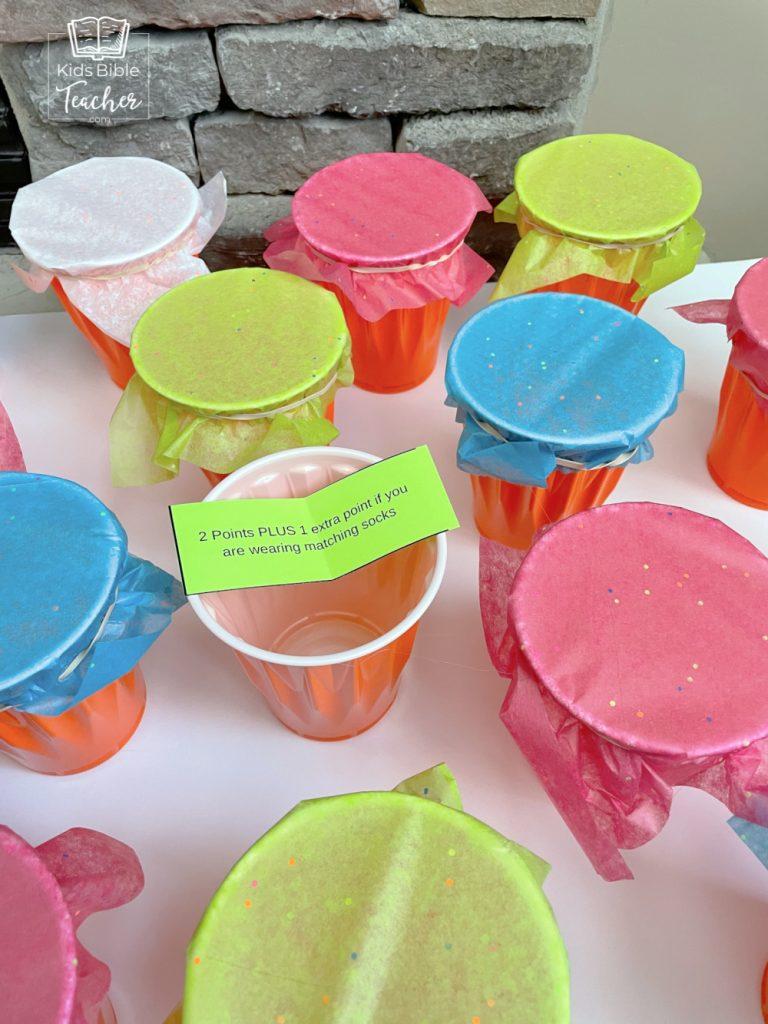
You will ask your students a review question. When they answer correctly, they can come up and “punch” the tissue paper off a cup to discover what is in the cup.
This game can be easily adapted for different age groups. For young children, you could put a small piece of candy in each cup. When a child answers correctly, they can come up, punch the cup, and get that piece of candy. There is no need for teams. Limit students to one question each, so that everyone has a chance to play. If desired, the ones who have already answered could help fellow students who have not yet answered so that everyone gets a chance to punch a cup by the end of the game.

For older kids, separate your students into two teams. Ask Team 1 a question. Whoever answers the question correctly can come up and “punch” through the tissue paper on a cup of their choice. Inside each cup is a piece of paper with a point value. They get the number of points in that cup added to their team’s score. Some cups have more points then others, and some cups might have an additional activity to complete to get even more points. Then, ask Team 2 a question. Continue alternating between the teams.
For an extra surprise for the older kids, you could put enough candy pieces in ONE cup for EACH team so that everyone on that team gets a piece of candy when that cup is punched. When I do this, I differentiate the team cups with two different colors of tissue paper (so that both teams will get the candy in the end).
A final way to play this game is to put the QUESTIONS in the cups. Divide the students into teams. Have one member from one team come up and punch a cup. They then pull out the question and read it to their team. If their team answers correctly, they get a point. The other team then gets a chance to play.
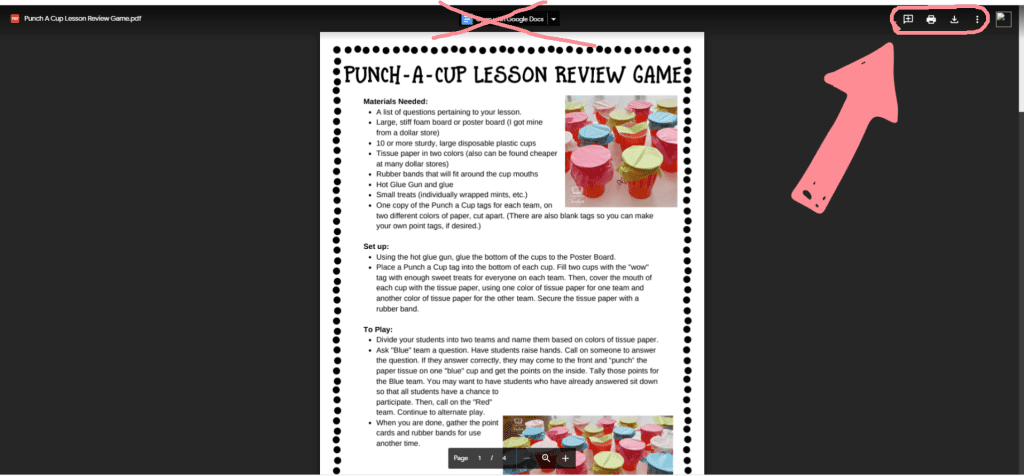
Click the button below to get the printable directions and point cards:

Materials Needed:
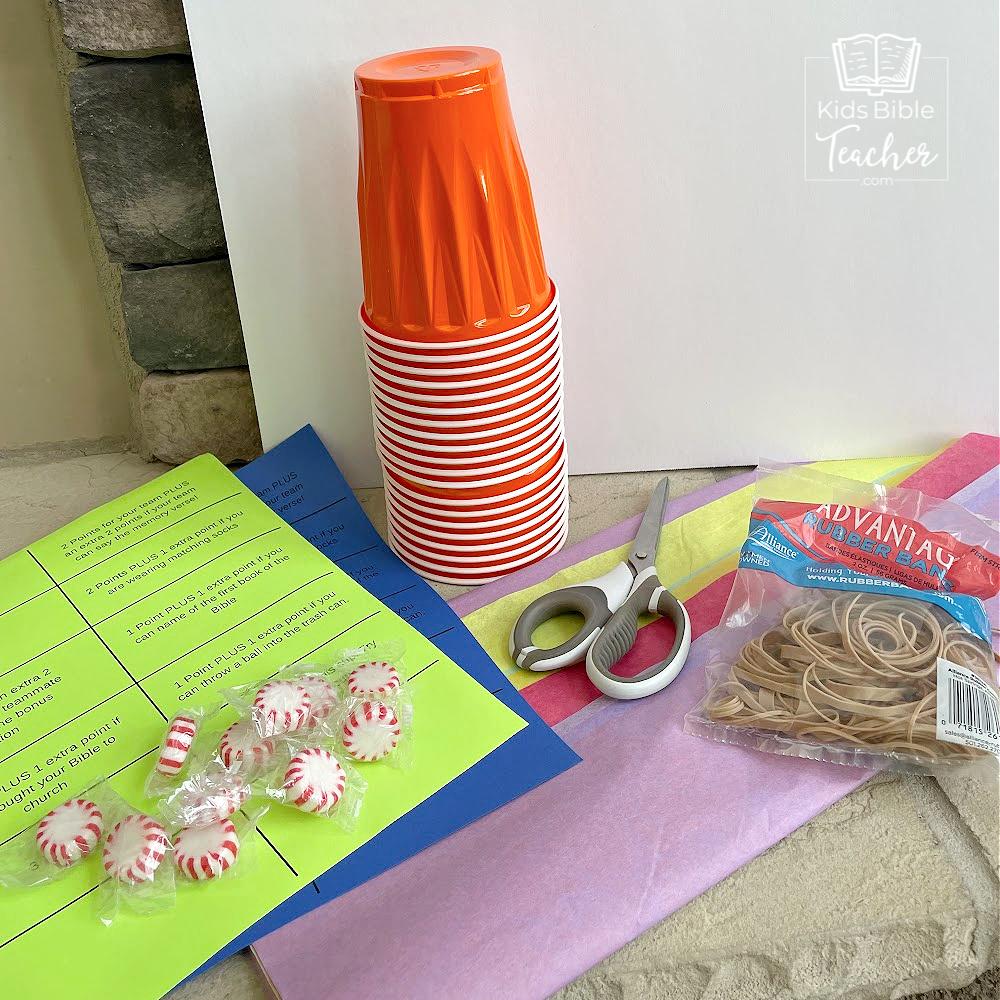
(Note: I was able to purchase the foam poster board, tissue paper, and rubber bands from the dollar store. My dollar store has TONS of tissue paper packs for a dollar, and some of these packs have 35 sheets! My local grocery store sells tissue paper at $3.50 for 10 sheets, so it is much less expensive at the dollar store.)
- Large Foam Poster Board
- 10 to 20 Sturdy Plastic Cups (ideally with at least one cup for each member of your class, with an extra one if needed to make the number of cups even)
- Hot Glue Gun and Hot Glue
- Tissue Paper Cut into squares larger than the mouths of the cups
- Rubber Bands wide enough to stretch around the mouths of the cups
- Small treats (I love to use individually wrapped soft mints! Nut-free, inexpensive, and everyone has good breath by the end of class. ?)
- Point Cards or activities
- A List of Review Questions
Directions:
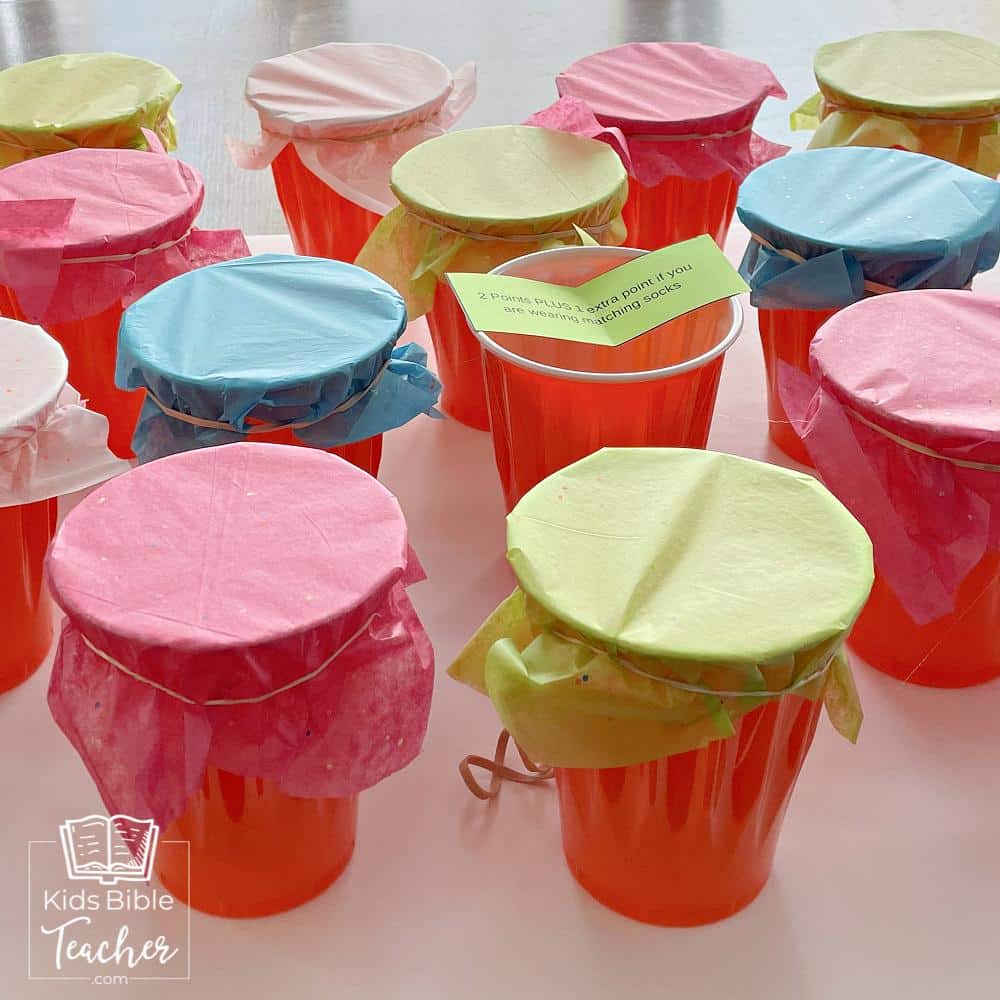
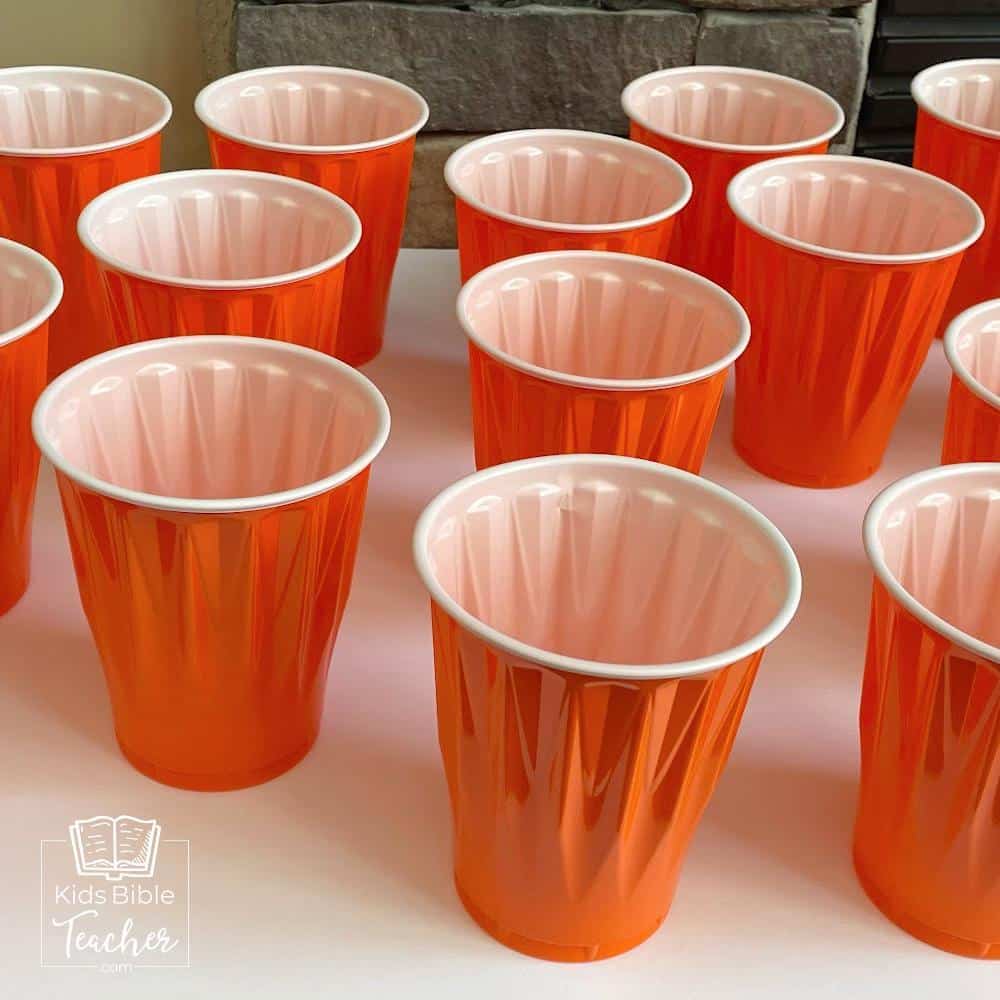
Warm up your hot glue gun. Arrange your cups right side up on the board. I used twenty cups on my board, ten for each team.
Glue the base of each cup to the poster board, putting the hot glue around the bottom edge of the cup where it actually comes in contact with the board. Let dry. (This takes a minute or two.)
Depending on how you are choosing to play this game, place the point cards, review questions, or small treats in each cup. If you would like to use my point cards, you can download them below.
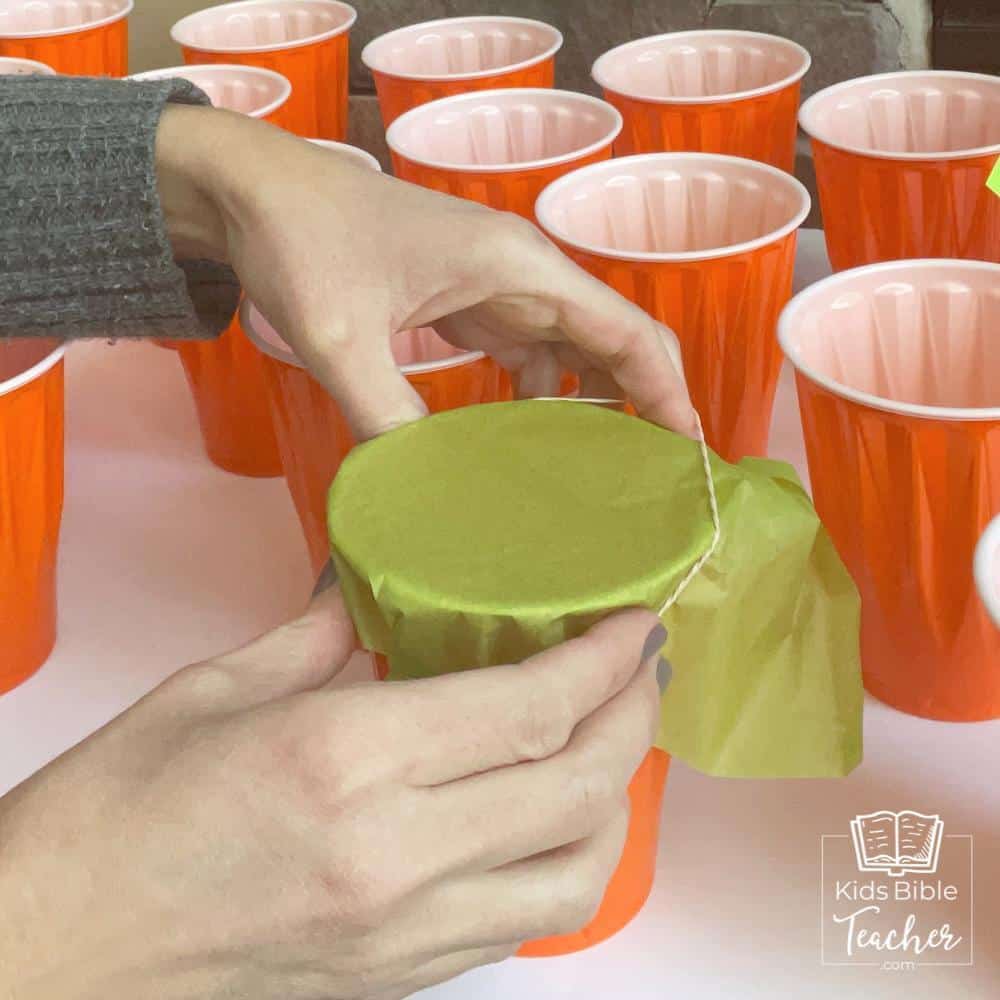
Cut the tissue paper into squares that are easily large enough to cover the mouths of the cups. I cut my tissue paper into nine squares. If you want to divide the cups up evenly between two teams (so that each team gets the same activity cards or treats), use two different colors of tissue paper, one for each team.
Once the cups are filled, place one piece of tissue paper over each cup and rubber band it into place.
When you are finished with your game, store the board for future use. To use again, replace the points / questions / or treats in the cups, cover the cups with fresh tissue paper, and play again!
If a cup gets cracked, you can remove the cup from the board and glue a new cup in it’s place.
Will you be using the Punch a Cup game for your next lesson review? Do you have any tips or thoughts on how to use it? Do you have any questions? I would love to hear from you! Please scroll down to comment.
May God bless you!

I am a children’s ministry leader at a missionary training base. This game has been one that all ages have loved! I use it on Fridays as my review for the week, and my students look forward to playing it every week. Thank you!
Great idea that can be adapted for all age students. Not sure about the candy treats in our situation but that can be adapted as well! 🙂
Have a blessed day and thank you for the wonderful ideas that you share and that you make them so economical!
Anna Joy,
I love this idea. Thank you for helping so many of us. You are a blessing to me : )
Hi Anna! Super nice ideas! Thank you soo very much for (& great job on) the video!! God bless you!! Karen
Love the video explanation, Anna! Extremely helpful for us audio/visual learners, thank you!
Hello!
Thank you very much for your game ideas! I have used many of these ideas, adapted them to Japanese and used them with my students here.
I thank the Lord for your heart for children to know and love Him dearly, and for the creativity you share with all of us. The video was a great idea too. 🙂 Thank you.
I loved this video and will certainly be making it for my Sunday school group. Thank you.
Thank you for the video, I love it! Please keep them coming.
I gonna use this! Thank you!
I would love to see your idea "Dartless balloon board" on a video since I think it´s at little difficult to figure that out by myself!
Anna Joy,
I love your creativity! Thank you so much for all the wonderful materials and directions you send out~
Keep them coming please!
I love kids too!
Your sister in Christ,
Diane
This is awesome
Always looking for new ways to keep review fun
Thank you for all you do
Great game. Thank you for sharing!
We've used this in our Awana club and it worked very well – thanks for the video!
Thank you! This is a great idea : ) I think my students will love it!
What a fun way to review! I will be using this in my small Sunday School class. Thanks for sharing!
I love this video and all the things you do!
Thank you Anna Joy.
Great idea and nicely presented.
Well done.
I love this game idea!
Well Done, Anna Joy! Great project. Should be fun. Thank you! (Loved the "blooper", too!)