Watercolor paints are a blast to use! Introduce your child to this art form by painting beautiful watercolor sky pictures, complete with glow-in-the-dark stars and a reminder of God’s greatness.
Materials:
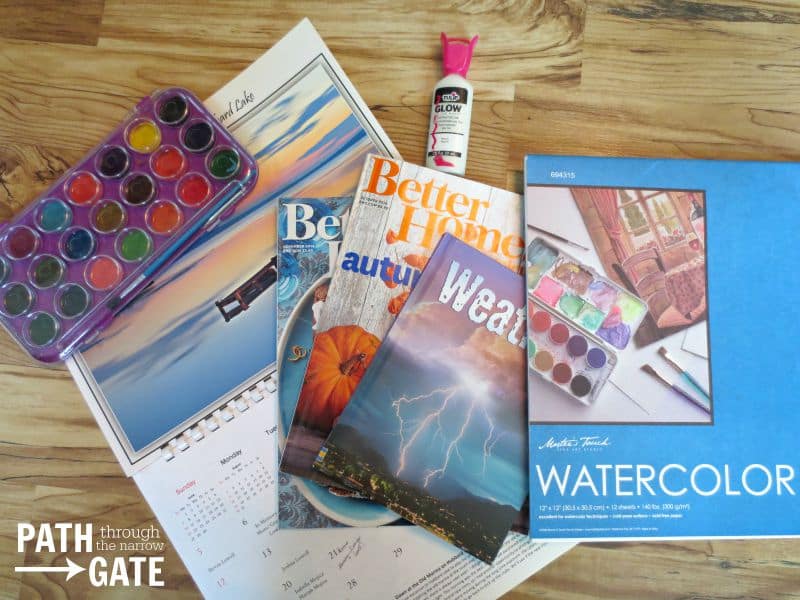
Watercolor Paint Set
Watercolor Paper
Paint Brushes
Cups of Water
Glow-in-the-Dark Paint Writer (may be found in the fabric section of your craft store)
Squirt Bottle
Pencil
Newspaper (to cover work surface)
Cotton balls, if desired for clouds
Black Sharpie Marker, if desired
Glue
Verse Printables
Pictures of the Sky for inspiration – from books, magazines, calendars, computer. Sunsets work great for this project, but kids may also choose to paint the Northern lights or a stormy sky with lightning or just a blue peaceful sky with clouds
Directions:
1. Cover your work surface with the newspaper to protect it from paint. (Also, protect clothes as necessary.) Set out the paint, brushes, cups of clean water, squirt bottle filled with water, and the watercolor paper. Because watercolor paper can be a pit pricey, I cut each of our sheets (12×12 inches) into four pieces. This worked especially well as my kids wanted to make more than one picture.
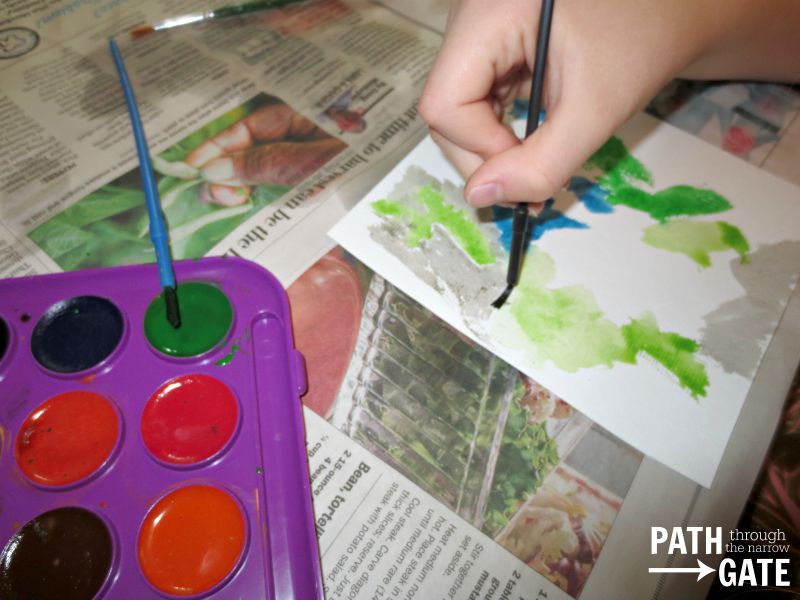
2. Show your kids how to add water to the paint and mix it with a clean brush, then apply it to the paper. Experiment with different techniques such as applying the paint to dry paper versus spraying the paper lightly with water, than applying the paint to the wet paper. Kids may choose to draw on the paper first, then paint over the pencil drawing, or paint without any drawing underneath.
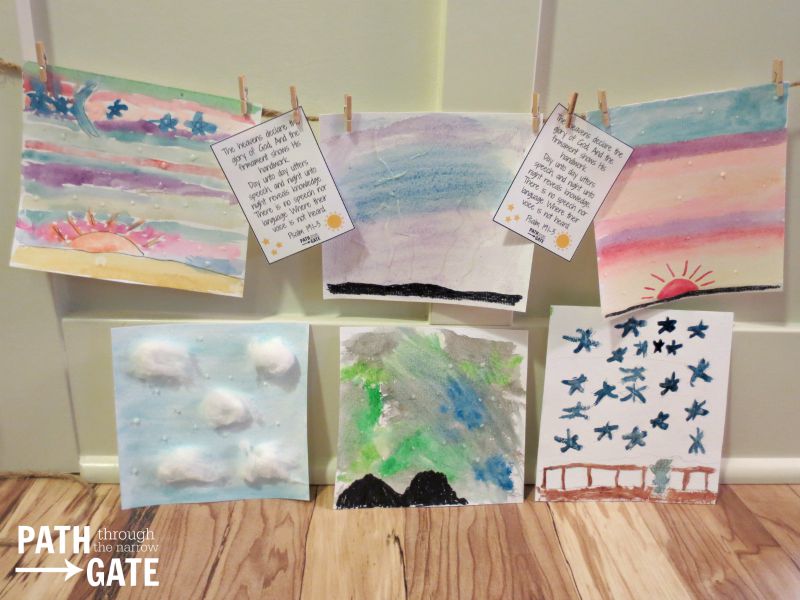
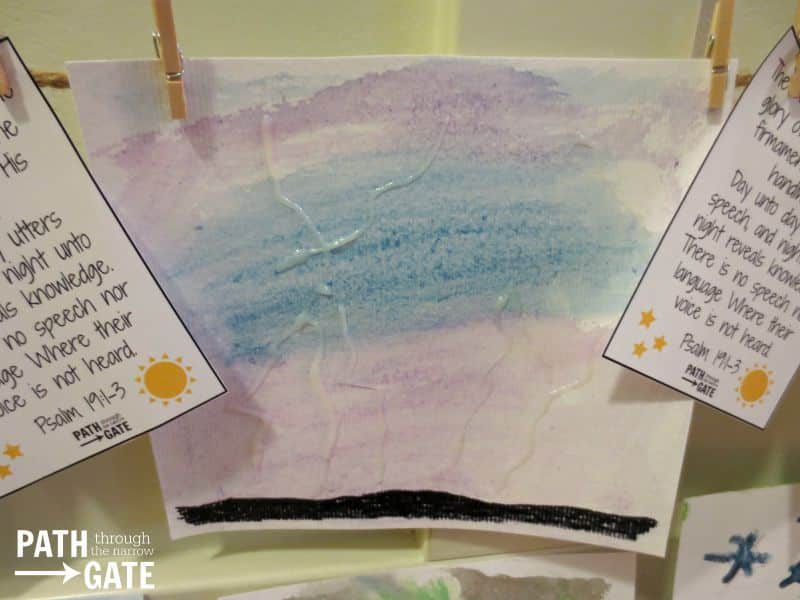
3. After the sky colors are painted onto the paper, allow the paint to dry thoroughly. After the paint is dry, kids can go back and add a sun, if desired. My kids created horizons under their sunsets with a black sharpie marker. Younger children may enjoy gluing cotton ball clouds to their pictures. Allow the second layer of paint or glue to dry thoroughly.
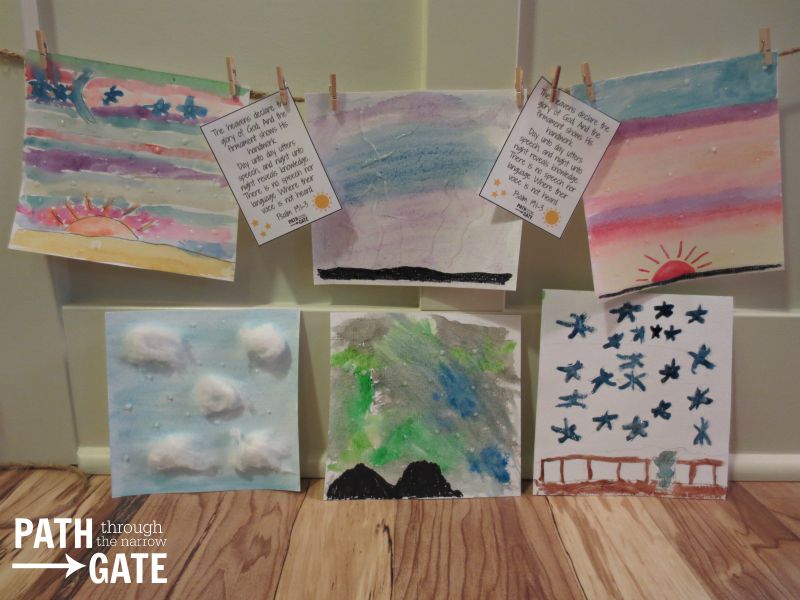
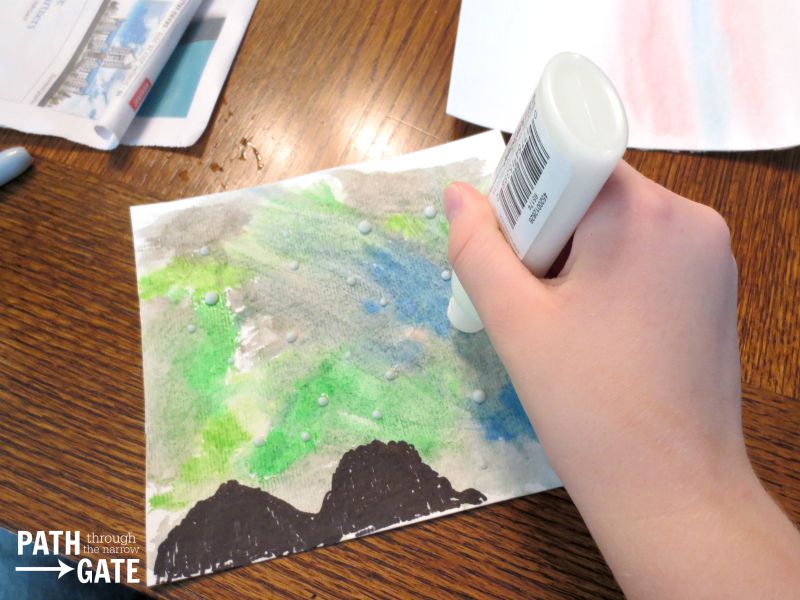
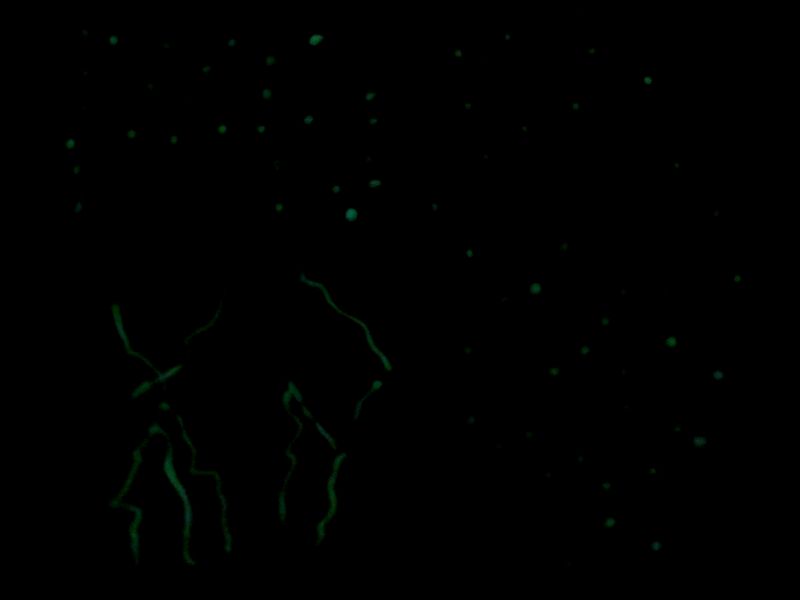
4. After the paint is dry, use the Glow-in-the-Dark Paint Writer to add star “dots” to the picture. Kids may also choose to outline a moon or add lightning to their sky scenes. Allow the glow paint to dry thoroughly. Since this paint makes a thicker “blob”, it should be allowed to dry overnight before handling.
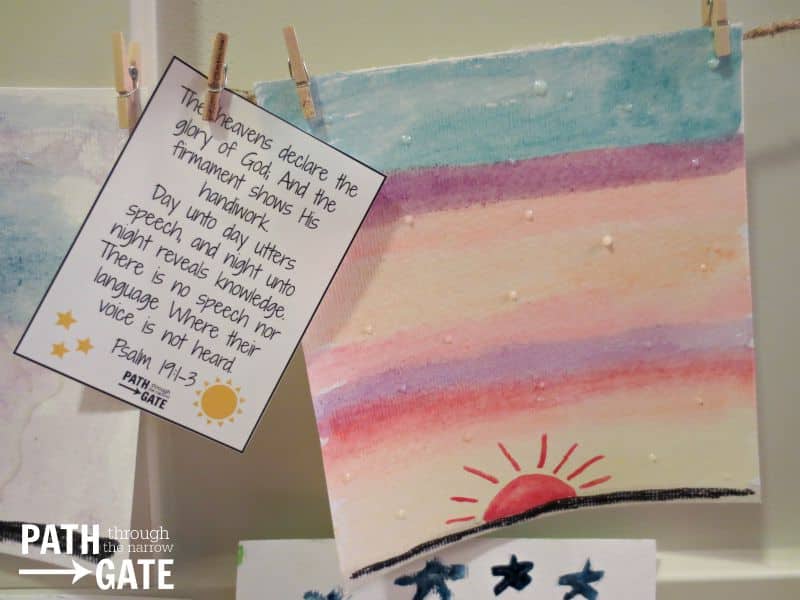
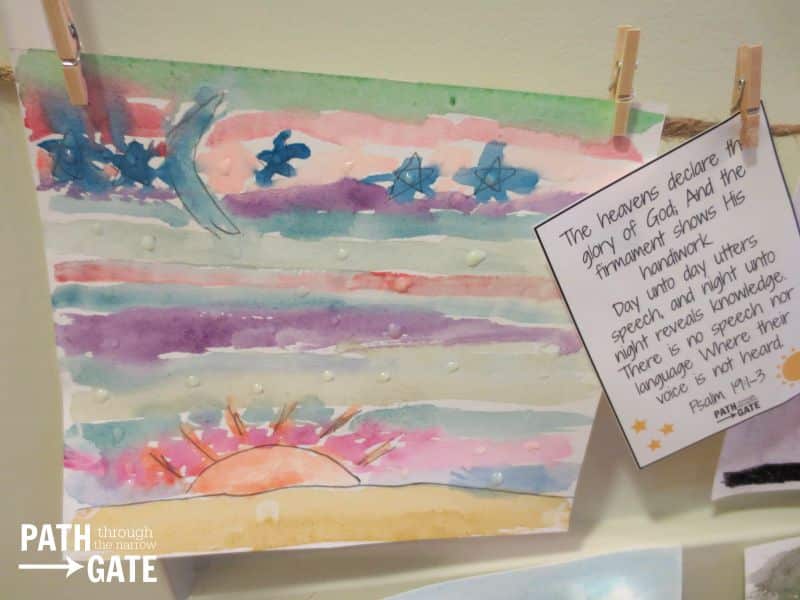
5. After the glow paint is dry, cut out the verse printables and glue or tape them to the back of the art work.
Then take them into a dark room and see how your sky looks at night!
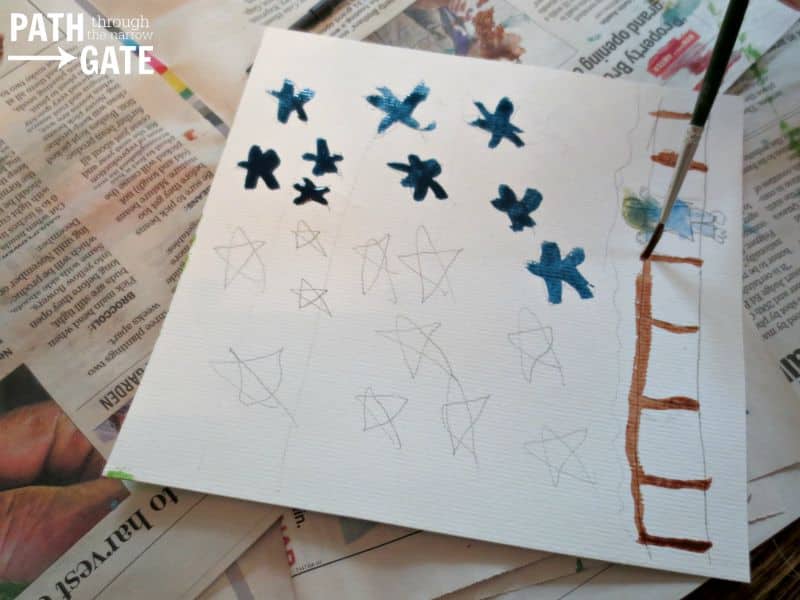
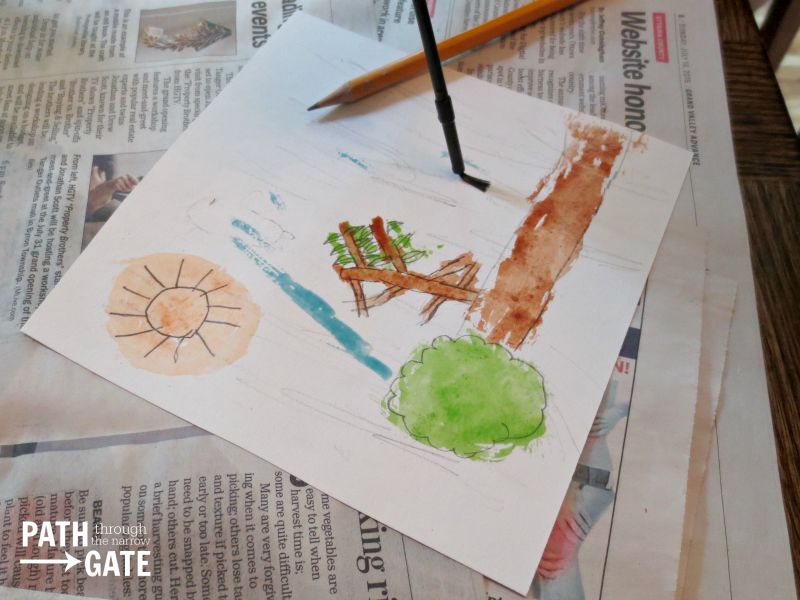
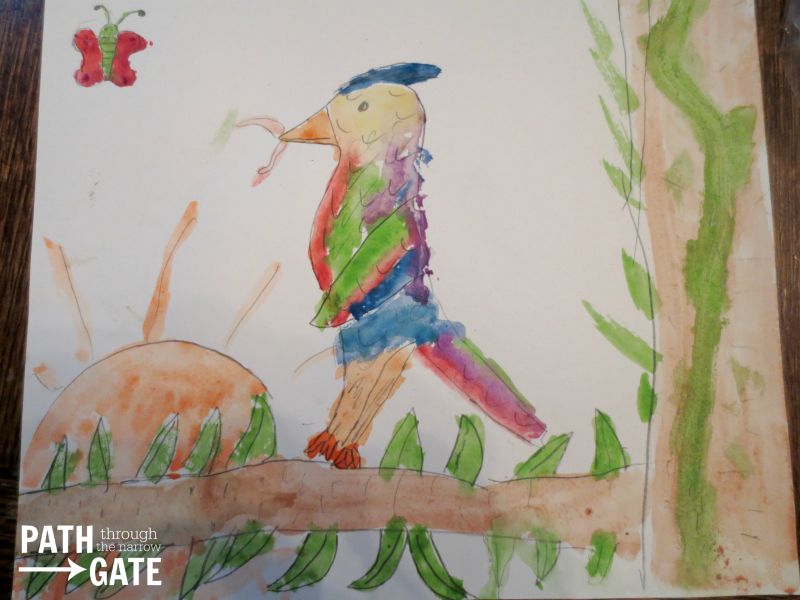
My daughter enjoyed using the watercolors so much that she continued painting her own picture:
So much fun! If you make these sky pictures, I would love to hear about it. Please scroll down to comment.
More Posts from Path Through the Narrow Gate: