Do you struggle with keeping your young children quiet during church services? How can you keep children quietly entertained during a church service, a long car ride, or a doctor office visit?
This Church Quiet Bag series is here to help you answer that question. Every activity in the Church Quiet Bag series is chosen specifically because it is QUIET (no clanking duplos, if you know what I mean) and easily portable.
So, here’s the next Church Quiet Bag: Lacing Cards!
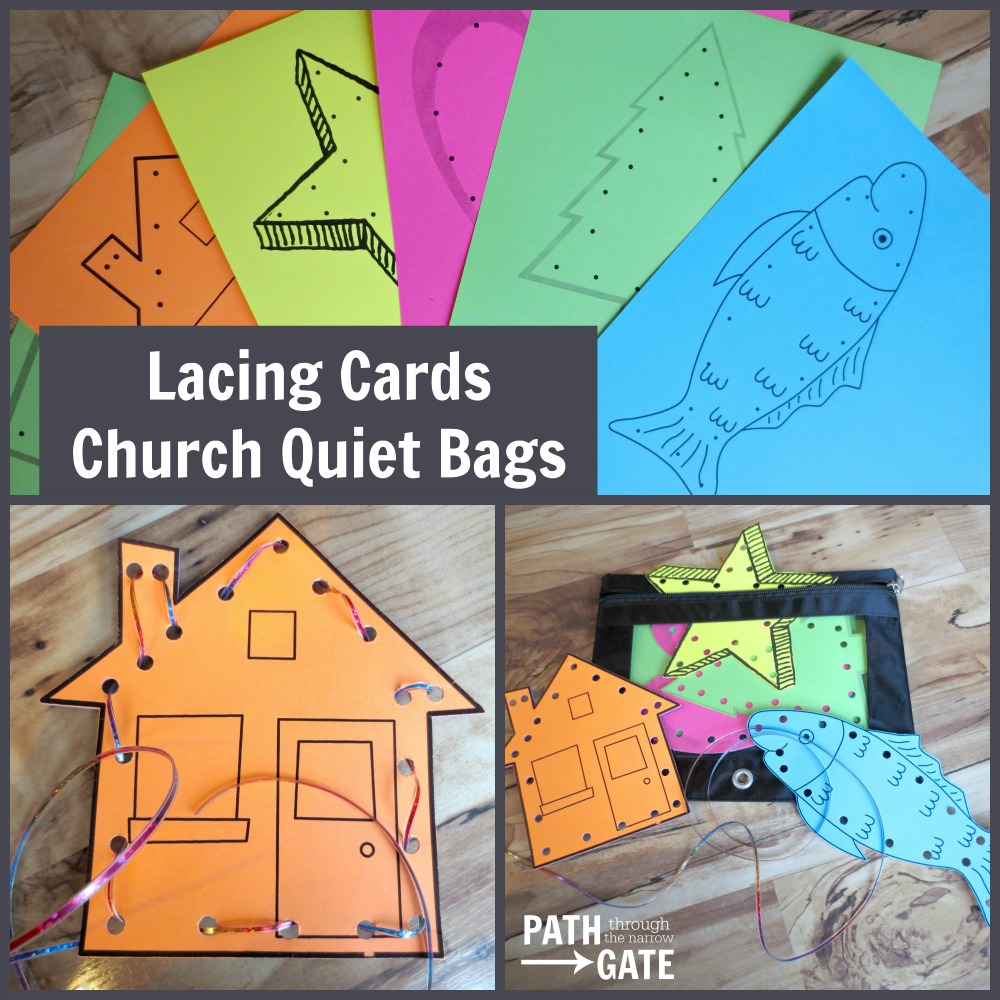
These lacing cards are really easy to make and sure to keep your child’s fingers quietly busy.
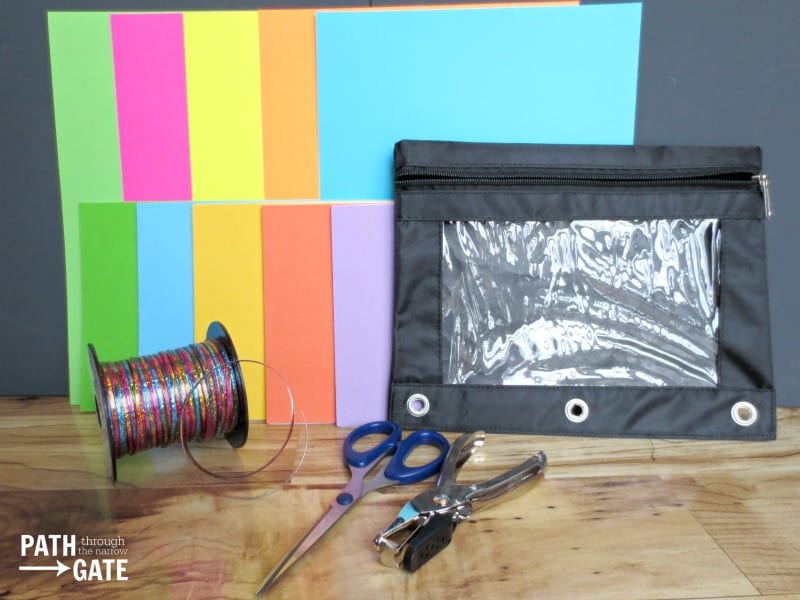
Materials for Lacing Cards Church Quiet Bag:
8.5 X 11 inch Cardstock Paper
Adhesive Foam Sheets (mine were 6 X 9 inches). You will need one foam sheet per shape.
Something to lace with. (See note below)
Lacing Cards Church Quiet Bag Printables [Print them Now!]
Scissors
Hole Punch
Binder Pouch
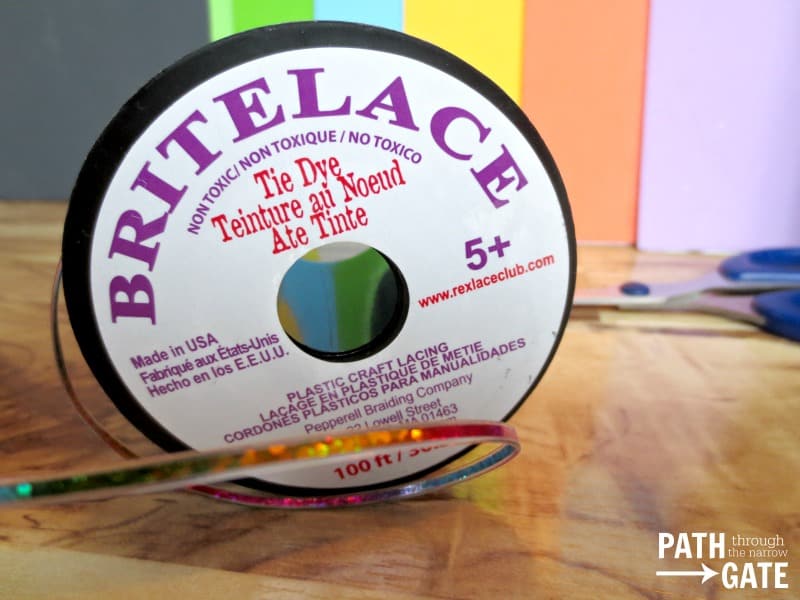
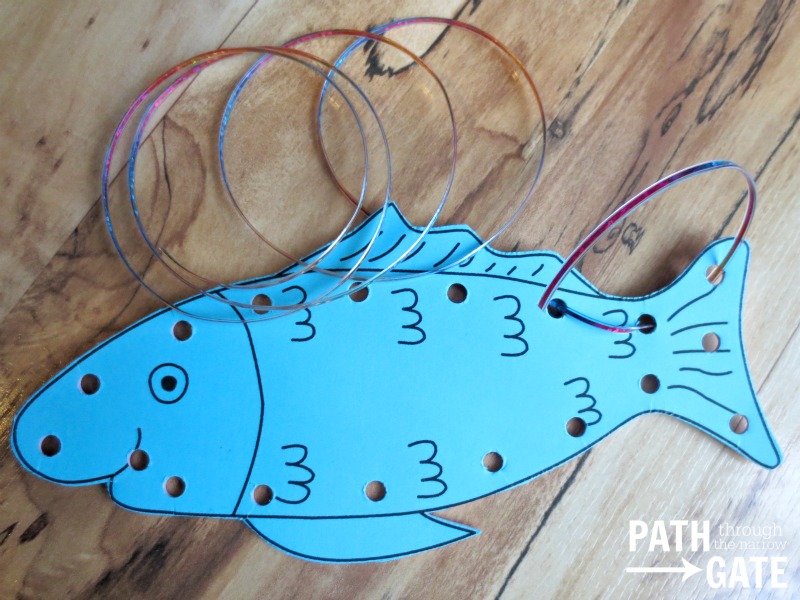
To make the lacing cards pictured, I used plastic craft lacing. My kids liked the sparkly tie-dye look of this lacing. However, for younger children (three or under), I would recommend using something more flexible such as shoelaces. The plastic craft lacing material was stiff and might be frustrating for little fingers.
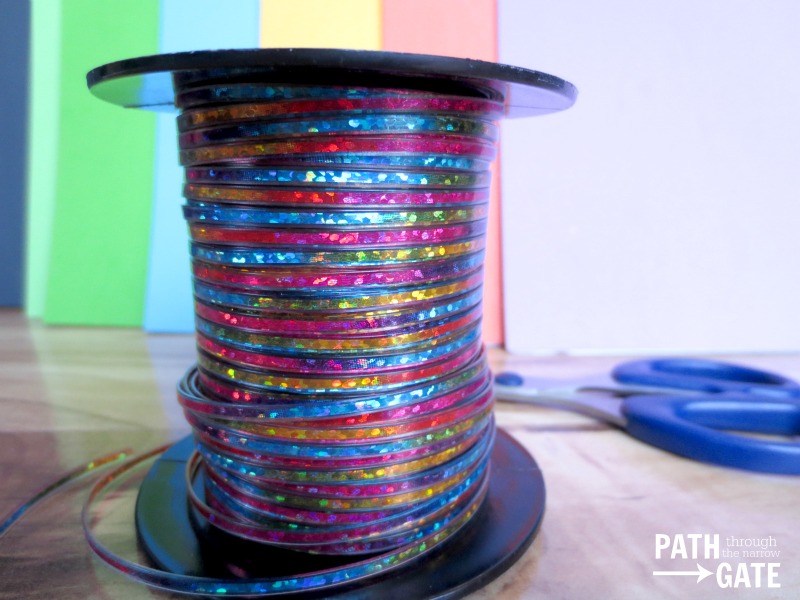
But, it is pretty!
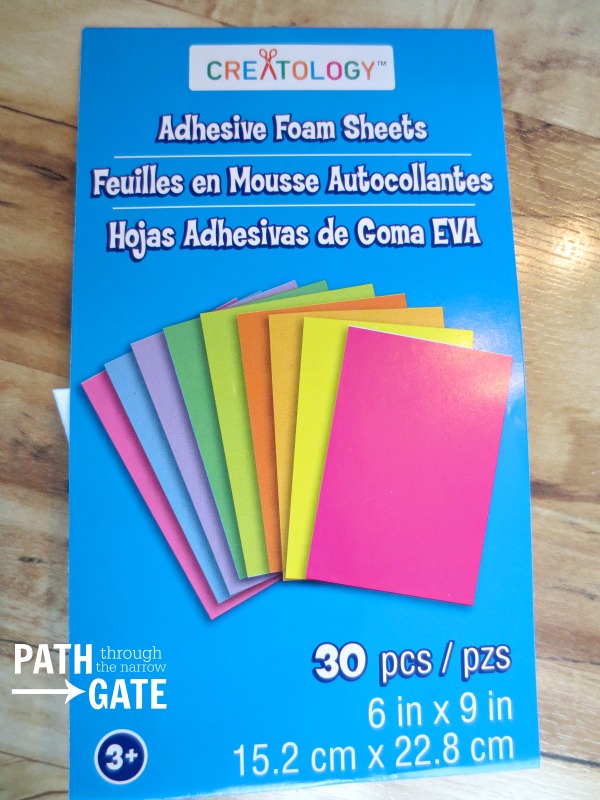
I also used these adhesive foam sheets (with sticky backs). You will only need one sheet per shape, and you can buy these sheets individually at most craft stores.
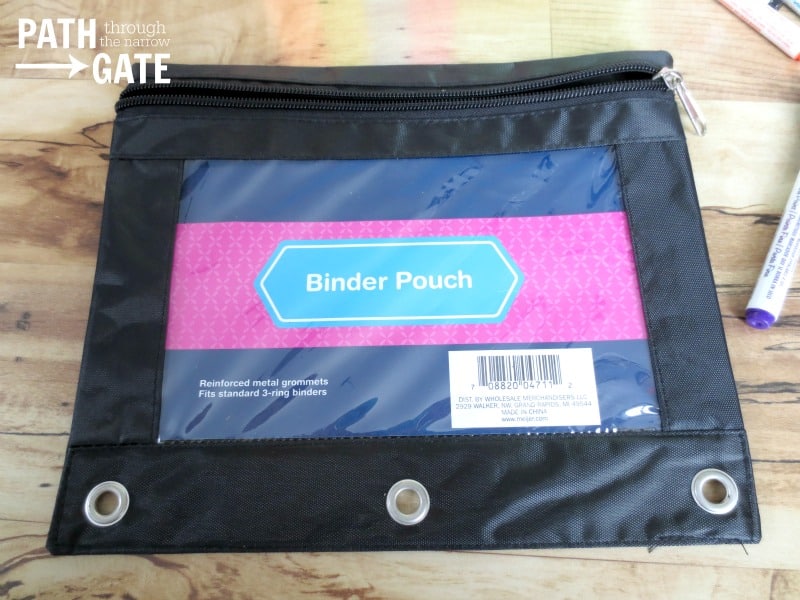
Binder pouch – I found these in the “school supplies” section of my local grocery store, and they are quite inexpensive ($1.50 to $2 apiece). The pockets on mine are about 9.5 by 6 inches.
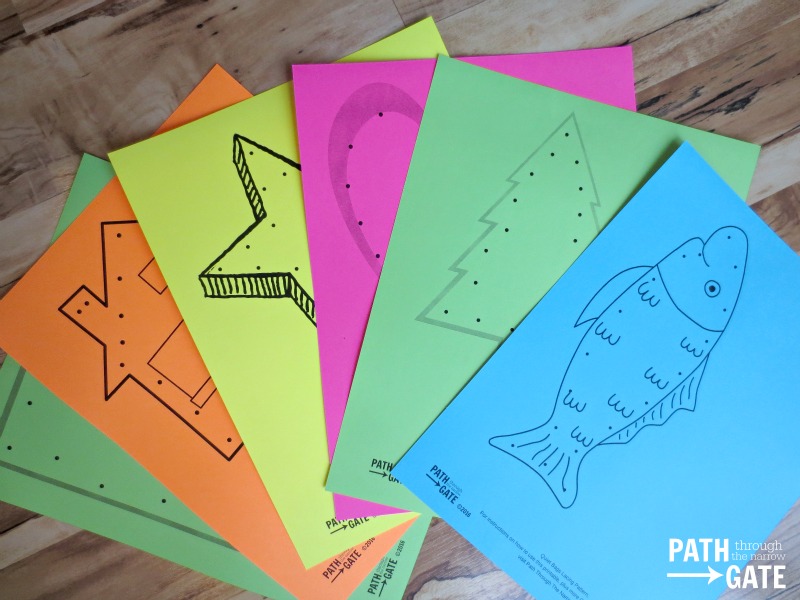
Directions for the Lacing Cards Church Quiet Bags
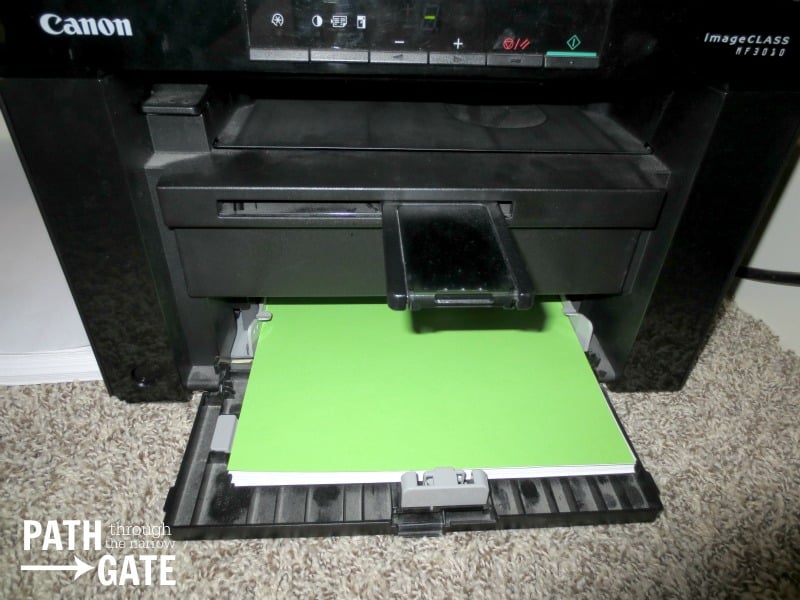
1. Print the Lacing Cards Church Quiet Bags printables onto colored cardstock. I printed one page at a time onto the desired color of cardstock.
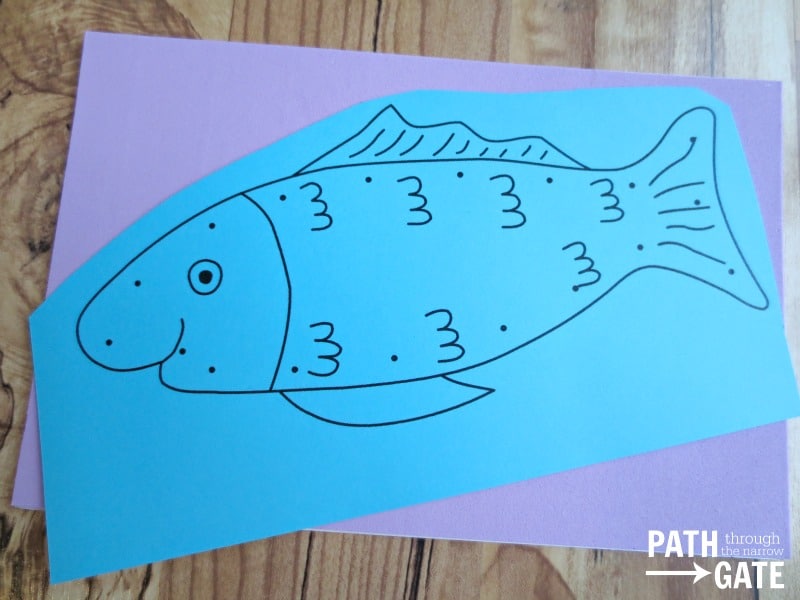
2. Trim the shape down a bit.
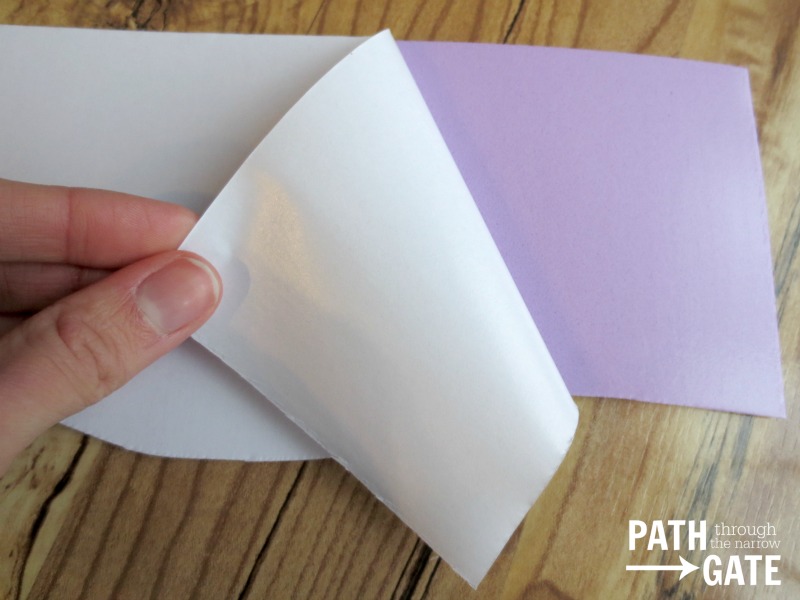
3. Place the foam sheet soft side down onto your work surface. Remove the paper backing.
4. Firmly press your shape onto the sticky side of the foam, maintaining your shape printed side up.
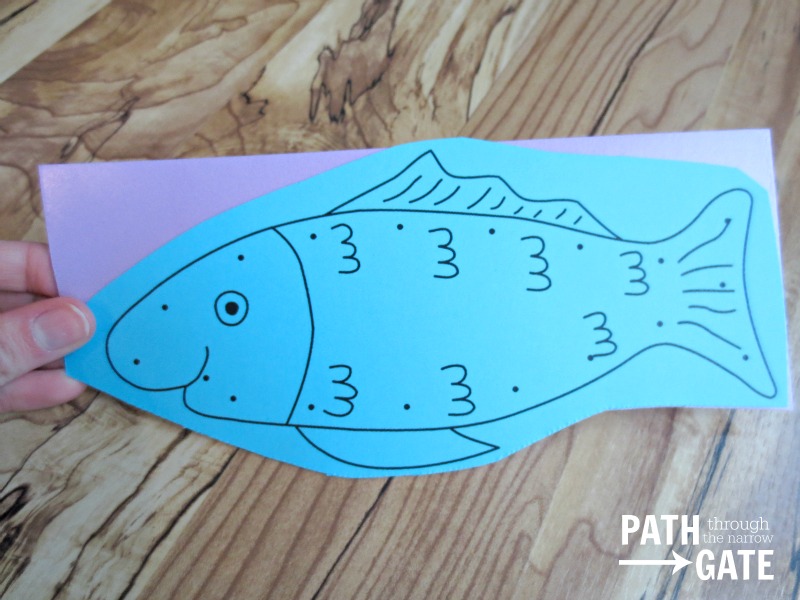
5. Cut out the shape, cutting through both the paper and the foam.
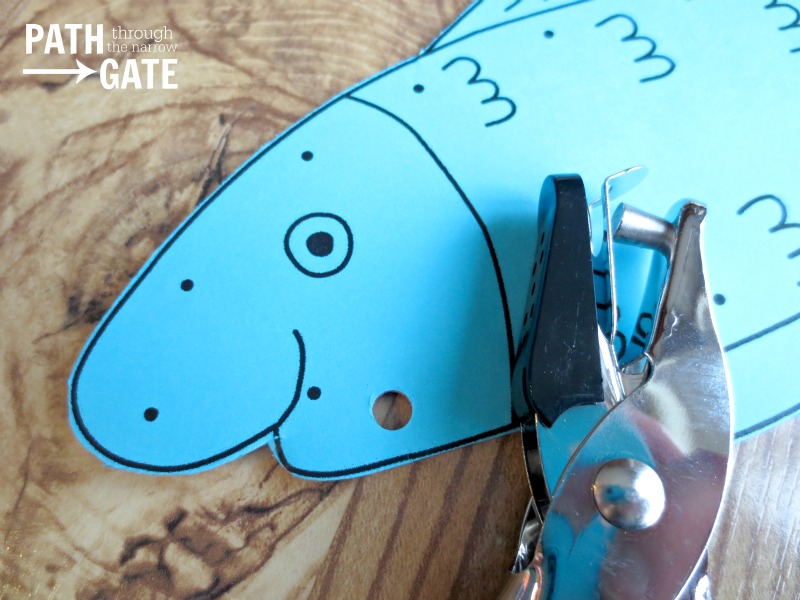
6. Using a hole punch, punch holes at each black dot around the exterior of the shape, being careful not to get the holes too close to the edge of the shape. You will need to empty your hole punch frequently (every few holes) because the paper/foam combo is thick and will fill up your hole punch quickly.
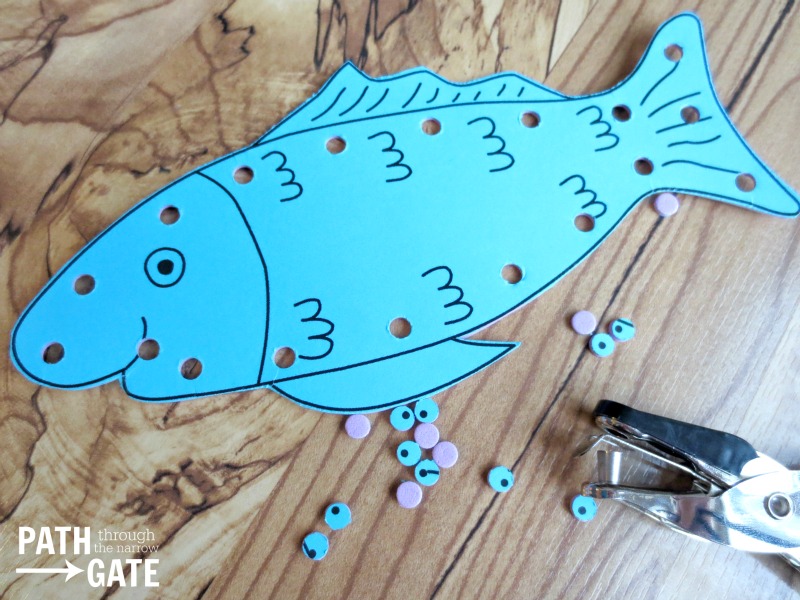
Just about done!
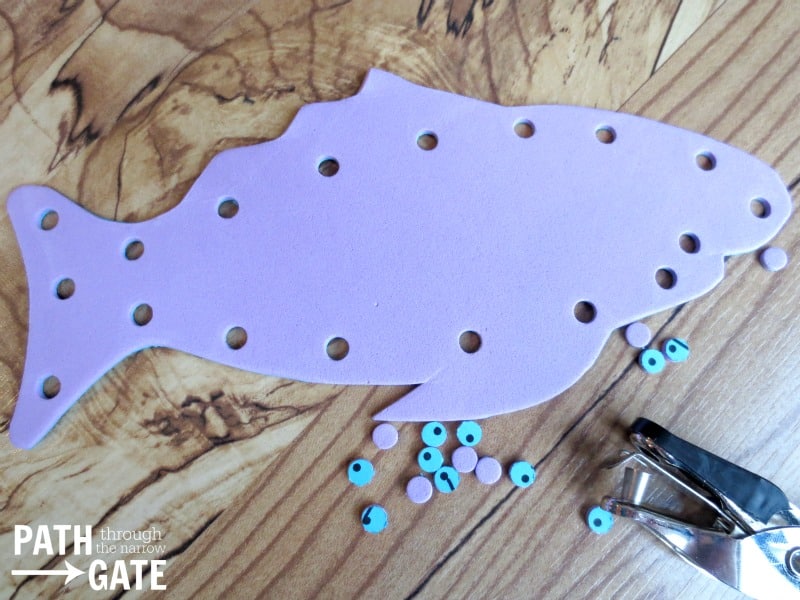
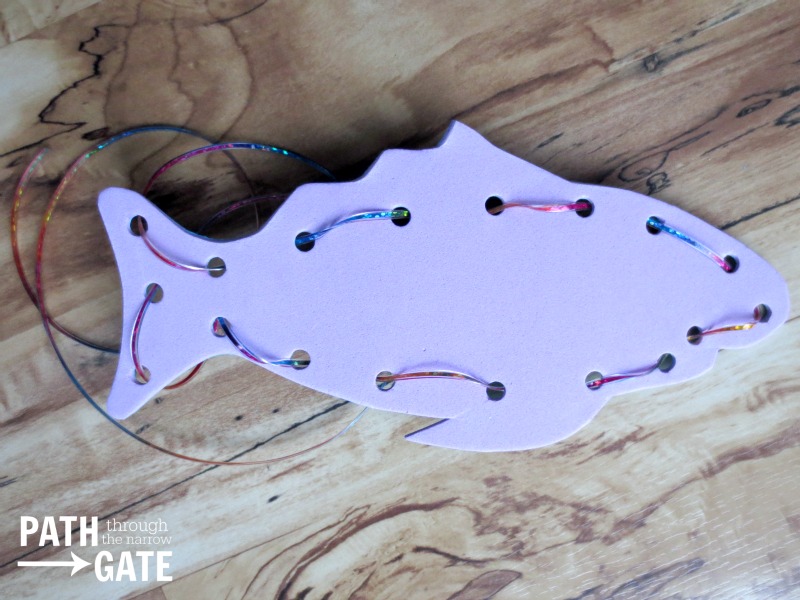
This is what the backside of my foam fish looks like.
7. Repeat this steps for any other shapes that you desire to make.
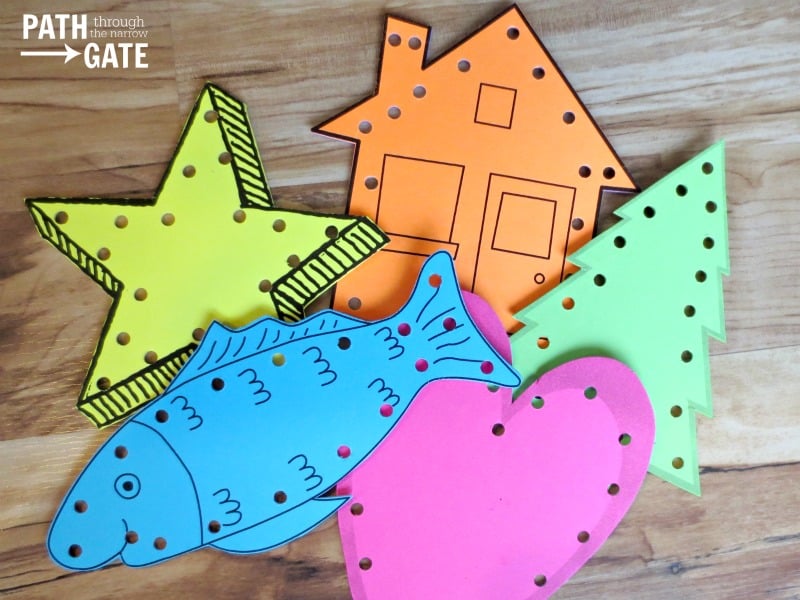
Cut a length of the plastic lacing. Show your child how to “sew” it through the holes. If you are using a shoelace, you may need to make a knot in the end of the shoelace so your child cannot pull it through.
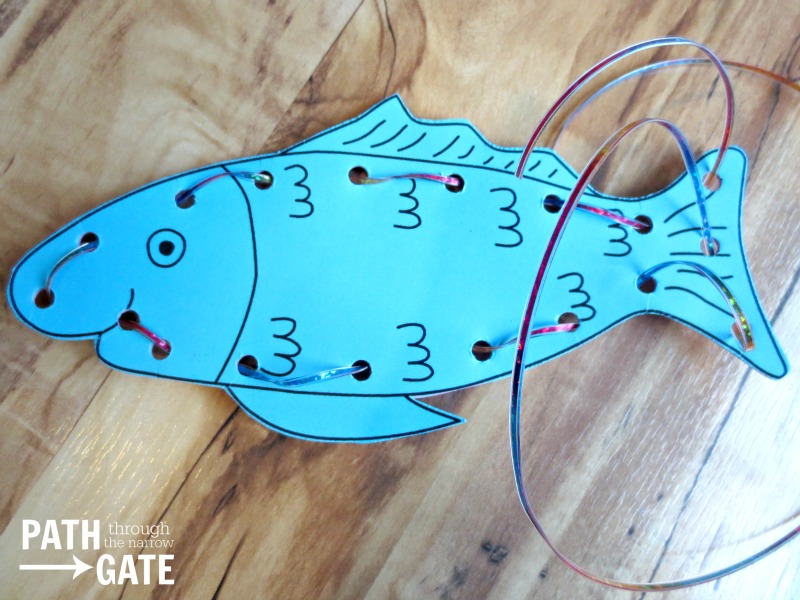
This is what my fish looks like all laced up!
And the back…
And the house…
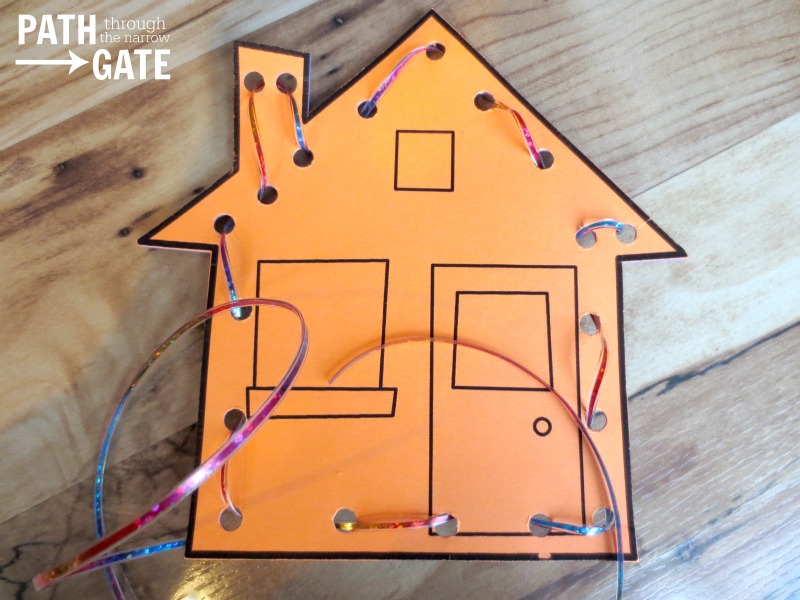
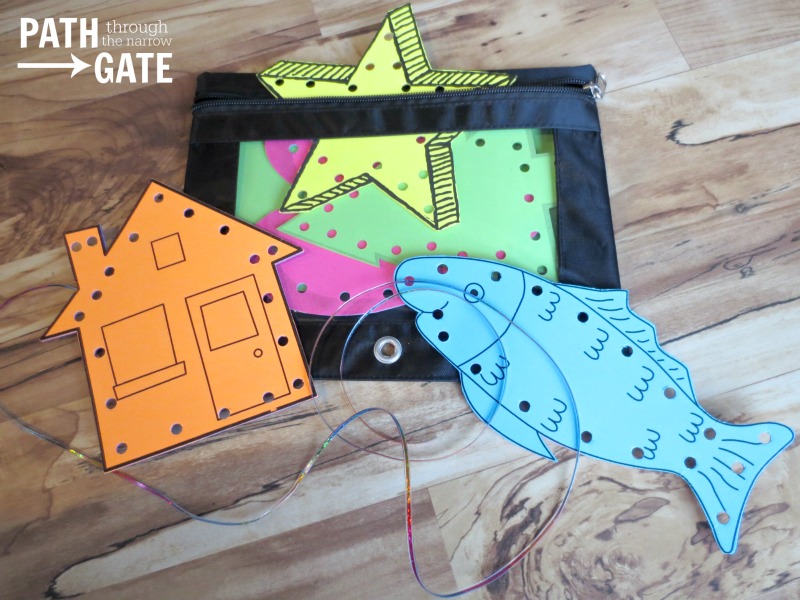
When done, stick the foam shapes and the lacing material into your binder pouch. You can throw it into your purse or diaper bag and have it handy for the next church service, long car drive, or doctor’s office visit!
As with all Church Quiet Bags, this Dry Erase Church Quiet Bag is intended to be used with adult supervision.
Now its your turn! Will you be making this project? Do you have any questions or suggestions? I would love to hear from you. Please scroll down to comment.
More Posts from Path Through the Narrow Gate:

