Sunday School + Craft Time + 3rd and 4rth Grade Boys can be… difficult.
My 3rd and 4rth grade girls (and one or two boys) love to make crafts in Sunday School. But, many of the boys immediately rebel at the mere thought of craft time.
I wanted to come up with a craft idea that would be appealing to the boys (and the girls!) while helping to reinforce the verse we have been memorizing. Then, I saw these Paper Plate Marble Mazes from Buggy and Buddy – and knew that I could adapt them to a Sunday School craft that ALL of my kids would love!
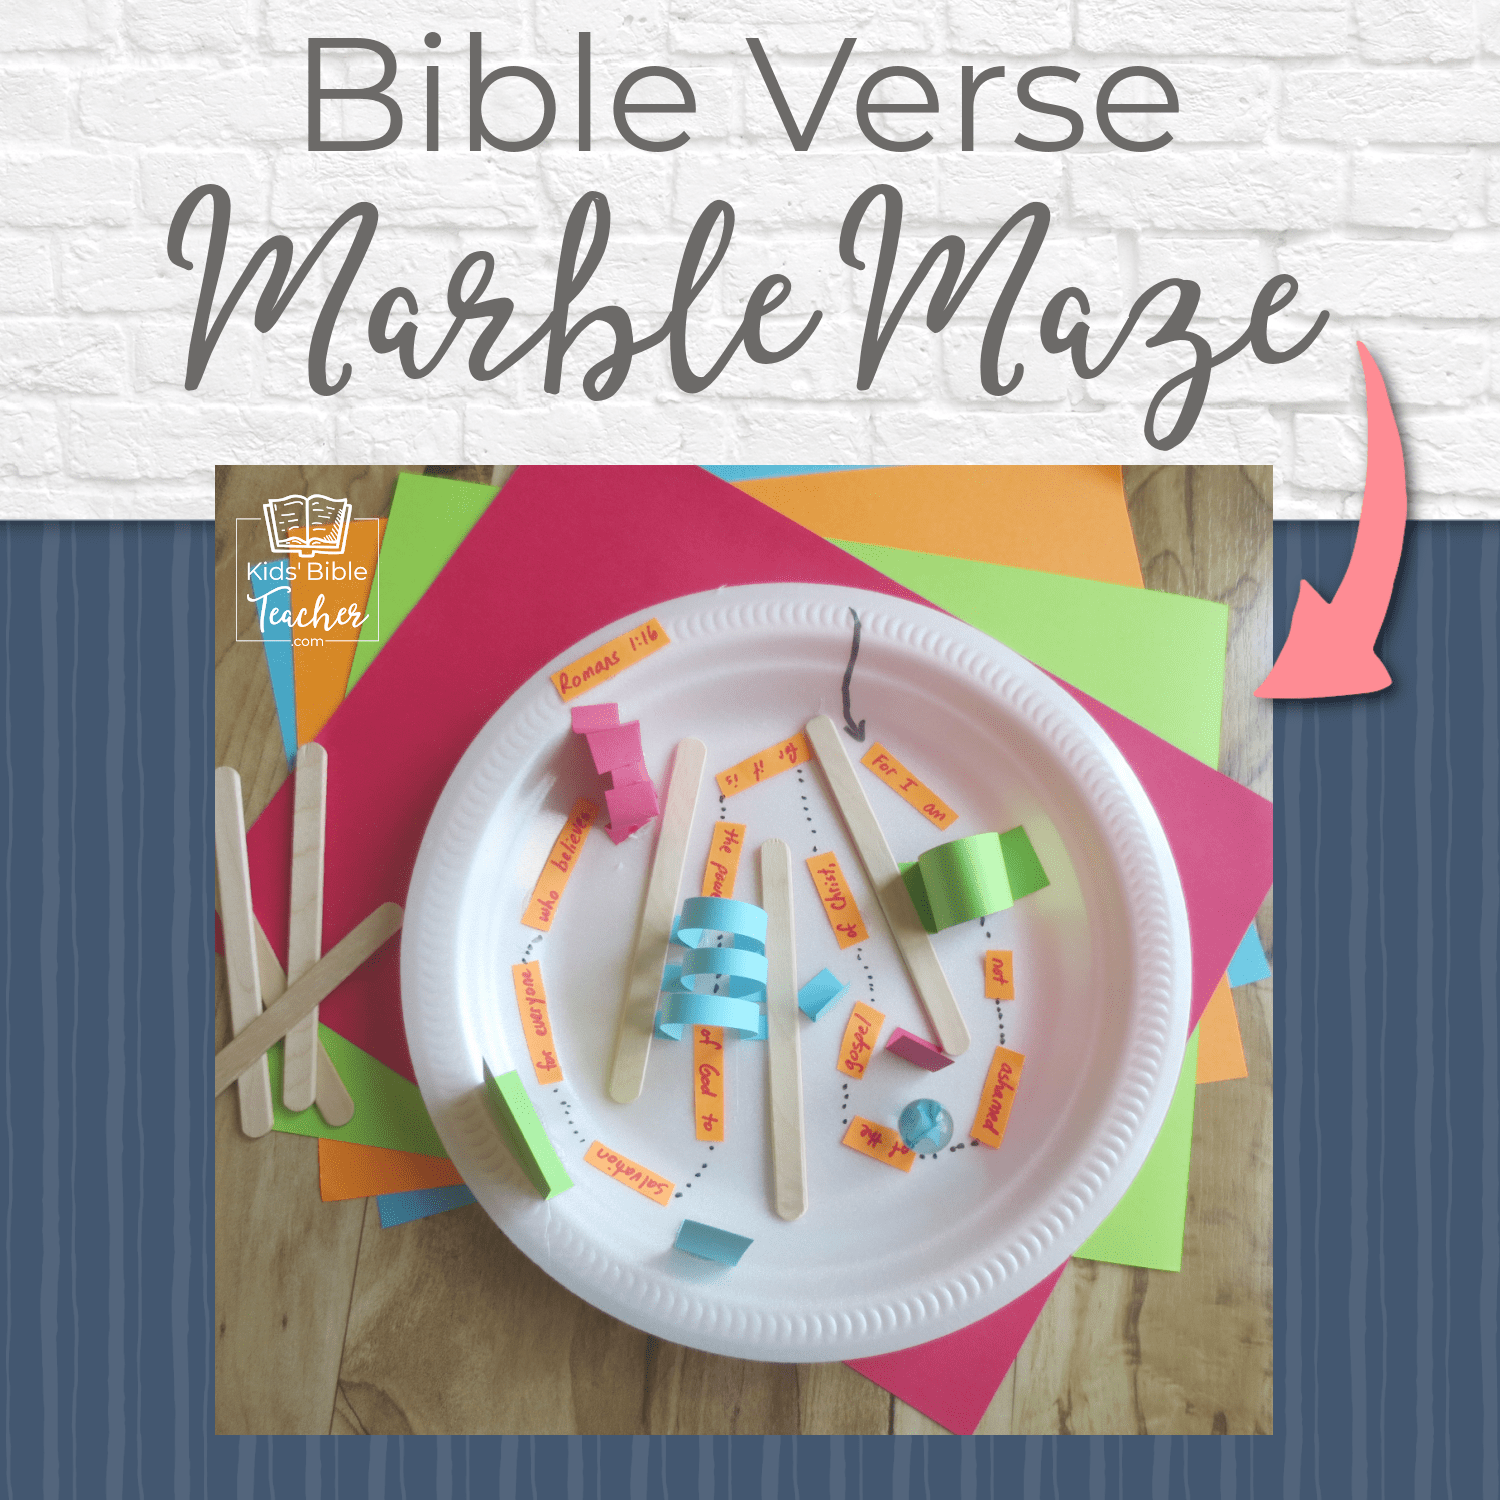
(If you do decide to make these mazes, make sure and check out Buggy and Buddy’s post – she has some ideas for easier mazes for younger kids. My mazes are geared towards my 3rd and 4rth graders, although they would work for older kids too.)
(An additional idea for younger kids might be to make the mazes with much larger paper tunnels and Pompoms.)
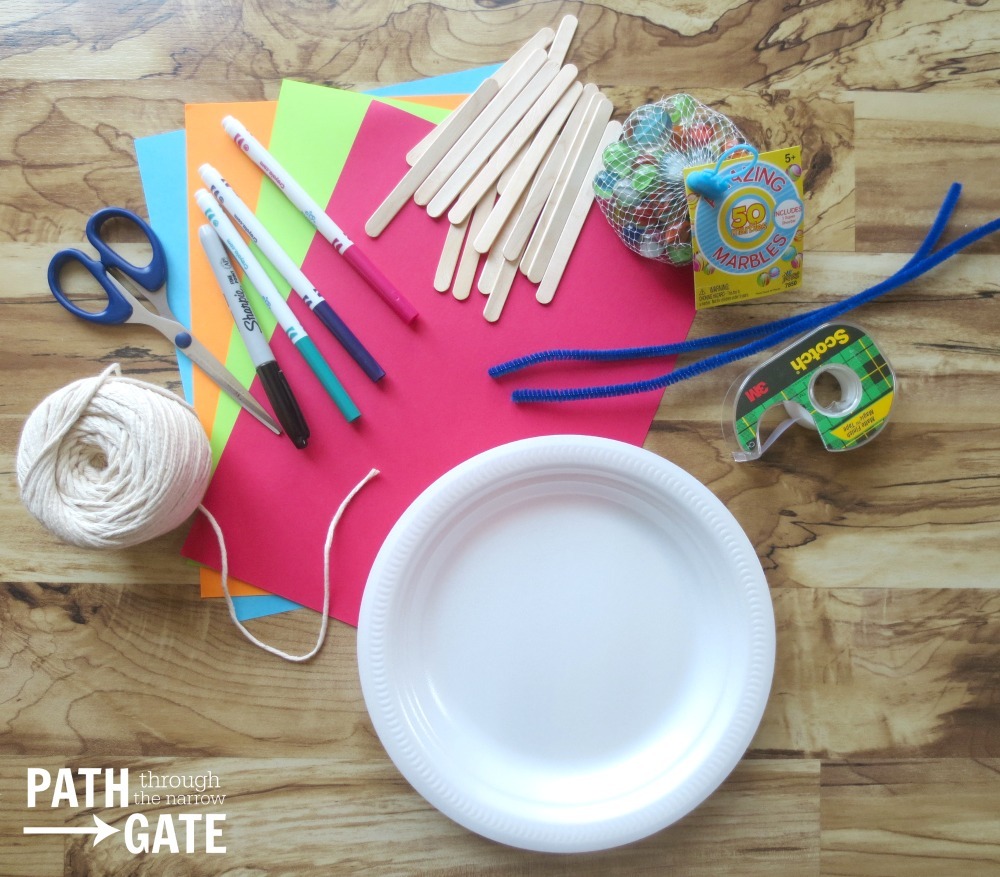
Paper Plate Marble Maze Supplies:
- Foam, Plastic, or Paper plates with rims
- Paper
- Scissors, Tape, Permanent Marker, Glue or Hot Glue Gun
- Marbles (I bought my bag of 50 marbles at the dollar store)
- String, Wooden Craft Sticks, Pipe Cleaners, Twine – Basically any craft supplies that you have on hand to make the courses.
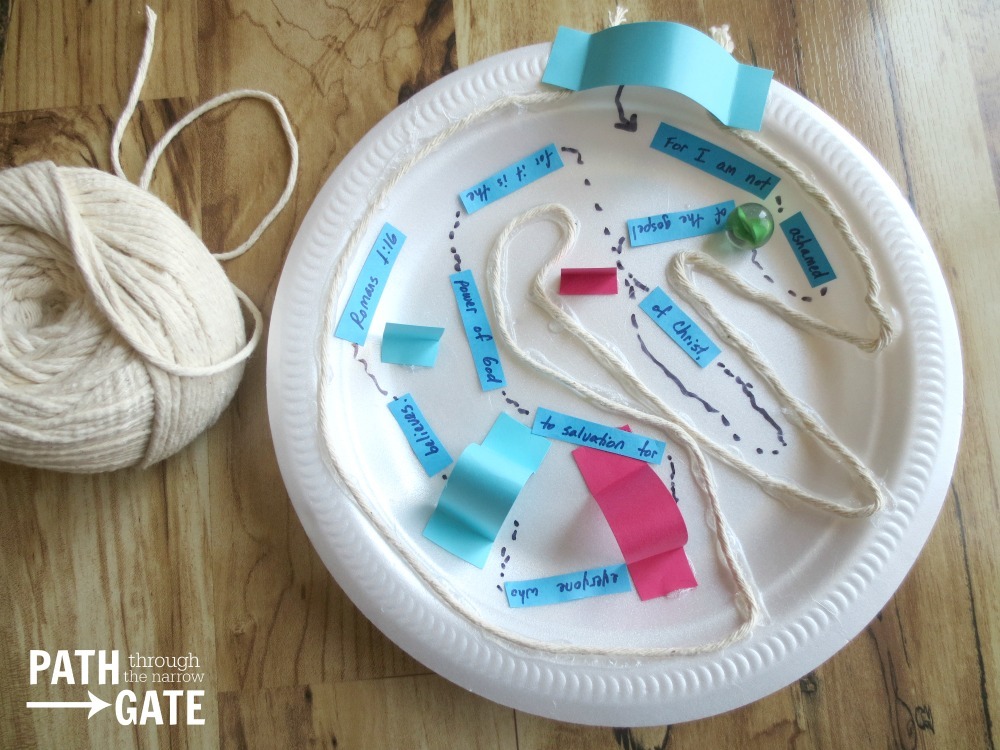
Paper Plate Marble Maze Directions:
Have your kids write out the verse in small writing and cut the words or word phrases apart. If your kids hate writing (or if you want to save time), you could also print the verses out and have the kids cut the words or phrases apart.
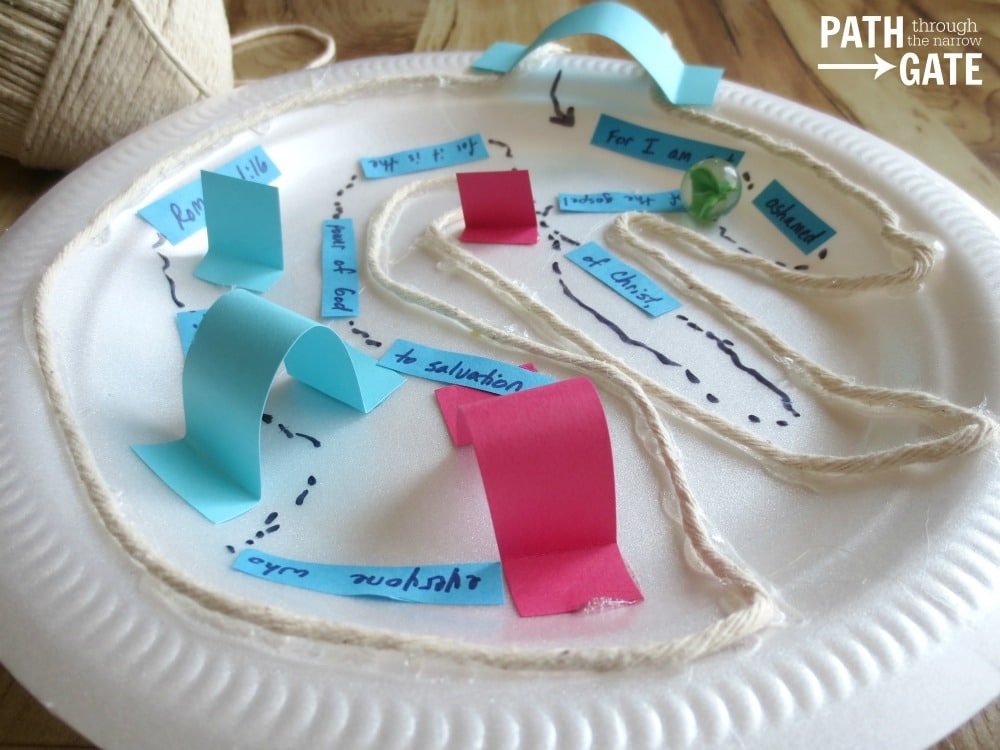
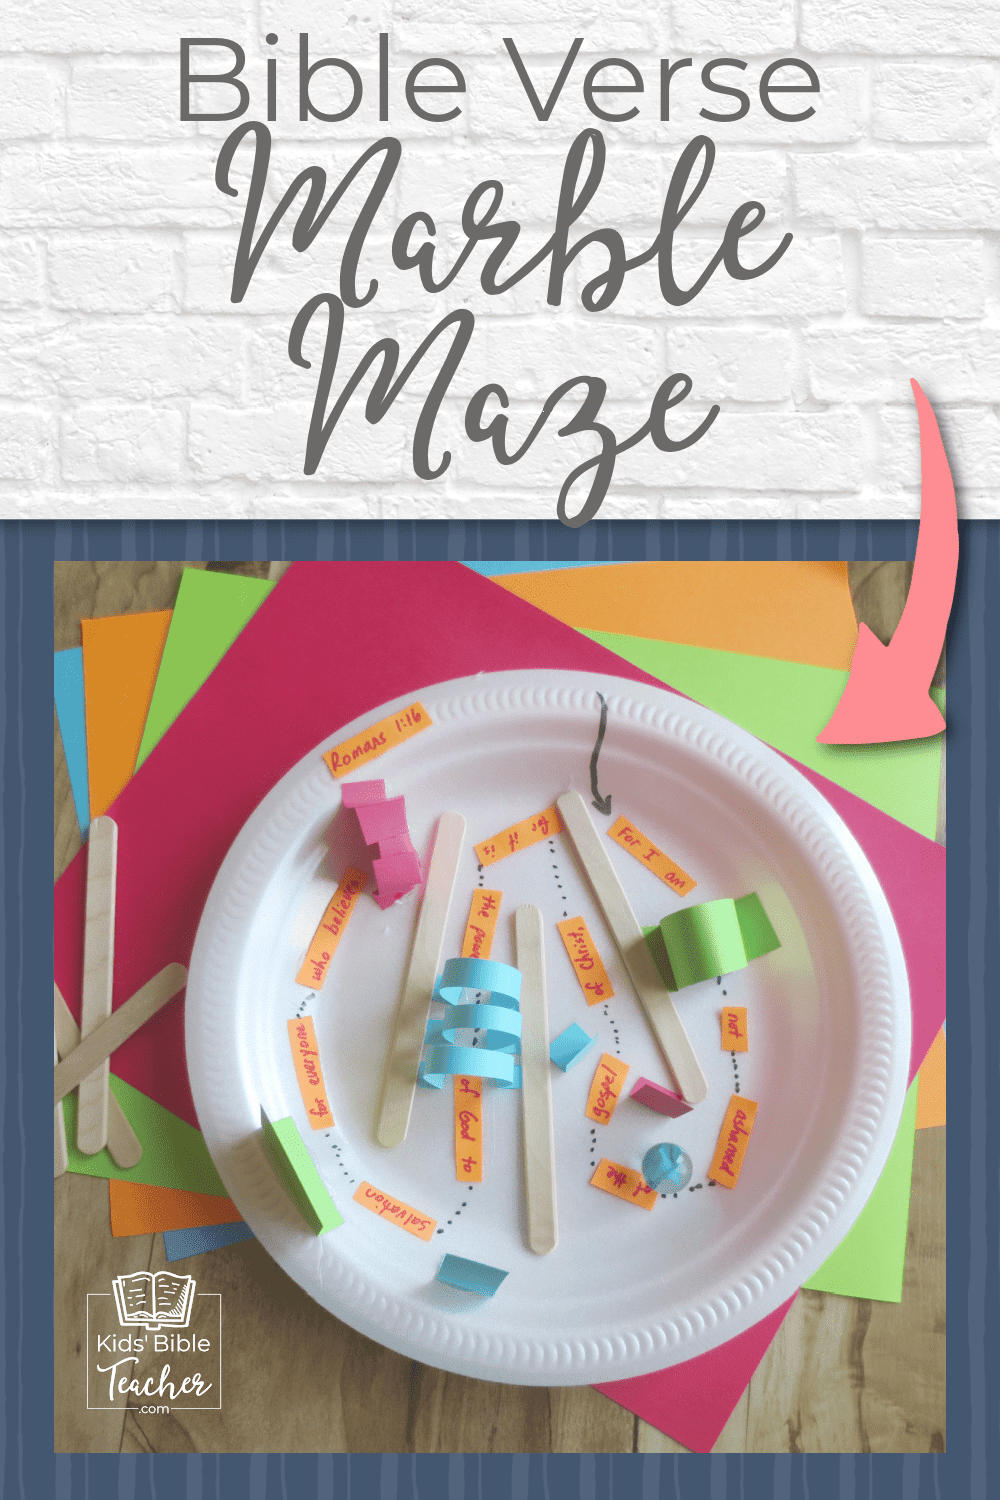
Encourage the kids to map out a maze pattern using the paper words and whatever supplies you have on hand. Show them how to make tunnels with strips of paper, road blocks with rectangles of paper, and even little paper “boxes” to catch the marble at the end of the maze.
Use string or wooden craft sticks to create “boundaries”.
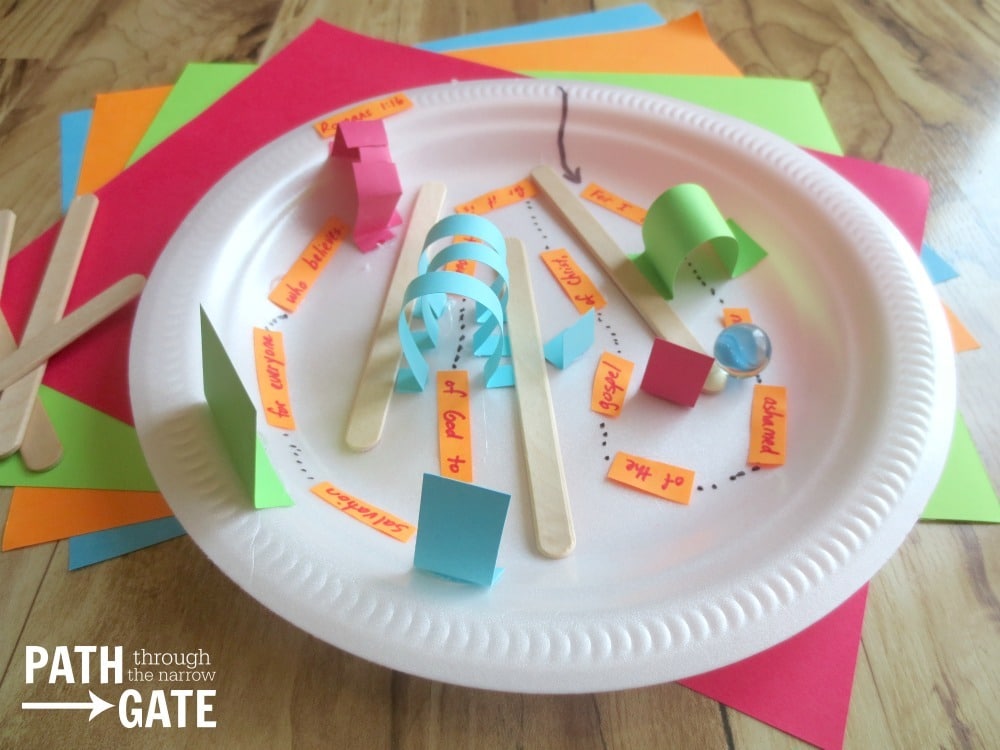
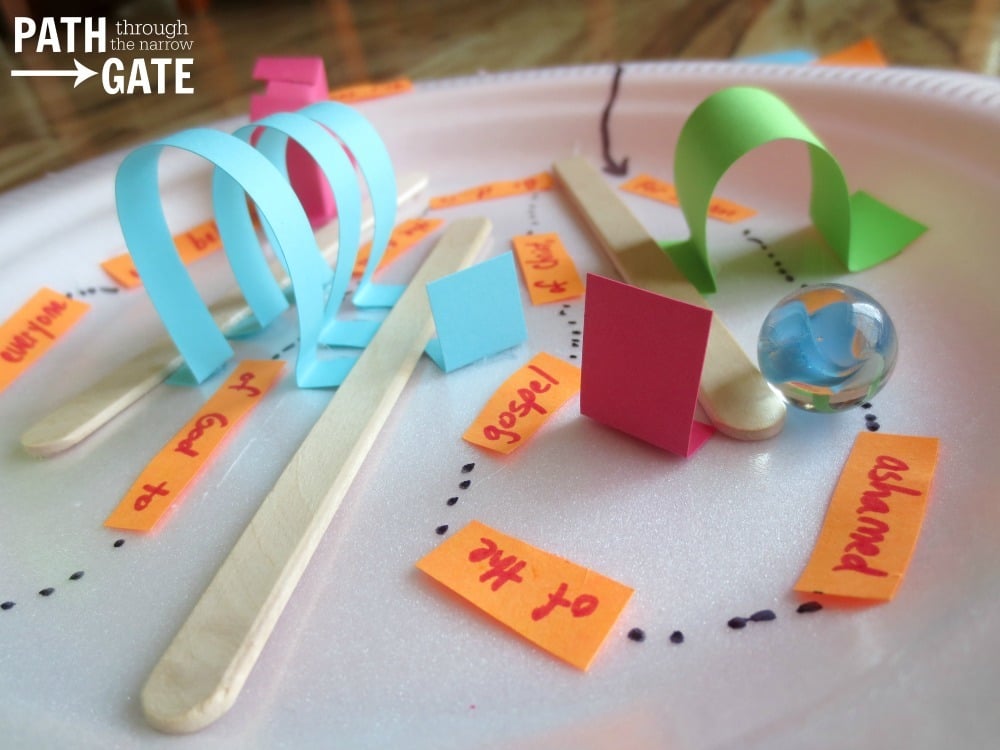
Help the kids glue or tape the objects to the marble maze. Hot glue works great for this, but would not be practical for a large group of kids (and should be done by adults only). Also, be aware that the hot glue may melt through the foam plate if your plate is thin. If you are not using hot glue, encourage the kids to use a combination of white school glue and tape for the tunnels. (Tape is necessary to hold the tunnels upright and in place while the glue is drying.)
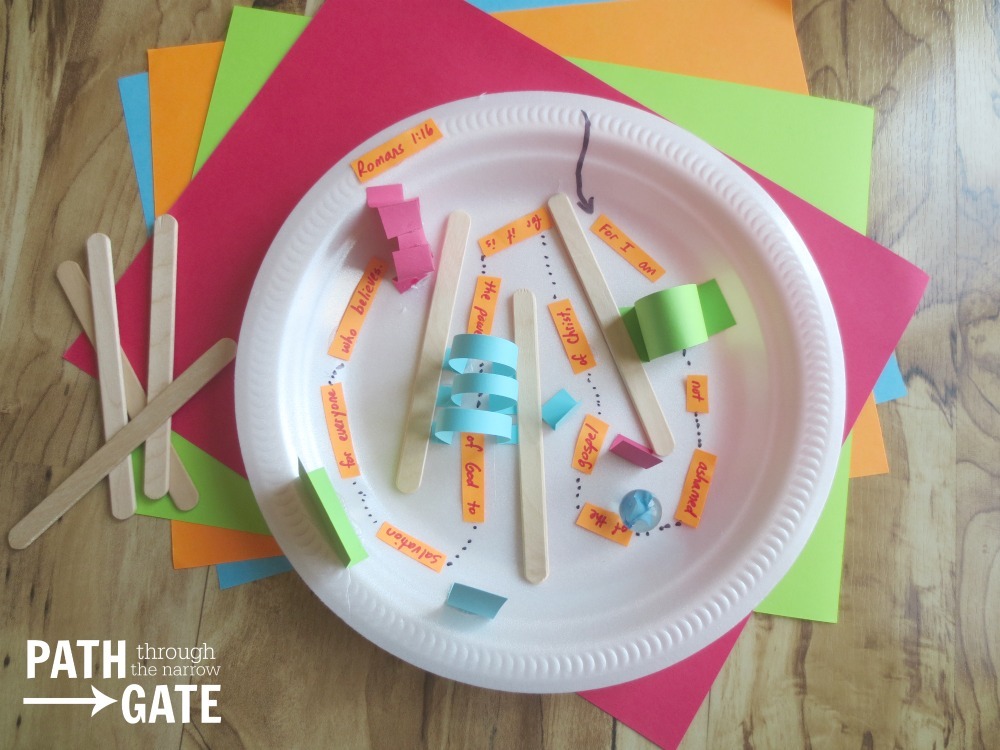
Finally, use a permanent marker to map out the marble “trail” from word to word. That’s it.
The hard part will be waiting for the glue to dry!
After the glue has dried, kids can play with the mazes by gently tipping the plate back and forth to guide the marble through the maze.
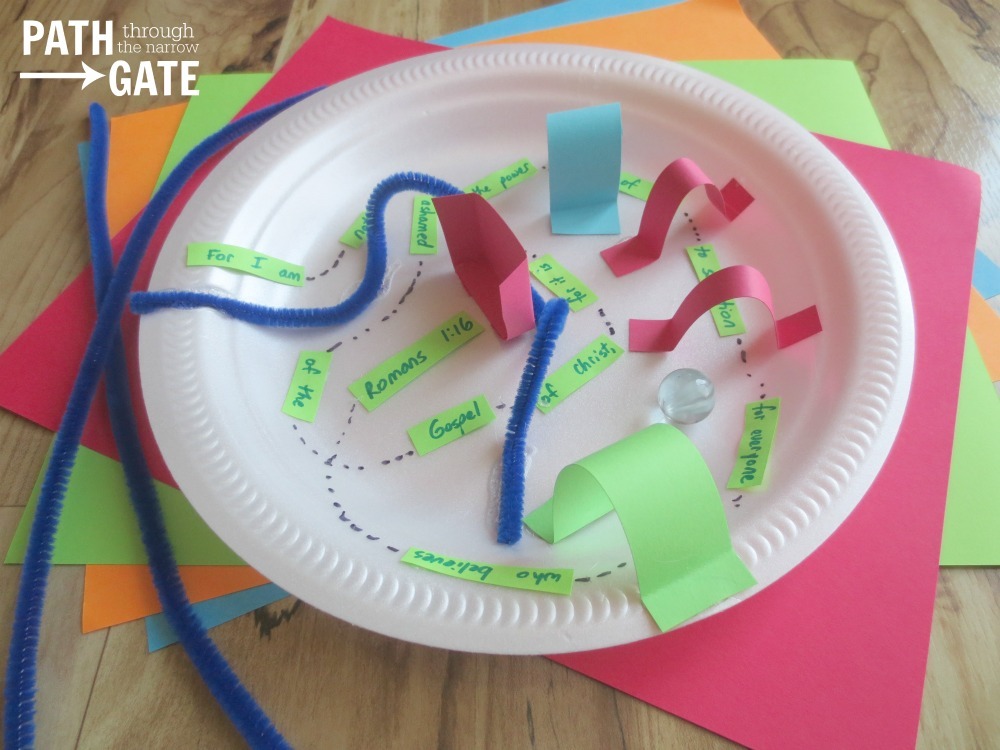
The maze below uses a bent pipe cleaner to create “tunnels”.
Have you ever made a marble maze? Do you have any ideas for other supplies that could be used? I would love to hear your ideas and suggestions. Please scroll down to comment.
May God bless you!


I love this! This is a great idea to productivly occupy three of my kids while my oldest & I work through his studies.
Thanks!!
You are so welcome, Erica. I hope your kids really enjoy it.