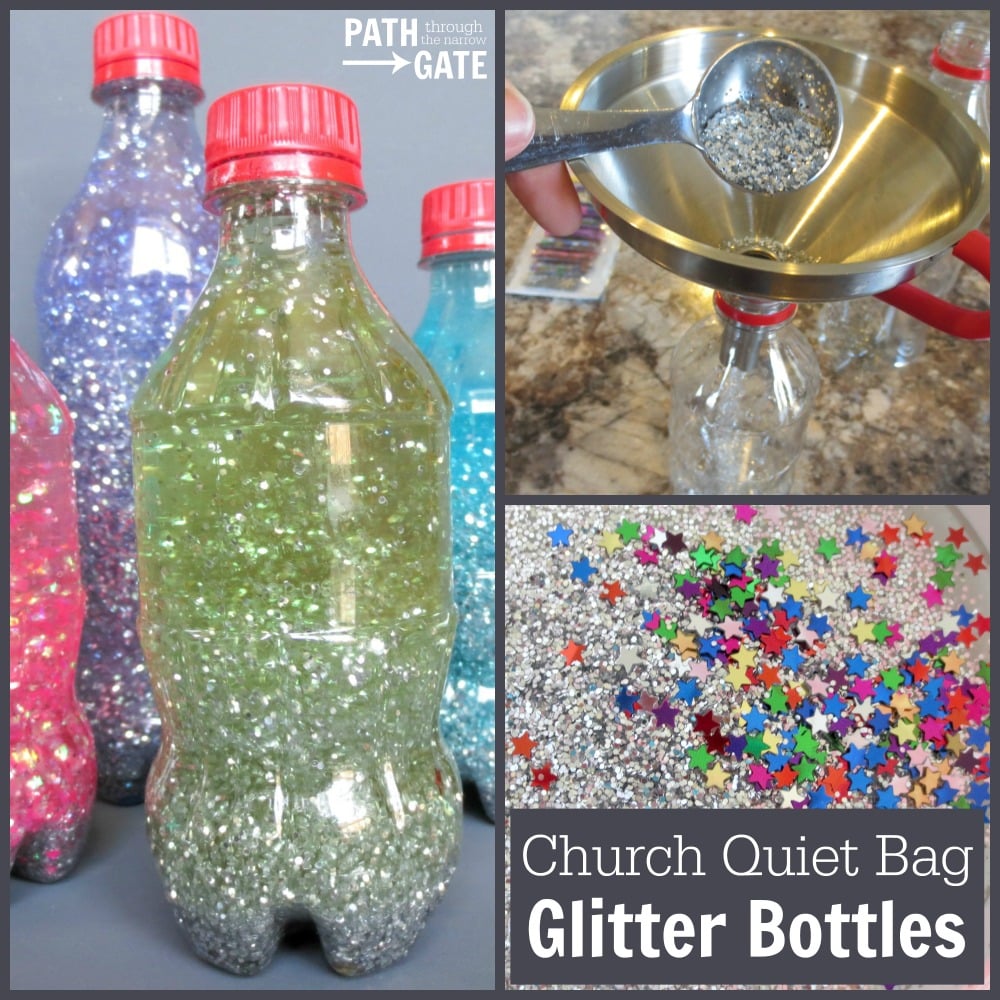
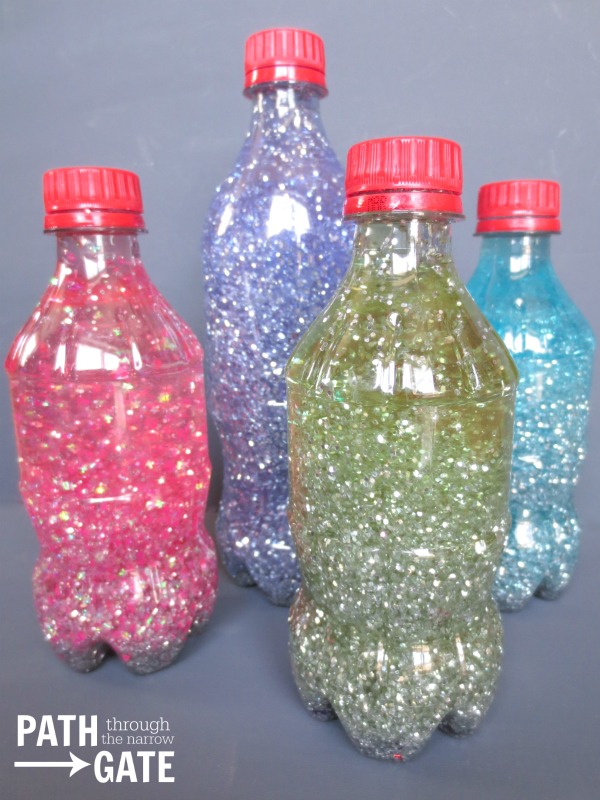
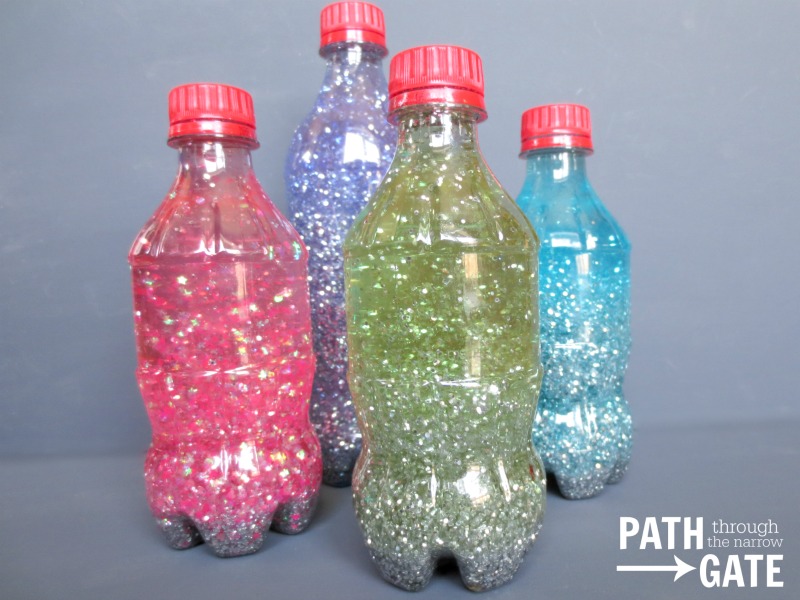
A small glitter bottle is a perfect way to keep young children mesmerized during a church service, long car ride, or even at a doctor’s office. This glitter bottle is fairly easy to make and beautiful to watch.
Church Quiet Bags Glitter Bottle Materials:
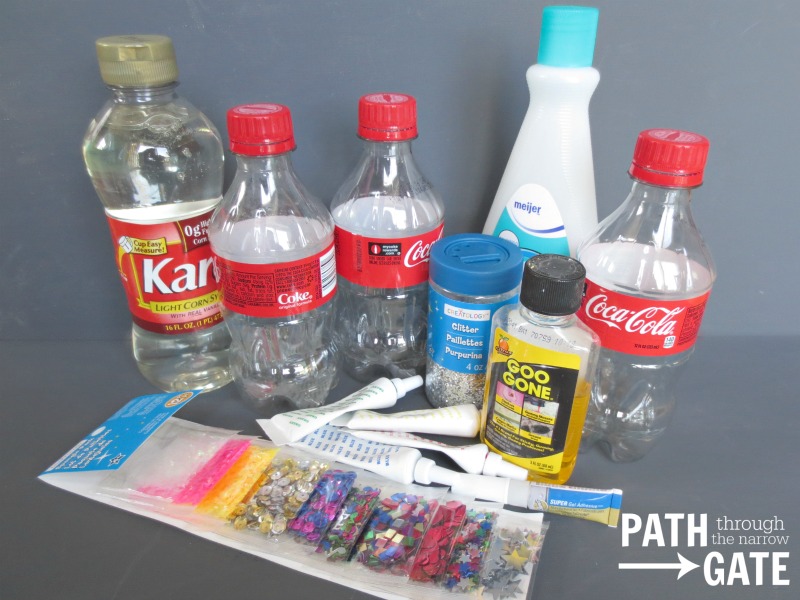
- Small Empty Soda Bottles with caps, 12 oz size works great! (I would not recommend plastic water bottles as they are too thin and might crack)
- Nail Polish Remover (optional)
- Goo-Gone (optional)
- Water
- Sauce pan
- Stove
- Mixing Bowl
- Wire Whisk
- Measuring Cups and Spoons
- Kitchen Funnel
- Karo Light Corn Syrup
- Gel Food Coloring
- Glitter (“Chunky” glitter is better than fine) and Sequins
- Gel Super Glue
Church Quiet Bags Glitter Bottle Directions:
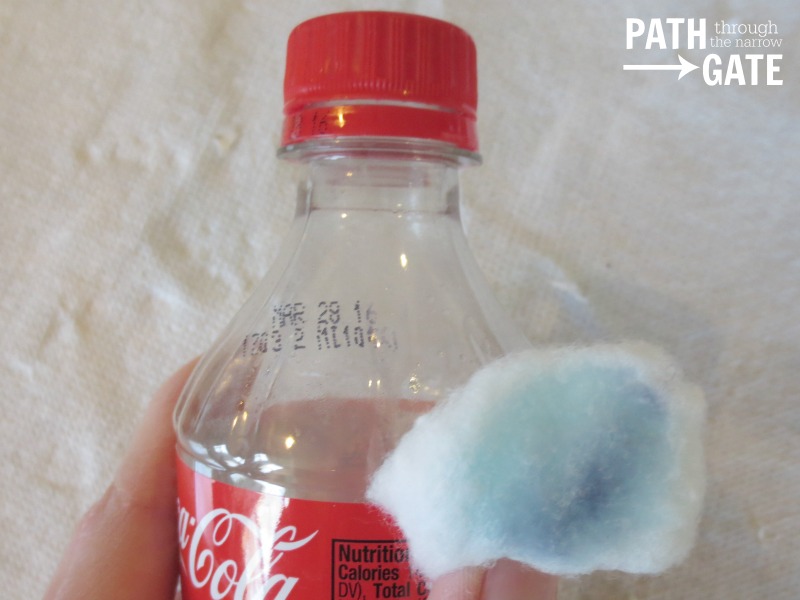
1. If you have a “use by” date stamped onto your bottle, rub it with some nail polish remover. It will wipe right off!
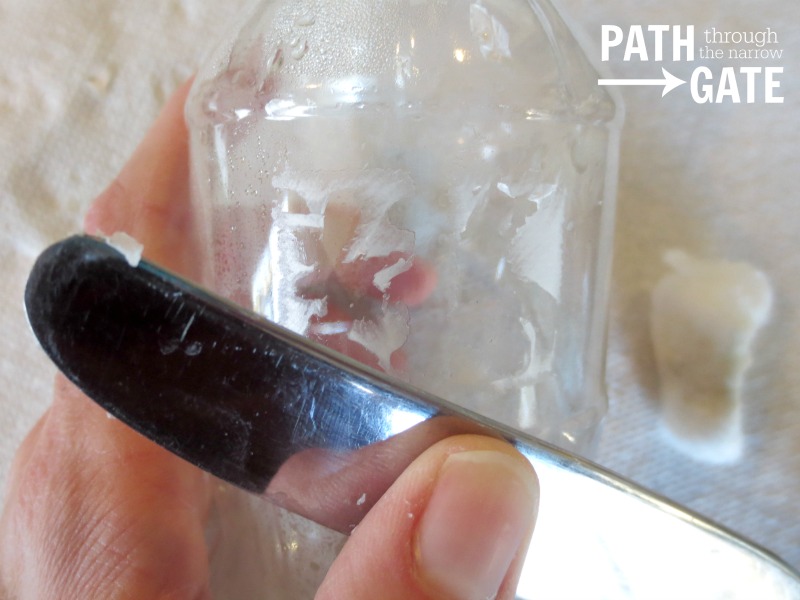
2. Cut the Label off of the soda bottle. If a remnant of white label is left glued to the bottle, rub a little Goo Gone onto the bottle and carefully scrape at the label with your fingernail or with the dull side of a butter knife until it comes off. If you do not have any Goo Gone, you could try a little bit of cooking oil.
3. Wash the outside of your bottle with dish soap to remove the oil. Thoroughly rinse the inside of your bottle. Set aside to dry.
4. Pour 1 1/2 cups of water into a small saucepan and heat to barely boiling.
5. While your water is heating, use a 1/3 cup to measure 1/3 cup and 1/6 cup (half of the 1/3 cup) of Karo Syrup into the mixing bowl. Note: I initially used an off brand of light corn syrup (which was also a bit old.) The bottle made with the off brand corn syrup settles noticeably faster than the bottles made with Karo Syrup.
6. Measure and pour 2 TBSP of glitter on top of your Karo Syrup in your mixing bowl. Add any sequins that you desire.
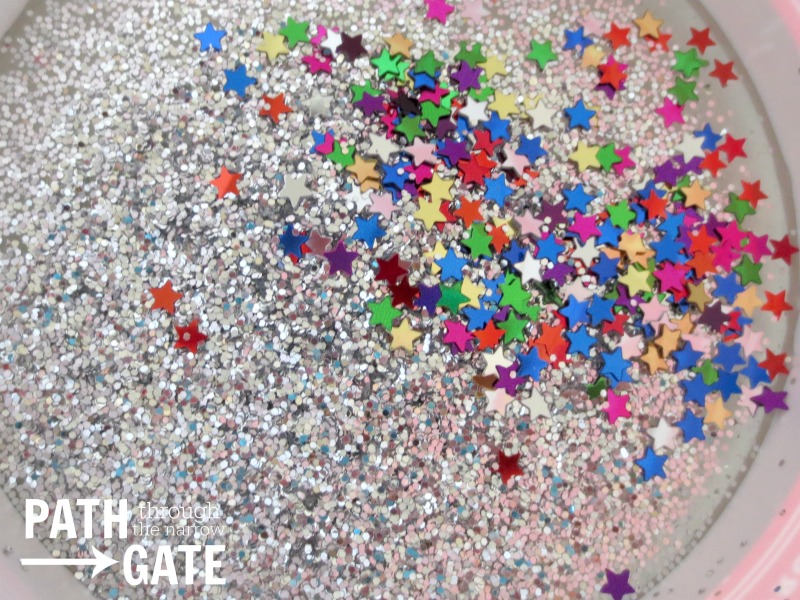
7. If desired, add one drop of Gel Food Coloring to your Karo Syrup/Glitter mixture.
8. When your water is warm to the just boiling point, carefully add about 1/2 of the water to your mixing bowl. Ignore the hot glitter fumes. Whisk it together with the glitter and the Karo Syrup until the Karo Syrup is completely dissolved in the water.
9. Place your empty bottle in your sink. (This is messy!) Put a funnel on top of it. Whisk your glitter mixture one more time, then quickly pour it into your funnel, trying to get most of the glitter to follow the liquid into the bottle. If your bottle is not completely full, use some additional hot water from your sauce pan to fill the bottle. Try to “clean” the sides of your funnel at the same time with the hot water so that more glitter goes into your bottle.
10. Place the cap on your bottle and gently shake your bottle back and forth to finish mixing it. Remove the cap and set it aside for about an hour to let the liquid cool off. Do not glue the cap on at this time because the bottle sides may pull in slightly as the liquid cools.
11. Once the liquid is cool, check to make sure that the liquid still comes to the top of the bottle. If your bottle is not full to the top, add some warm tap water until it is. Make sure that the inside of the cap and the outside top of the bottle is free of glitter and water. Place a bead of super glue around the inside of the cap and screw it tightly into place. You REALLY don’t want this bottle to ever come open again. Give the glue time to thoroughly dry.
12. After the glue has dried, try removing the cap. If it is firmly sealed into place, your project is finished! Rotate the bottle slowly from end to end to watch the glitter swirl.
As with all Church Quiet Bags, this Glitter Bottle is meant to be used with ADULT SUPERVISION ONLY. Not only would it be a disaster if this bottle should be used inappropriately and spring a leak, the glitter could potentially be poisonous if ingested.
This project was inspired by the Calm Down Jars at Preschool Inspirations. Be sure to check out their tutorial, which includes 6 different recipes to make these glitter bottles!

