Making a “God’s Gifts Christmas Box” is an excellent way to remind your kids, grandkids, or Sunday School class of the true meaning of Christmas – God sent His precious Son into an evil world to rescue us from our own sins.
Each adorable God’s Gifts Christmas Box includes six different “mini” pages of Bible activities focusing on God’s gifts to us. The gift tag can be colored or sprinkled with glitter and features a “To” line which can be filled out with your child’s name.
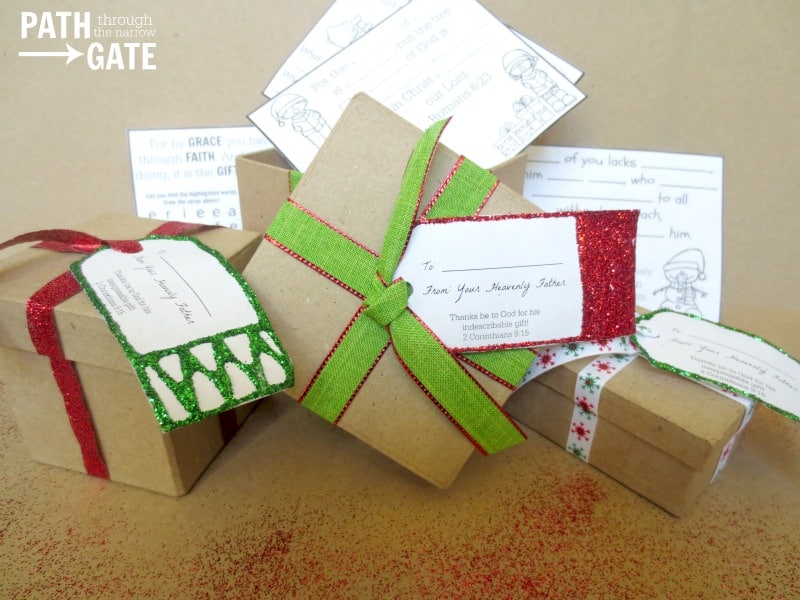
Ready to get started on this adorable and meaningful Christmas craft?
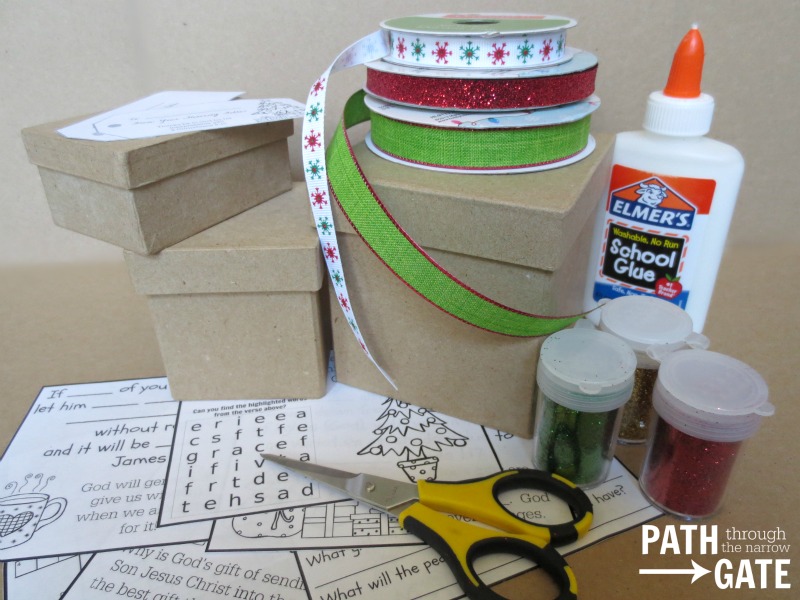
God’s Gifts Christmas Box Materials:
Small cardboard boxes (can be purchased at local crafts store)
Christmas ribbon
Glitter
Glue
Tape
Scissors
Scrap Paper (for catching the glitter mess)
God’s Gifts Christmas Box Printables (Includes 2 tags and 6 mini-book pages, available in NIV, KJV, and ESV Bible versions. Scroll down to print.)
God’s Gifts Christmas Box Directions:
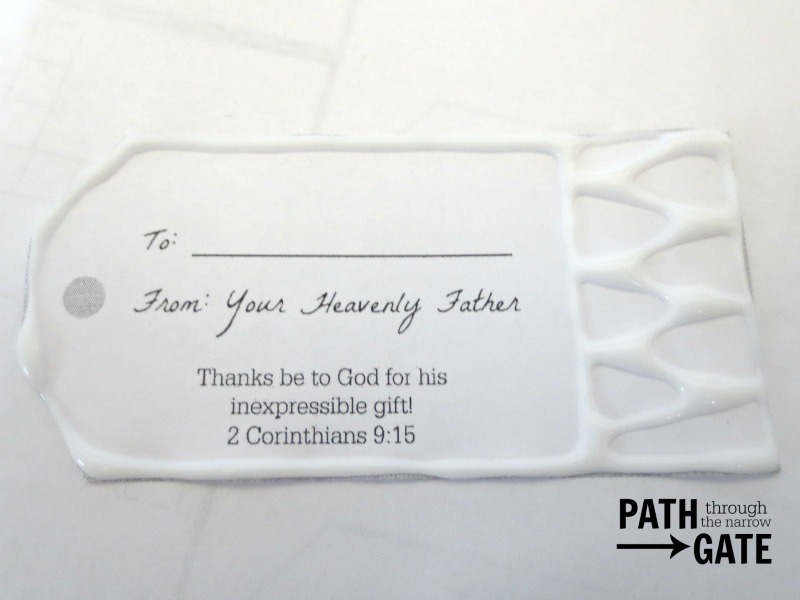
1. Cut out the gift tag and color it or decorate it with glitter as desired. If using glitter, place a scrap paper under the tag. Older children can “write” glue lines onto the tag as desired. Younger children may do better with a small paintbrush to “paint” the glue on.
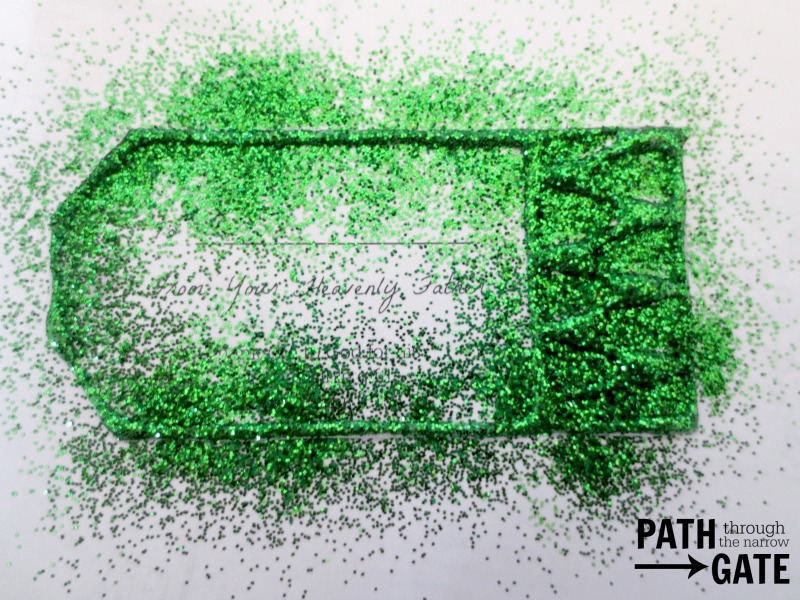
2. Sprinkle glitter over the gift tag. Carefully lift it from the center (non-gluey) part and shake off the excess glitter. Place it in a safe place to dry. Lift the scrap paper up and carefully shake the excess glitter back into your glitter jar.
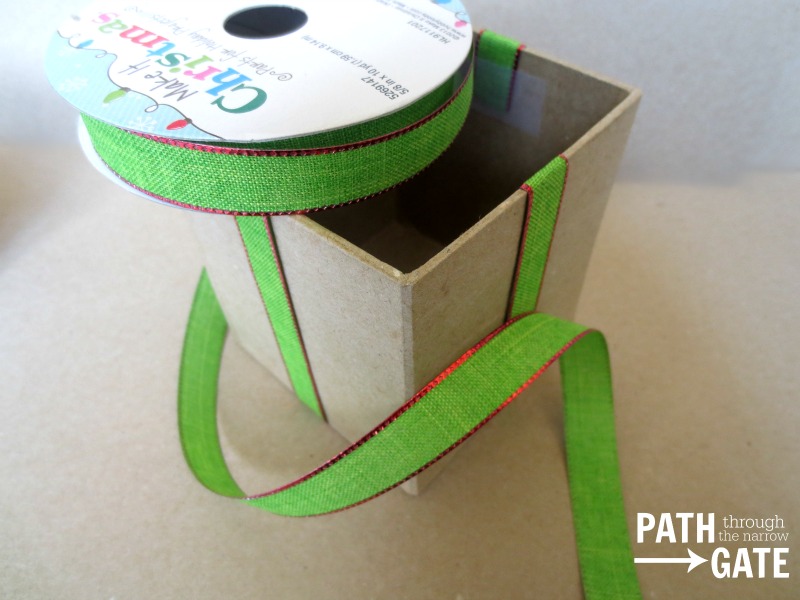
3. While the glitter is drying, cut the ribbon into two pieces long enough to wrap around the box vertically, across the bottom, and up the other side, leaving an inch on each side to overlap inside the box. Secure the overlapped ribbon inside the box with a piece of tape. Repeat this same process on the lid of the box with two more pieces of ribbon. The ribbon is not wrapped around the box and lid together as in a traditional gift, because the lid should be able to come on and off the box easily.
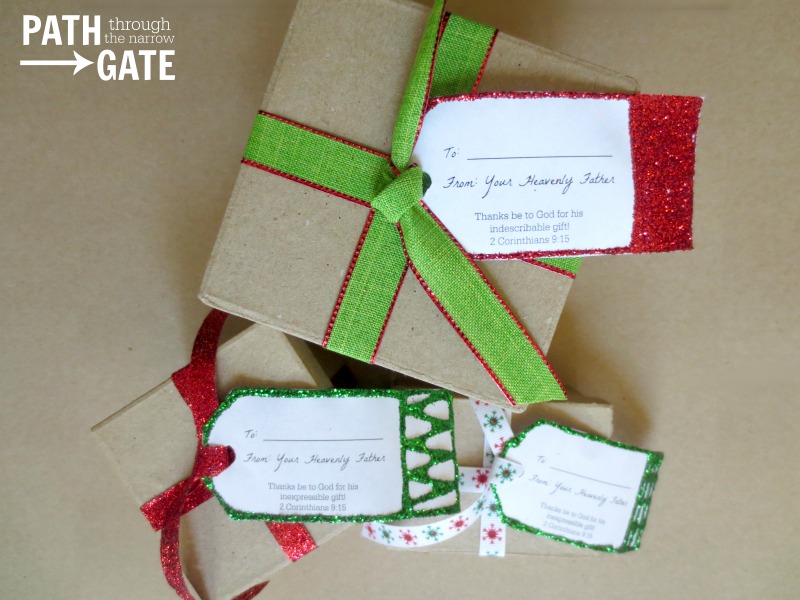
4. Once the tag is dry, hole punch through the circle and insert a shorter piece of ribbon through the hole. Tie it gently into a knot. Tape or glue the gift tag to the box. Don’t forget to have the child write his name on the tag, if desired.
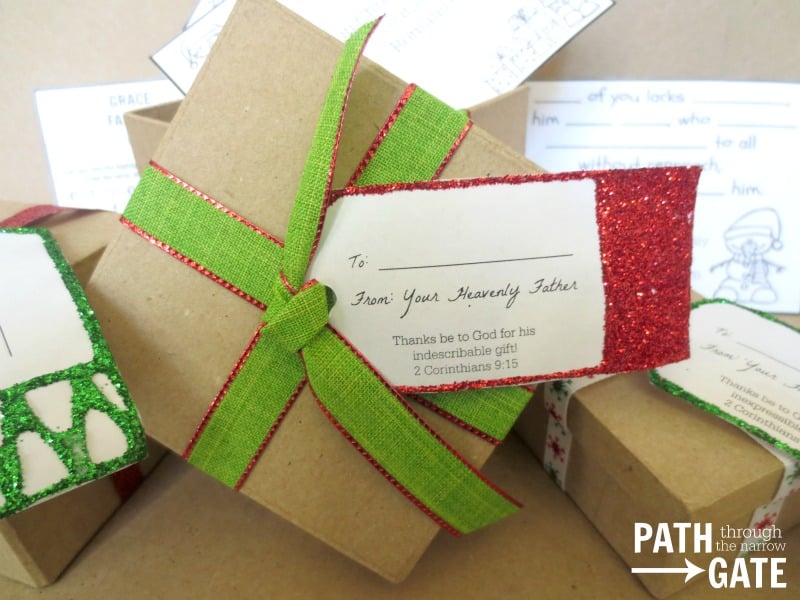
5. Your box is finished! Cut the mini book pages apart and encourage your child to do the activities. When not in use, the mini book pages can be rolled or folded to fit inside the box.
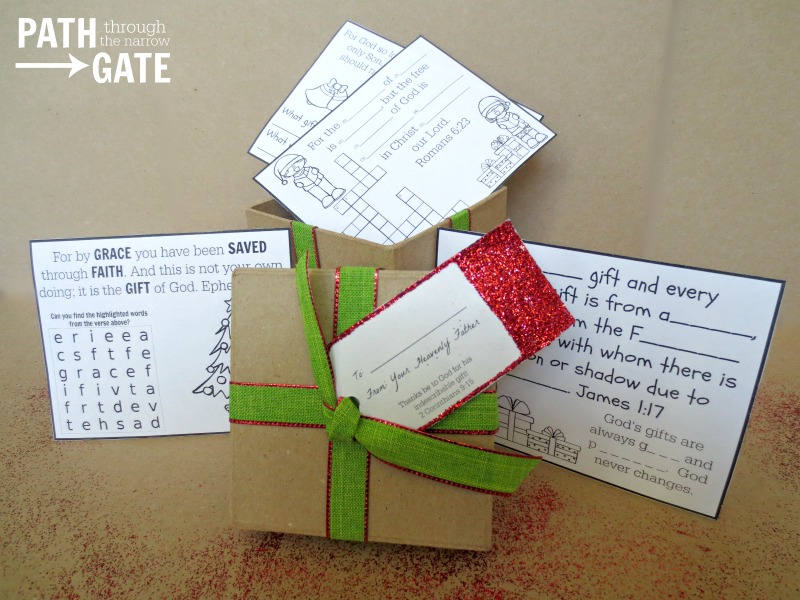
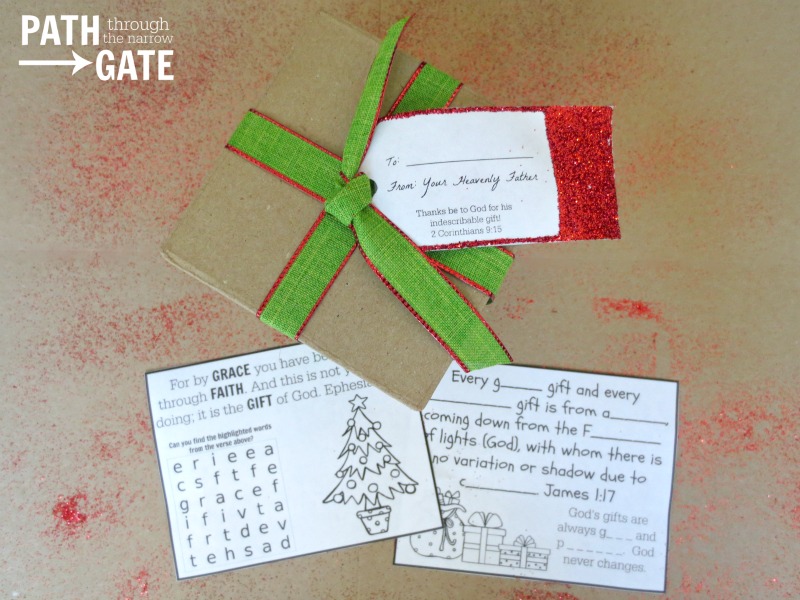
Here is a larger example of what the mini book pages look like:
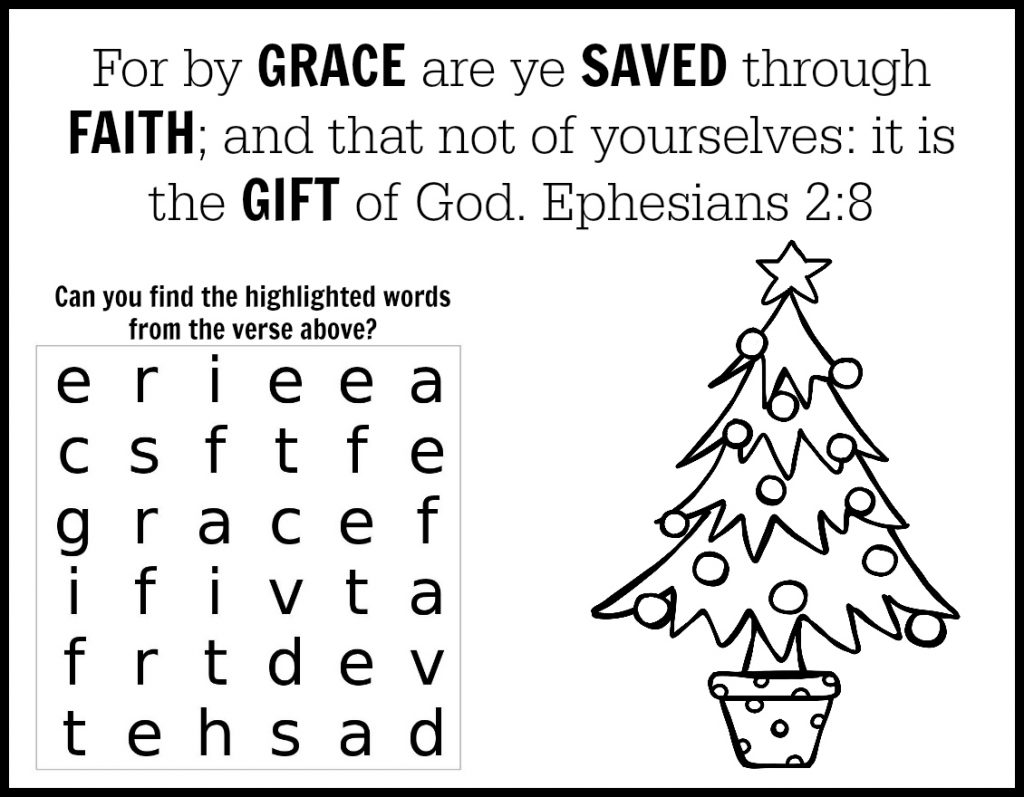
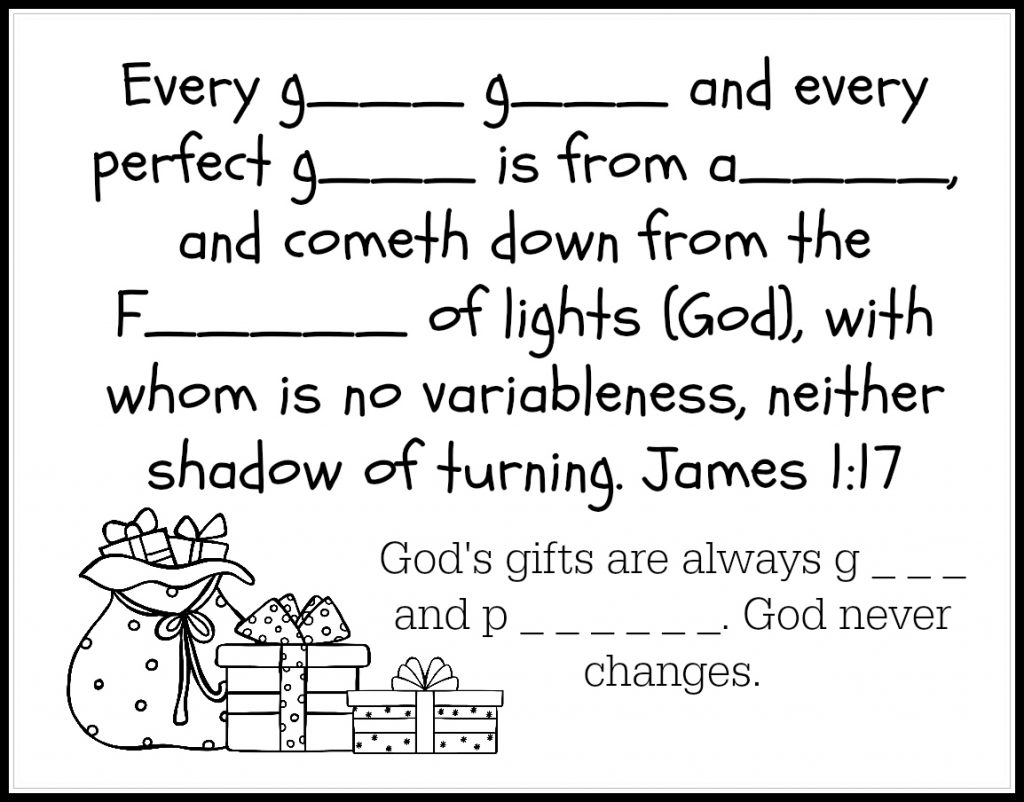
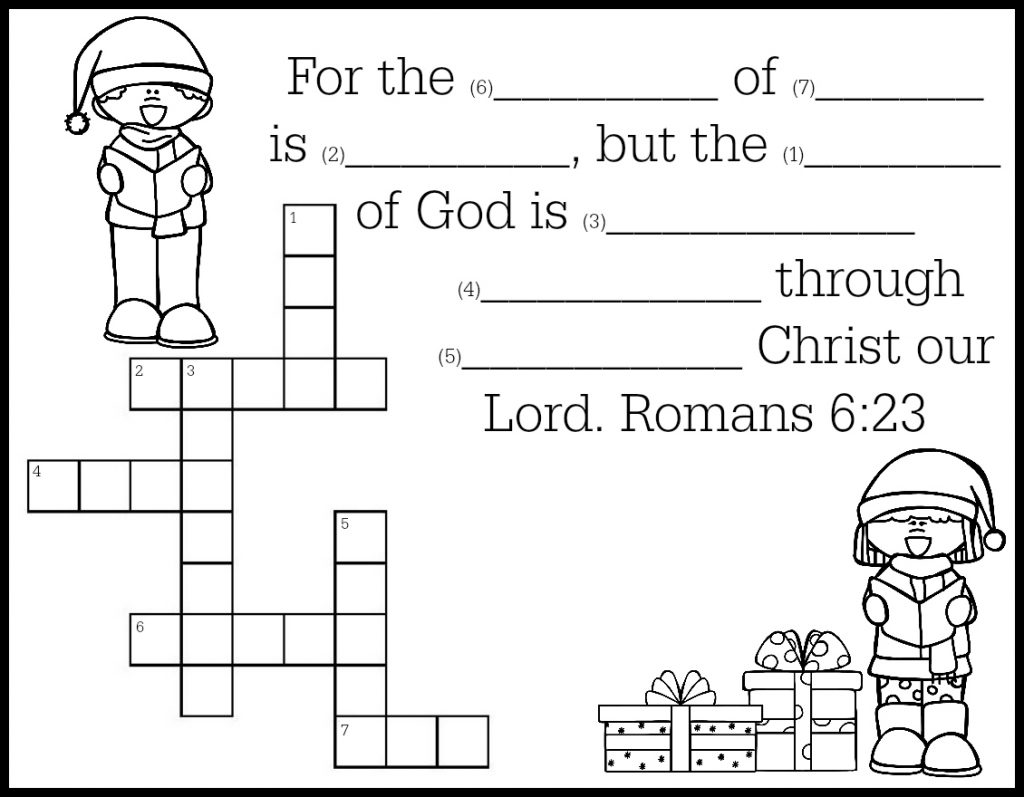
Print the God’s Gifts Mini Book Pages in ESV
Print the God’s Gifts Mini Book Pages in NIV
Print the God’s Gifts Mini Book Pages in KJV
Feel free to make as many copies of these printables as needed for your own personal use or for use in a class room. You may not sell these files. Thank you!


Very interesting and sweet craft boxes ideas. Thanks for sharing your thoughts with us.
Anna, thank you for your sweet craft ideas that truly a blessing to us as a teacher or a sunday school leaders. Your creation and thoughtfulness help enlighten our ministry in our local church. I send my appreciation from BC Canada.
We have a cervical event in September, we will have booth of games, crafts and garage sales…. once a year, in summer time, we want to connect with our neighbors. I find your figures in four different themes about Bible truth and meaning, so our kids and neighbors can play with it, talk with it and praise with it, and grow with it.
Thank you so much!I thank God for you and your willingness to serve others with your gift.
Our Sunday school class is small but full of the most awesome, REAL children. 4 out of 5, just asked Jesus to save them. As their teacher, I’m always searching for new ways to share the truth of God’s love with them. I stumbled upon your website through a Pinterest search. I want everything you have to offer. Thank you for being so obedient to God and sharing your wonderful gift with us.
Thank you, Anna Joy for creating this beautiful “gift” to teach our children our God’s gift to each of us! You put so much thought & care into each activity, God bless you!!