
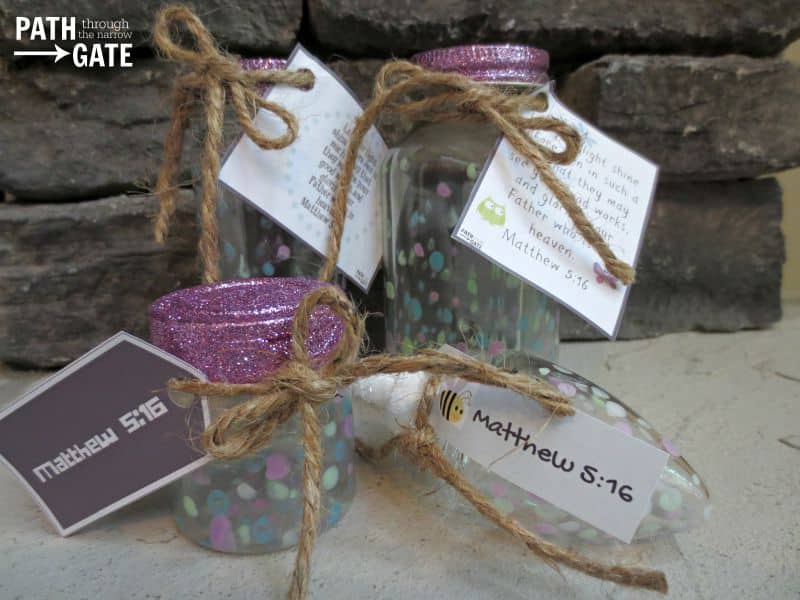
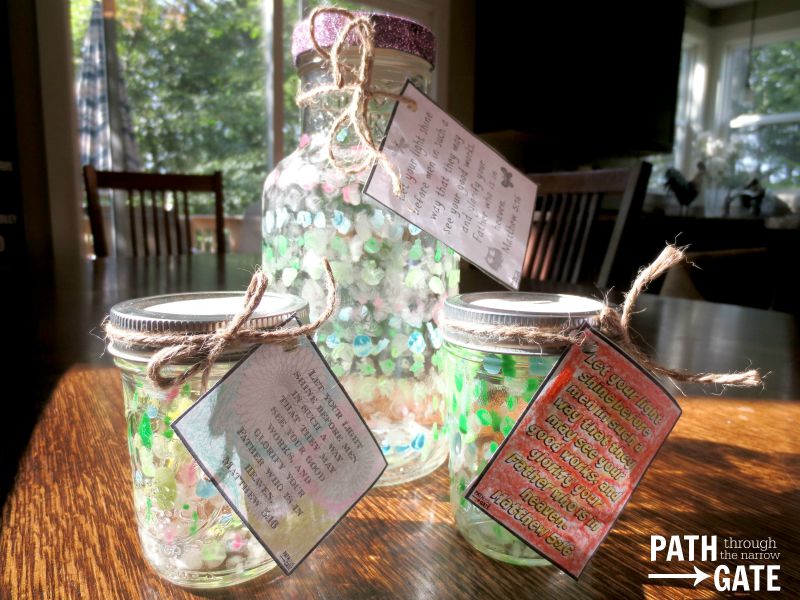
“Let Your Light Shine” Glow-In-The-Dark Light Jars are a fun-to-make reminder that, as Christians, we need to be actively involved in good works in order bring glory to our heavenly Father.
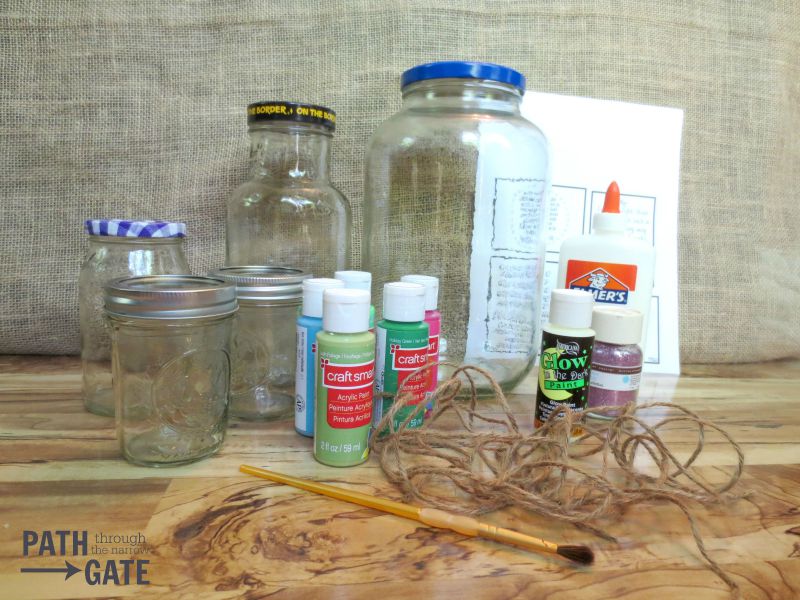
Materials:
Clean glass jars, with the labels removed. Large pickle jars or mason (canning) jars work well, but I especially liked using small spice jars and even an empty glass plug-in scent bulb. If you are making this with very young children, clear plastic spice containers also work well and don’t have the risk of broken glass if they get dropped.
Glow in the Dark Paint in several colors (if you can find it) or Glow in the Dark Paint plus a couple of other regular paint colors to mix (See Note on Paint below)
Matthew 5:16 Printable Labels – Small Jars or Large Jars
Paint Brushes
Twine or Ribbon
Glue
Glitter
Coloring crayons
Scissors
Note on paint: I originally did this project with the Glow in the Dark paint pictured above, found in the paint aisle of most craft stores. I was not extremely impressed with the results after I did the project, so I tried again the next day with “Puffy” fabric paint as pictured below.
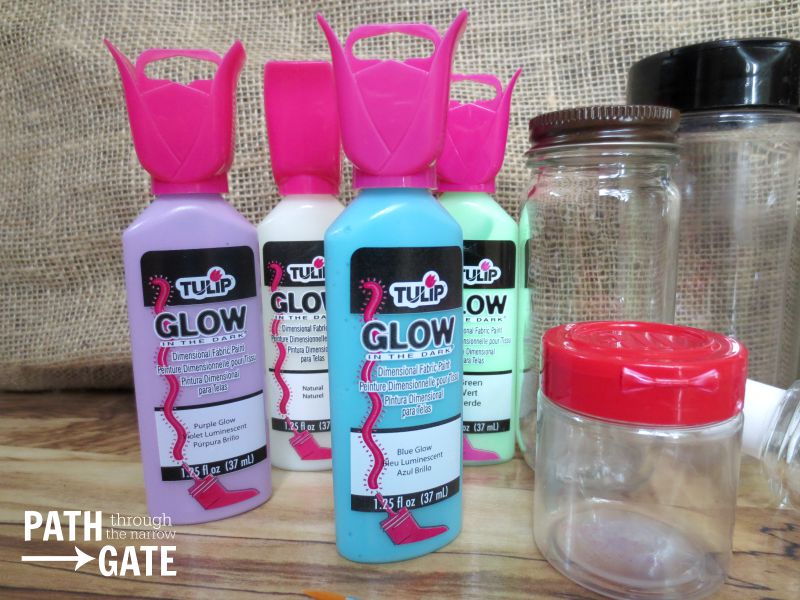
The Puffy fabric paint gives better “blobs” on the glass rather than the smears that were achieved with the thinner paint. However, when I compared them on the second day, both were equally bright. Lesson learned? Even though the paint label says that they will glow after being exposed to light for a few minutes, I believe they glow brighter a day or two after making them. Mine took that long to really dry and absorb the light.
Directions:
(Note: Comet can sometimes be useful in scrubbing off the sticky glue left on a glass jar from the label. Get the jar wet, sprinkle some comet on the glue, then gently scrub with a rag until the glue comes off. Goo Gone also works well for plastic and glass.)
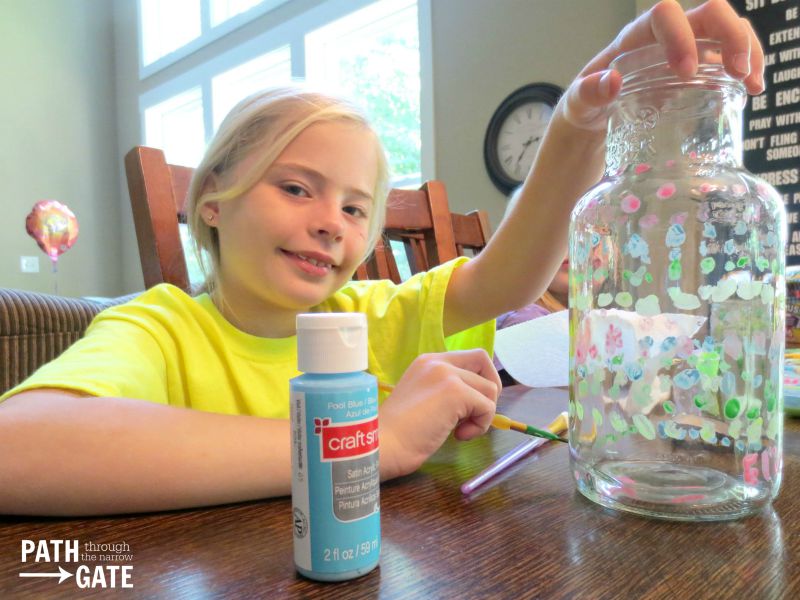
1. Cover your work surface with paper. Pre-mixed Glow-In-The-Dark paint in different colors will give you the best results. However, if you (like me) couldn’t find pre-mixed glow-in-the-dark colors, then you can mix your own. Mix the Glow-In-The-Dark paint with the colors desired, using a 50-50 ratio of colored paint to glow-in-the-dark paint. Lighter colors will glow better than dark colors.
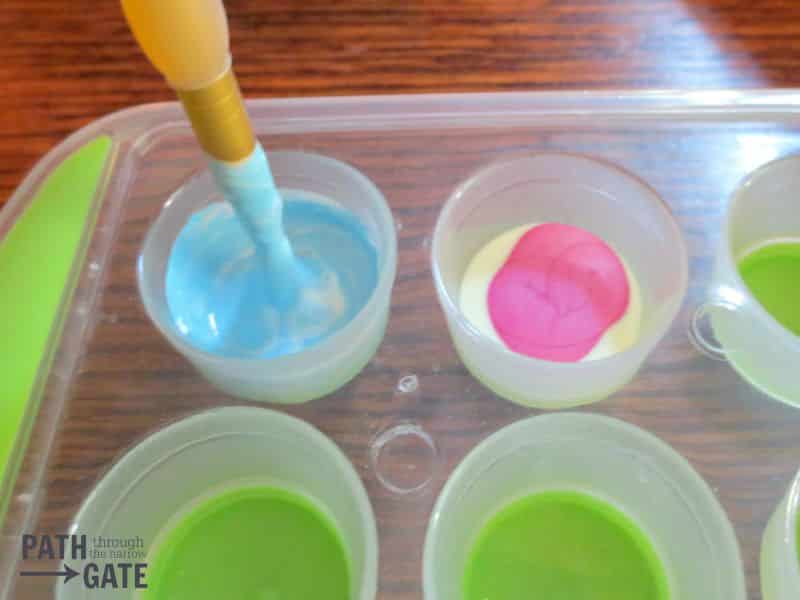
If you are using the fabric paints, don’t mix them! Just squirt a blob of paint on a scrap paper, and then dip your brush into the paint.
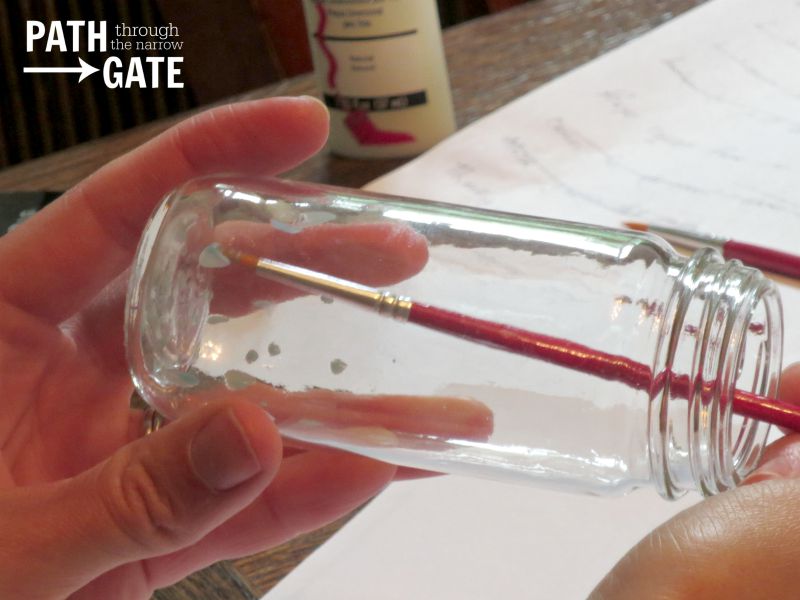
2. Using a long paint brush, dab spots of paint on the jar. If your jar is small or has a large mouth, it works well to dab paint spots onto the inside of the jar. That way, the paint will not smear on the outside as the you are painting it. If your jar has a small mouth, you can paint the spots on the outside of the jar. Don’t be afraid to use good sized “globs” of paint as the thicker the paint, the better it will glow.
3. If you are using colors that you mixed with the Glow-In-The-Dark paint, use a good amount of the unmixed glow-in-the-dark paint as well, as the unmixed paint will shine the brightest.
4. If desired, you can paint the lids with the glow-in-the-dark paint and sprinkle with a light-colored glitter, or paint it with glue and sprinkle with a dark colored glitter. The glow-in-the-dark paint will not shine well through darkly colored glitter.
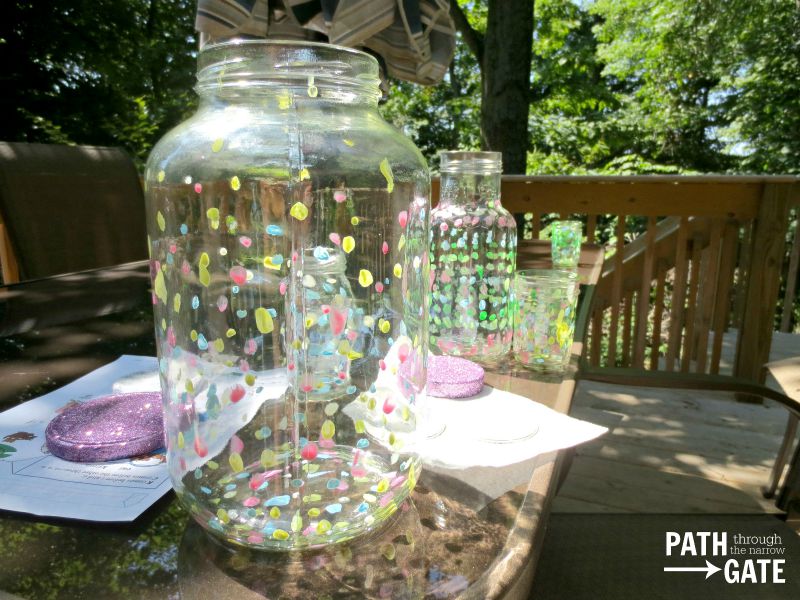
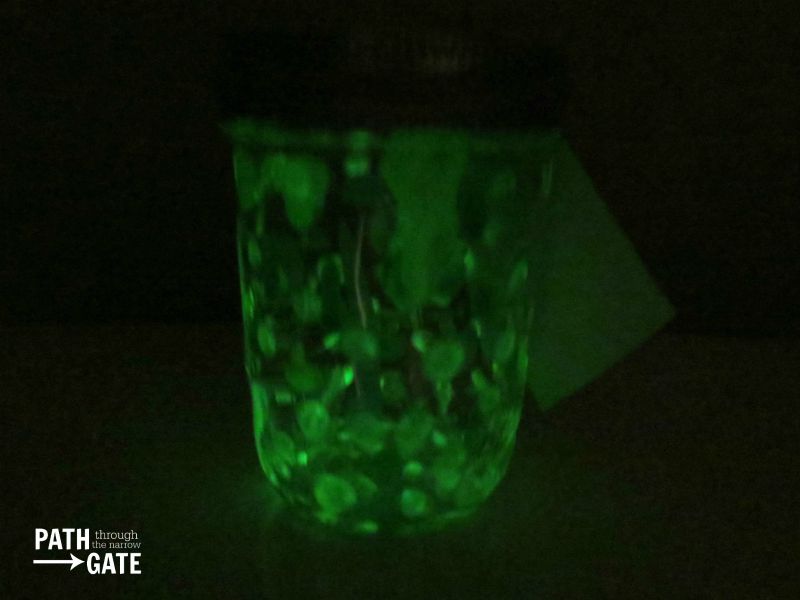
5. Let the jars dry thoroughly outside where they can soak up the sun’s light. This can also be used as an object lesson. Our “spiritual” lights only shine when we soak up light from our Heavenly Father through being in His Word and in prayer. When we do shine for Him, we are reflecting back the light that He has given us. If we were to let these jars dry in a dark closet away from the light, they would not glow.
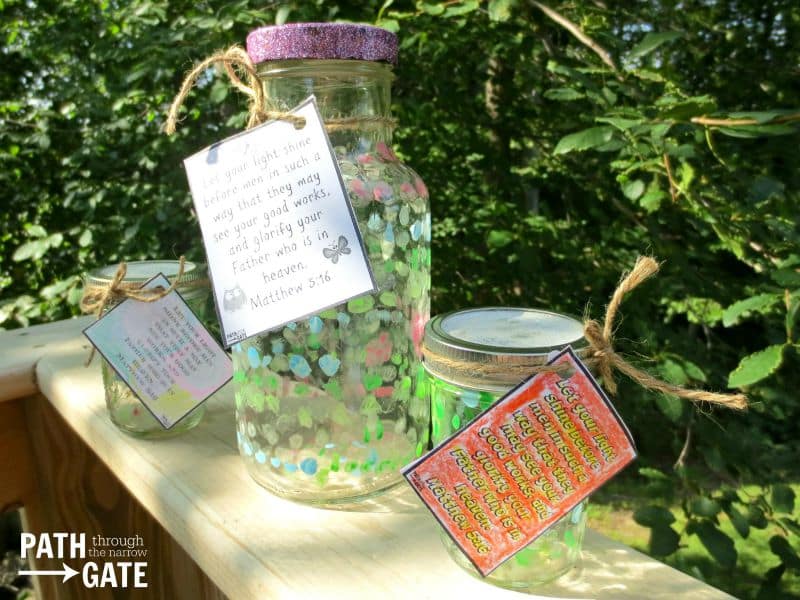
6. While the jars are drying, color and cut out the labels.
7. When the jars are dry, tie the labels onto the jars with the ribbon or twine.
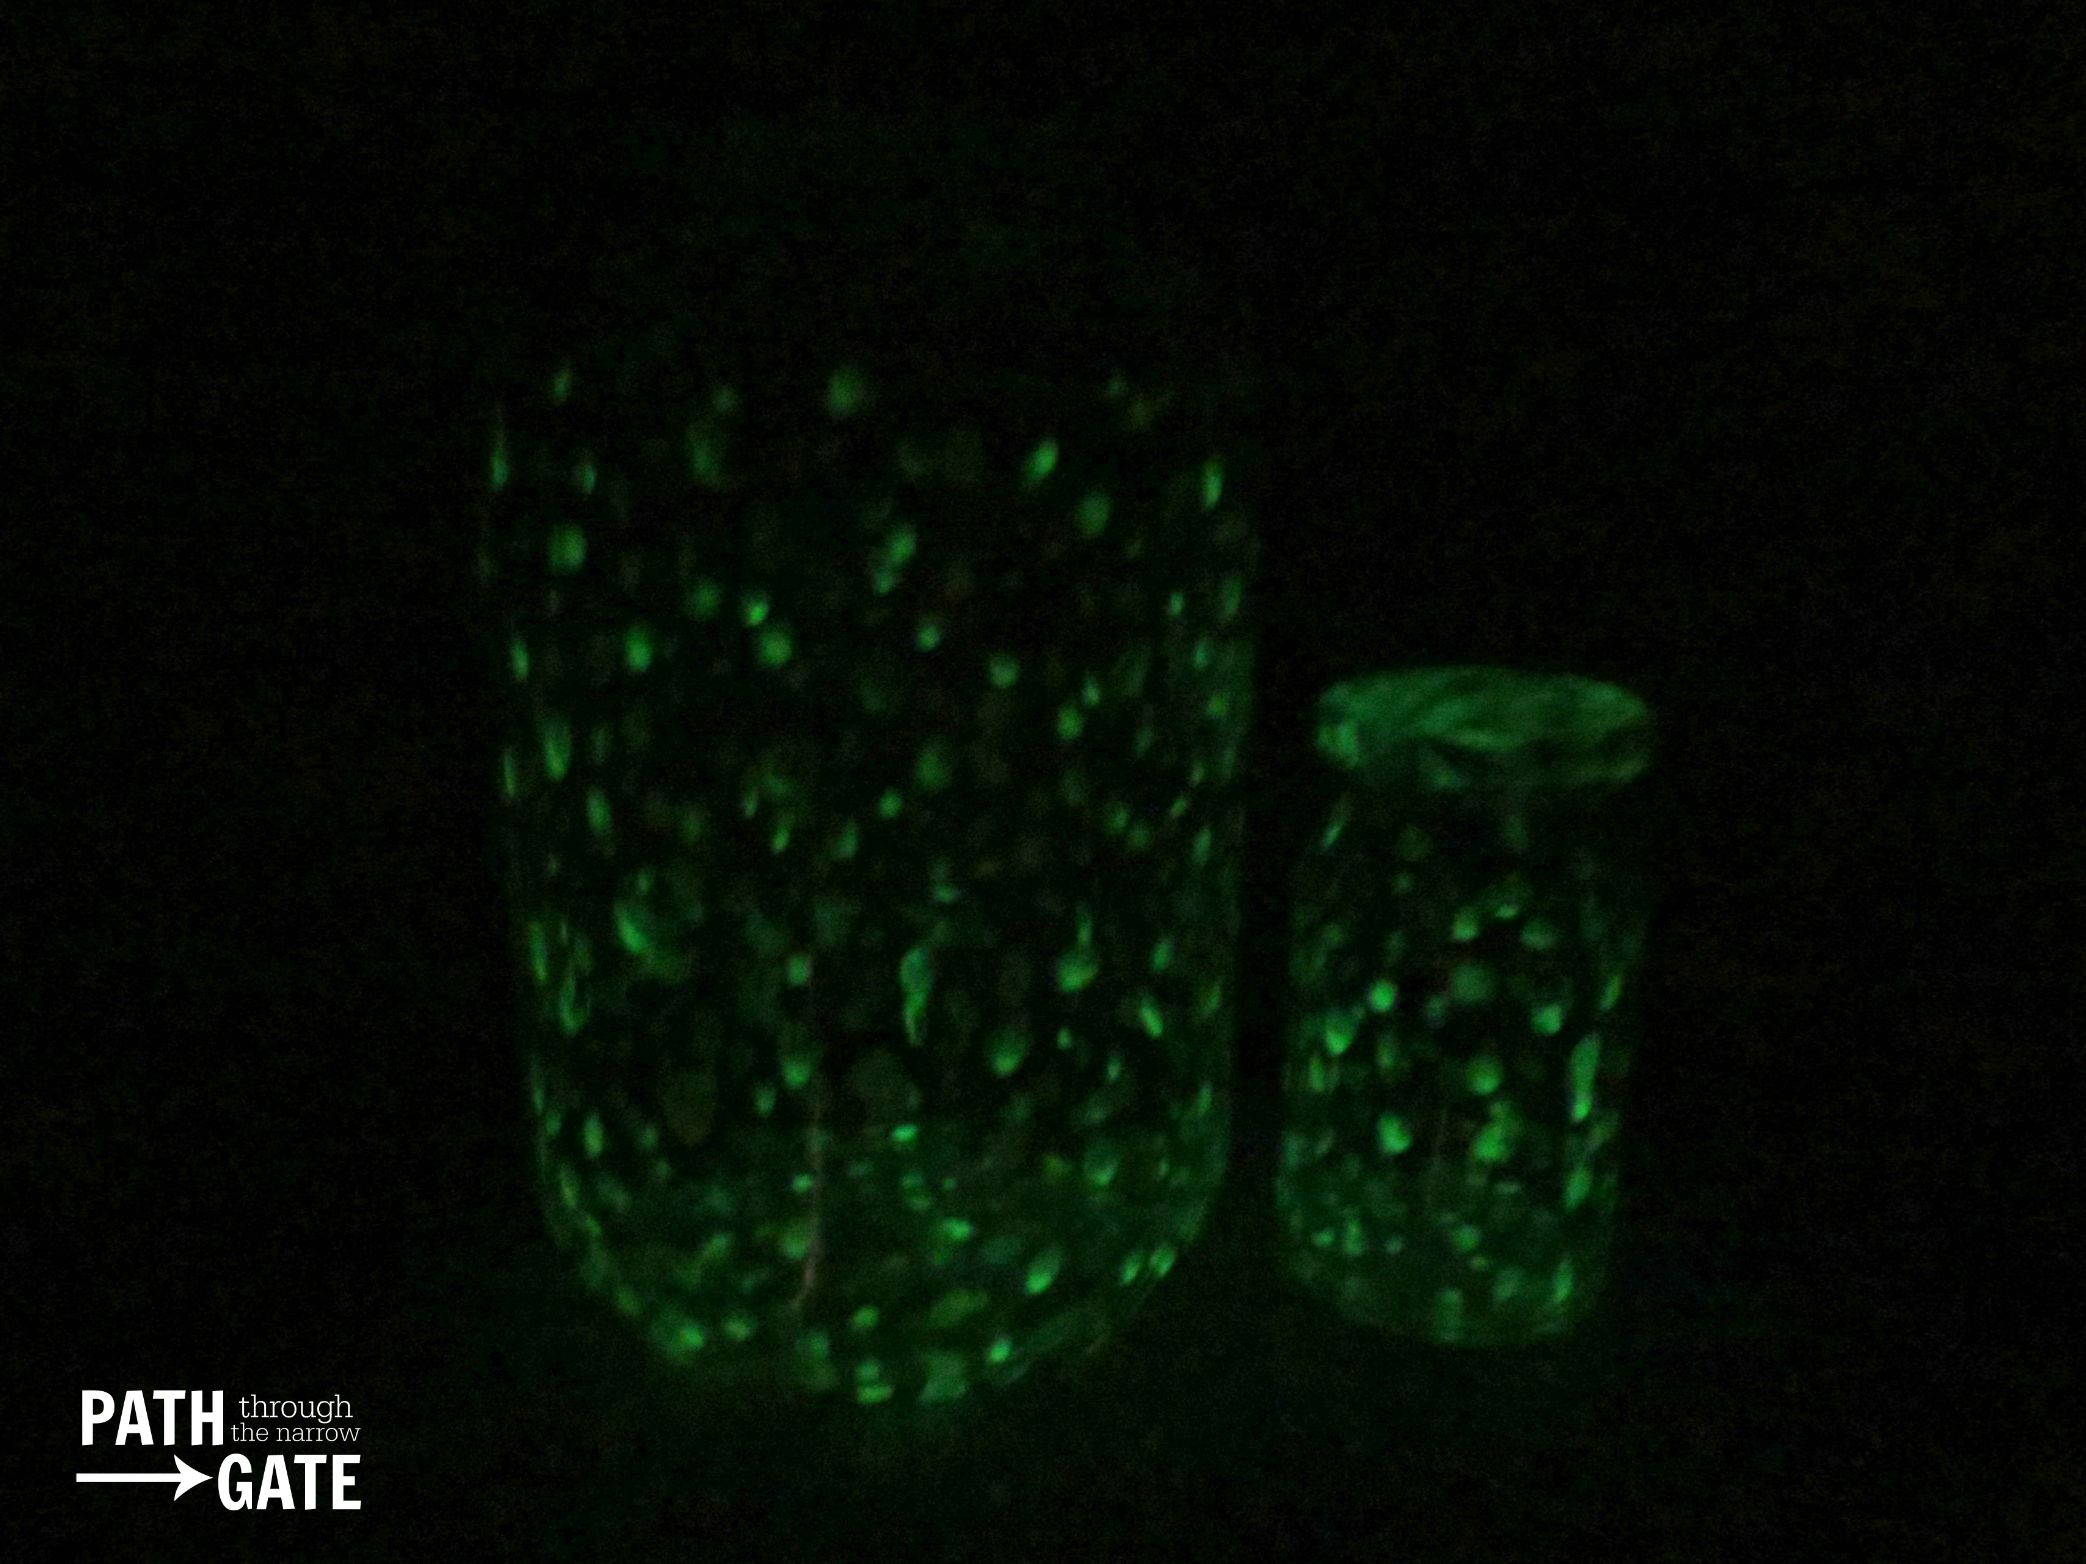
8. Finally, take your jar into a dark place and observe the “glow”.
This project is inspired by DIY Mason Jar Fairy Lights from DIYJOY blog. There is even a video tutorial there, so be sure and check it out!
If you make glow-in-the-dark light jars or have any suggestions for this project, I would love to hear about it! Please scroll down to comment.
More Posts from Path Through the Narrow Gate:
Thanks for this! We are doing it for the Princess Party at church this year as our theme is “Let Your Light Shine”! 🙂 Looking for washable paints since the girls will be all dressed up and don’t want to get paint on pretty dresses. But I love the printable labels so they can color them too! Thanks!!
Great craft idea. I found light bulb jars at Hobby Lobby that I think will be great for this craft.
I love your take on this project! I have seen this done with glow sticks, but heard they did not continue to glow. I love that this uses the glow paint.I will use it with the children at church! Thanks for the spiritual application as well!
Thanks, Linda. I hope that the children at your church enjoy the project and learn from it. May God bless you as you teach these precious little ones.
What a great idea! I’m sharing this in my newsletter this month. Thanks for your creative ideas!
Thanks Anne Marie! I appreciate it. May God bless you!