
Night time fears, bad dreams, loneliness, worry about the next day, sickness, even changing hormones – There are lots of reasons kids have trouble sleeping at night.
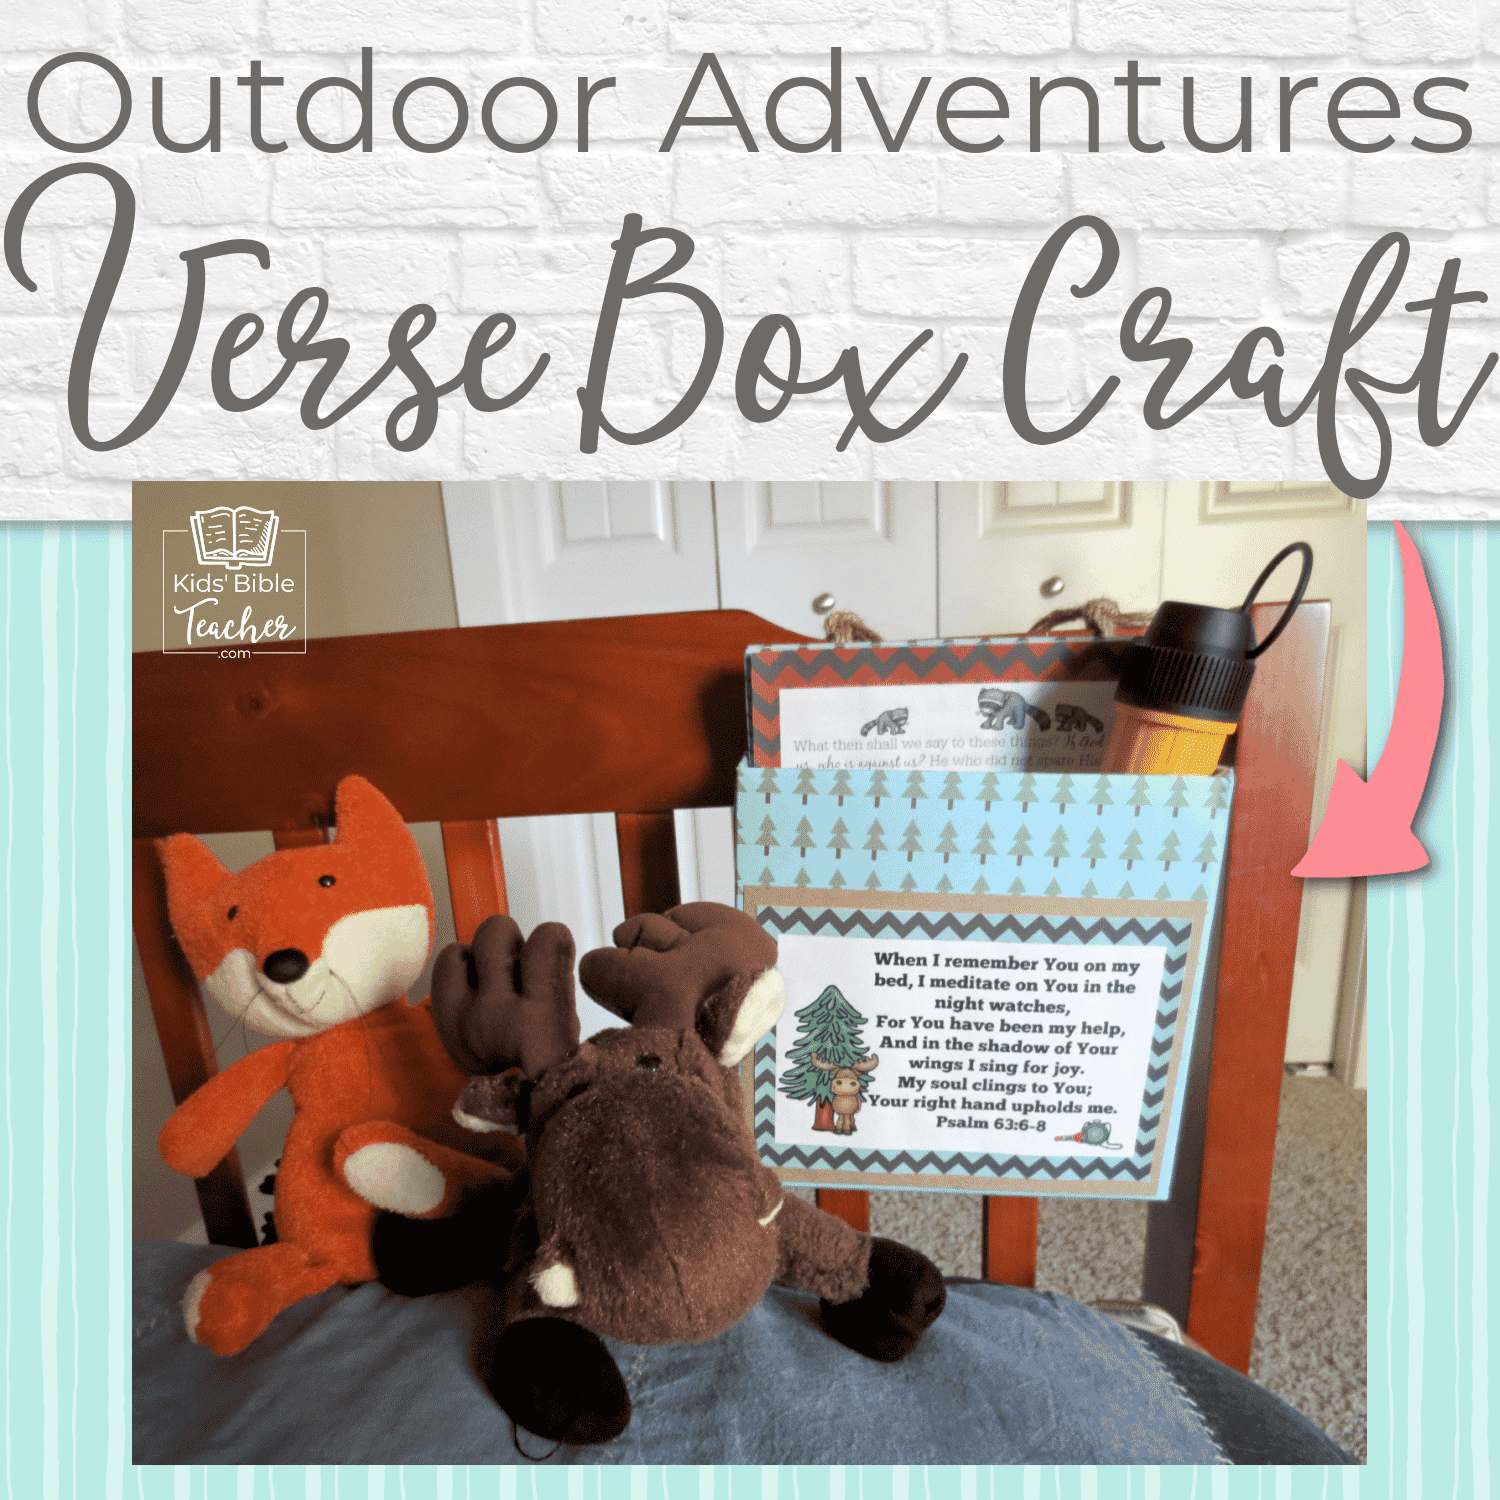
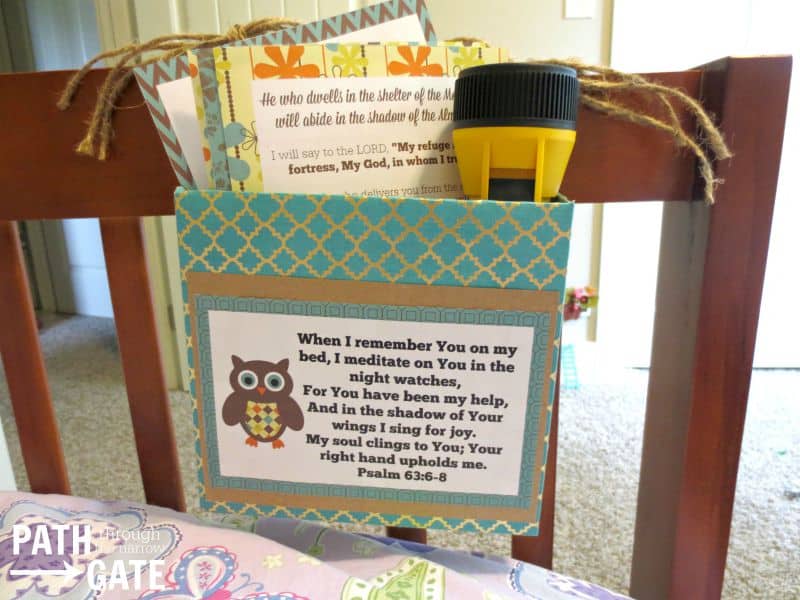
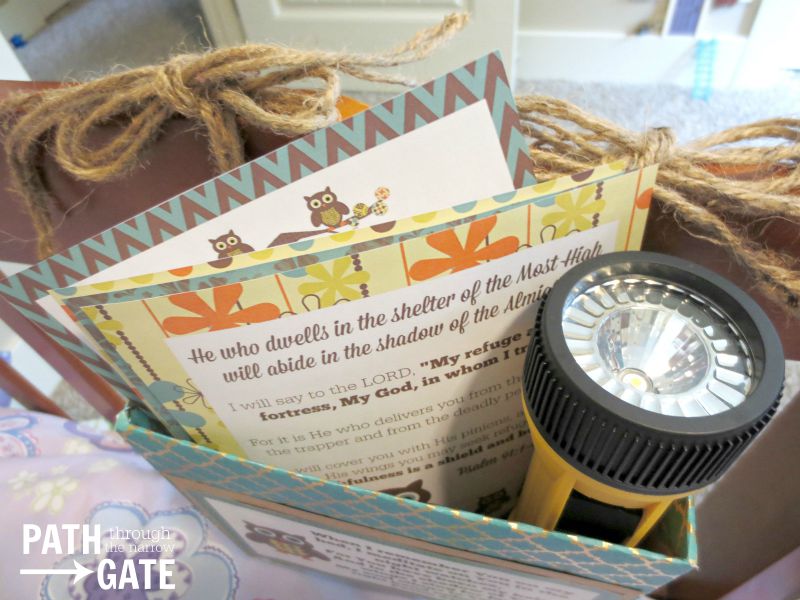
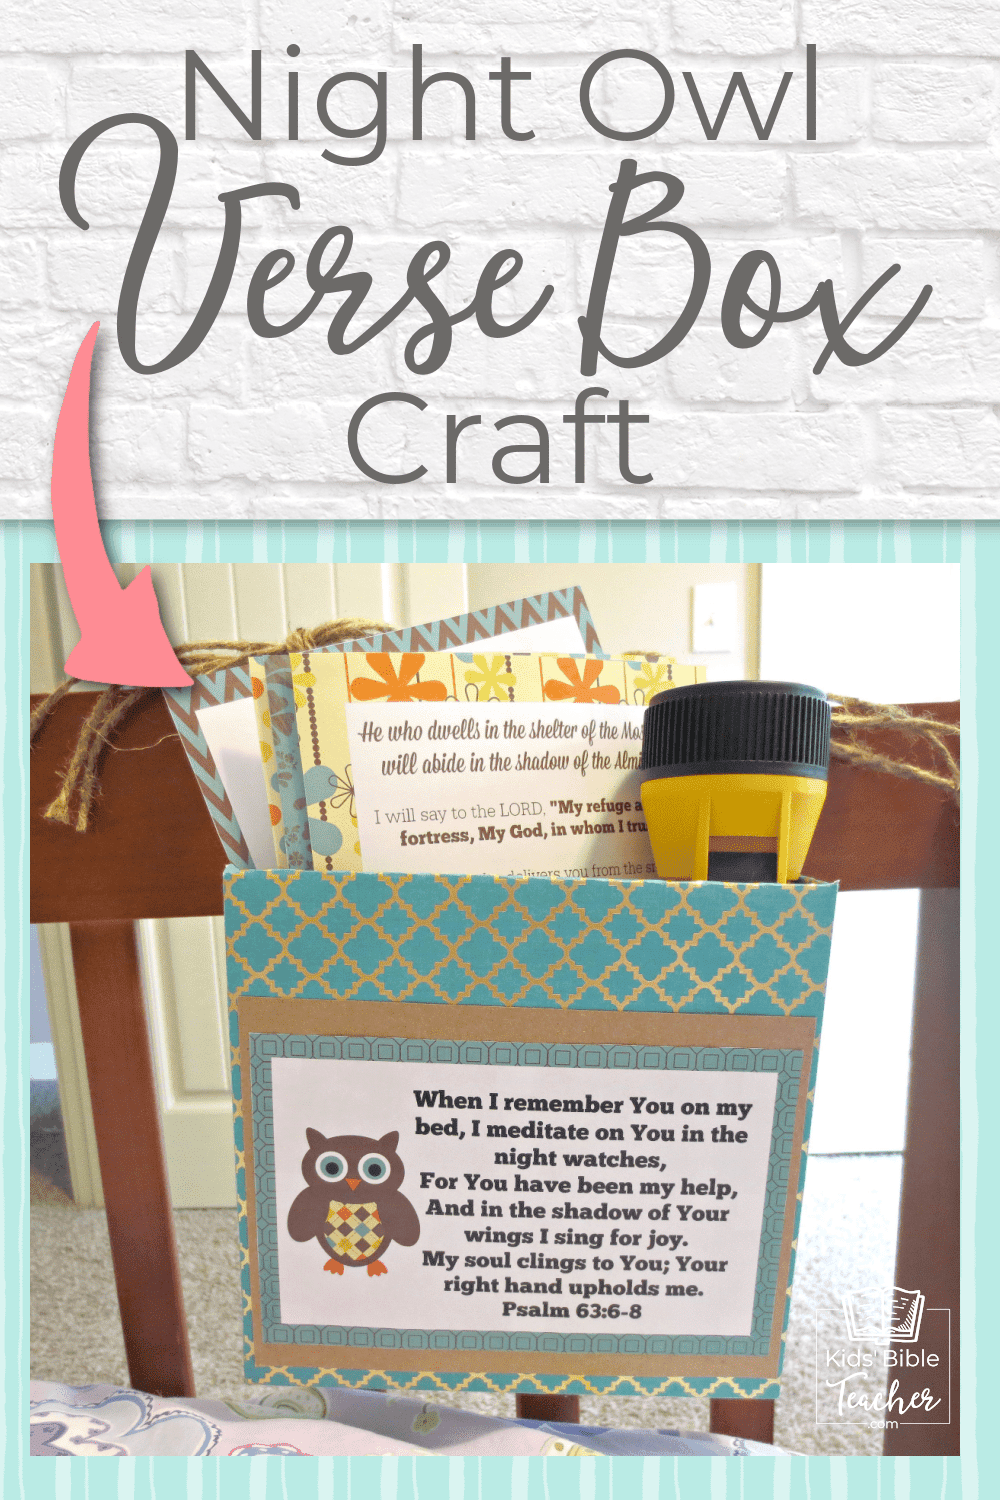
The Night Owl Bible Meditation Box and the Outdoor Adventure Bible Meditation Box are ready to offer comfort, hope, and strength for just those times. Filled with a flashlight and printable verses of peace and comfort, these Bible meditation boxes are perfect to combat the night time fears and loneliness that can occasionally consume us all. Encourage your children to turn to God in the middle of the night when they are alone and all is dark with these adorable boxes. They are also perfect to have on hand for a quick bedtime Bible reading before lights out.
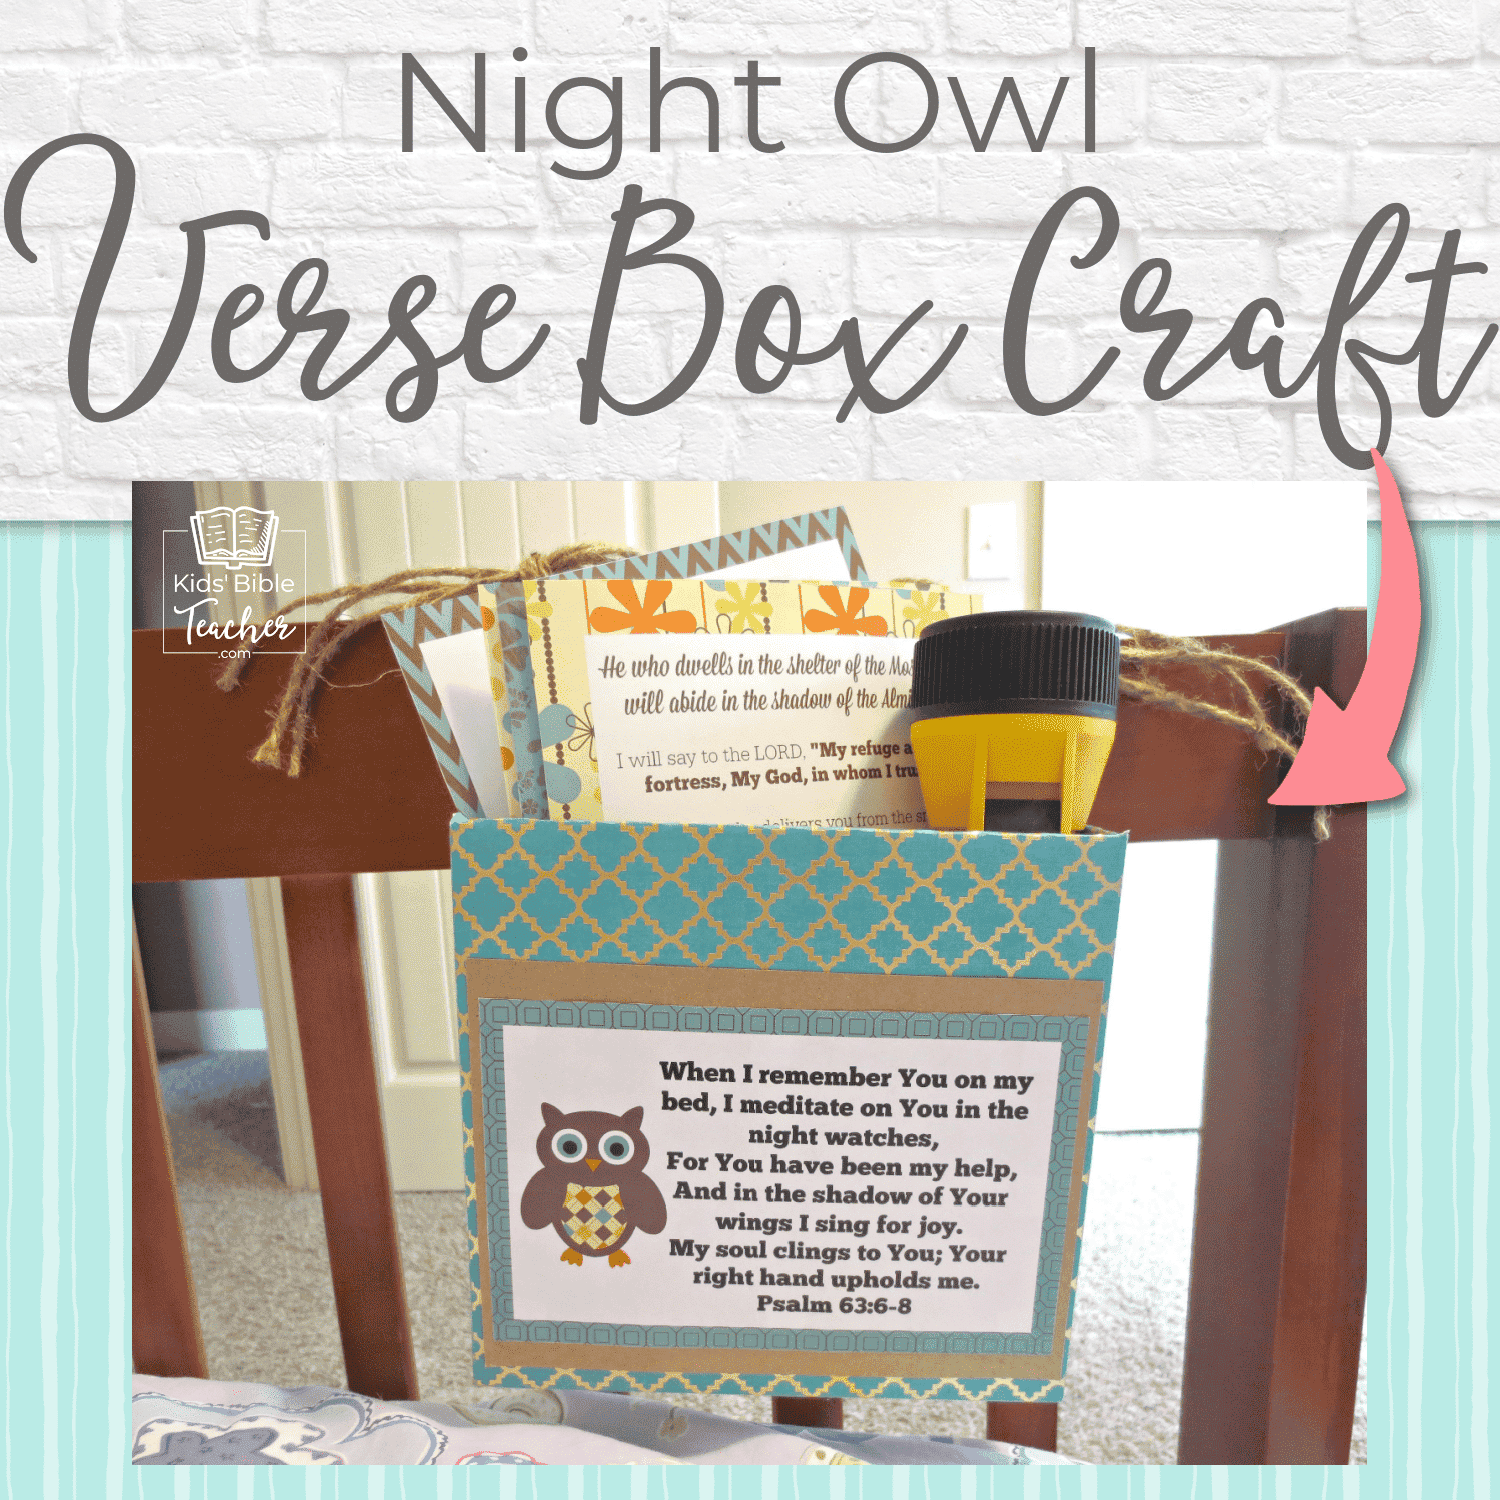
This versatile box hangs on bed railings. My children get a lot of comfort from knowing that these boxes are there and can be used if they wake up in the middle of the night. My kids are welcome to turn on the flashlight and read the verses until they feel sleepy again. Actually, I really want a box by my bedside for the times when I can’t sleep!
Please note: If you have young children who might strangle themselves with a long piece of twine or ribbon, or who might dismantle the flashlight and suck on the batteries, or in any other way injure themselves with this project, please do not leave them alone with this box. Because of the cutting of cardboard, this project is for adults.
Print the Night Owl Bible Meditations Pages
Print the Outdoor Adventures Bible Meditations Pages
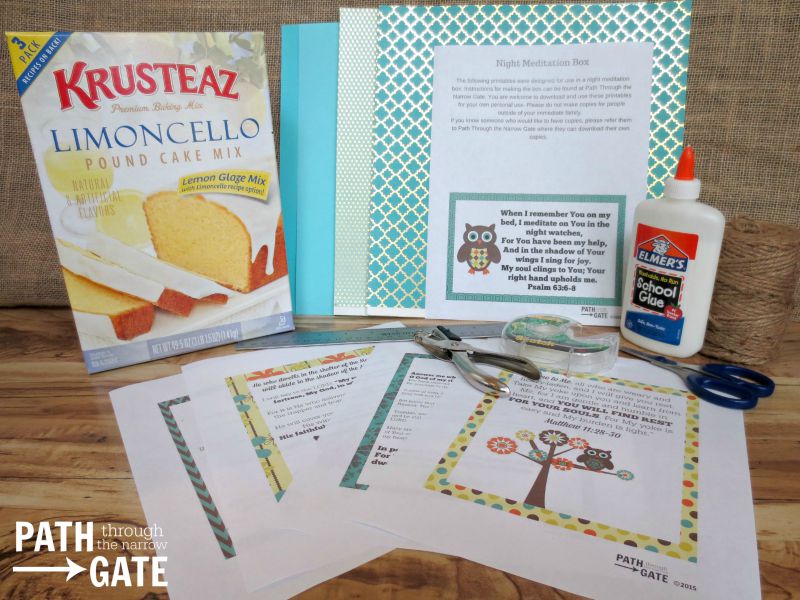
Materials:
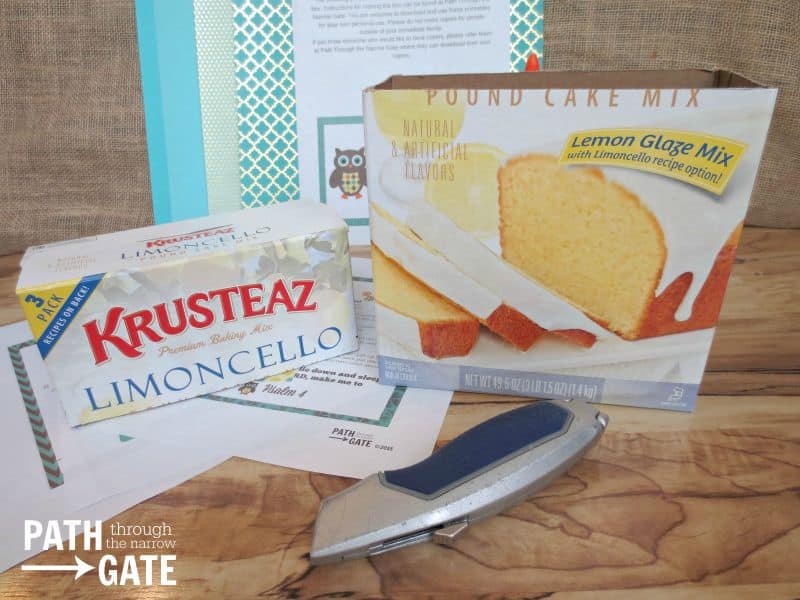
Sturdy cardboard box (I used a large cake mix box, but a cereal box would work great or any other box that is at least 7.5 inches wide.)
Scissors
Exacto Knife (Optional, but handy!)
Ruler
Pencil
Tape
Glue or other adhesive
Twine or Ribbon
Pretty Cardstock, Scrapbook, or Wrapping Paper
Contact paper or Packing Tape
Hole Punch
Printables
Directions:
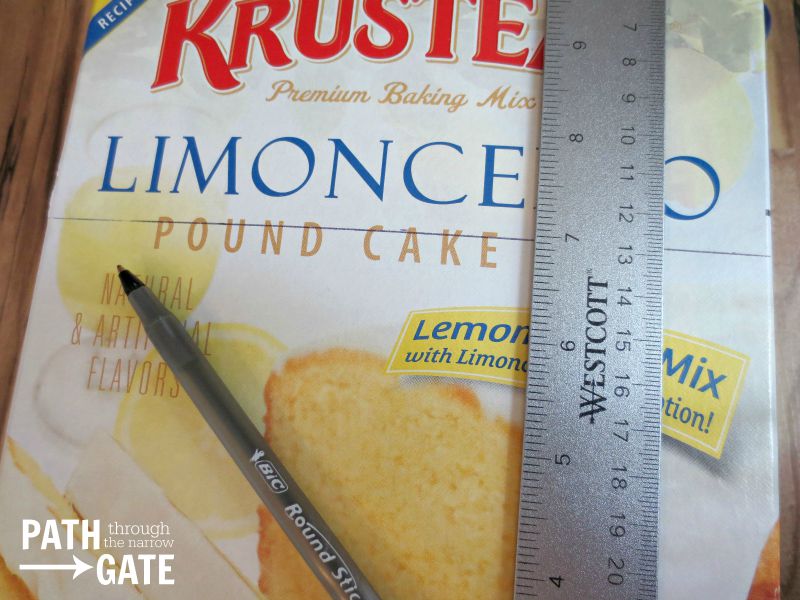
1. Using a ruler, make a line about seven inches from the bottom of the box all around the box.
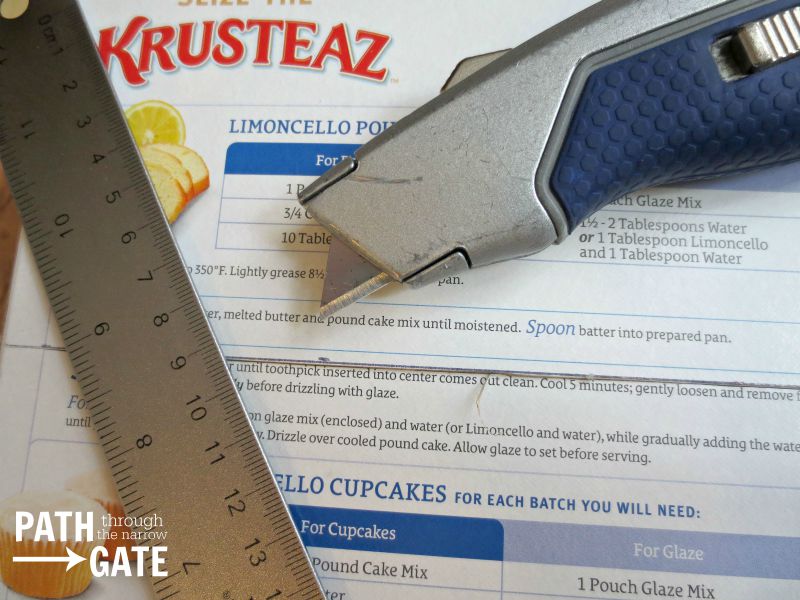
2. Using a ruler and an exacto knife, VERY CAREFULLY cut the box at the line. This can be done with scissor if you don’t have the knife.
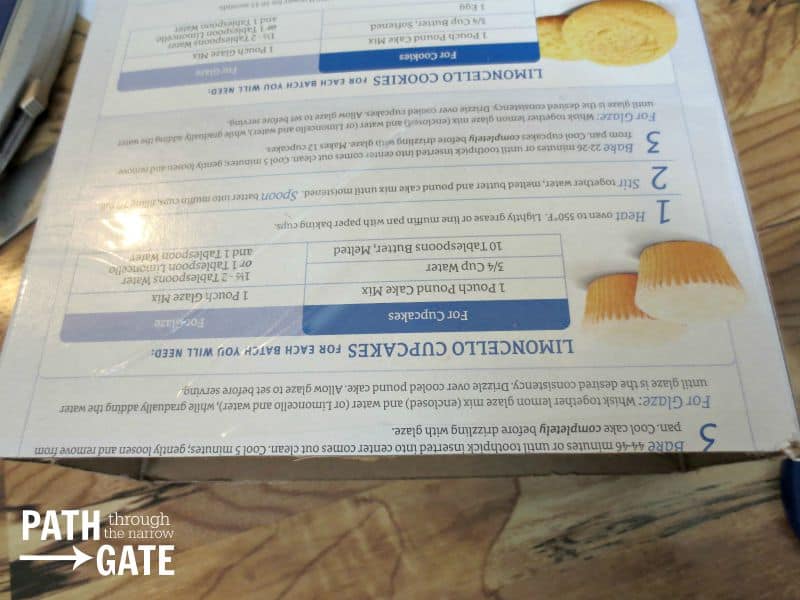
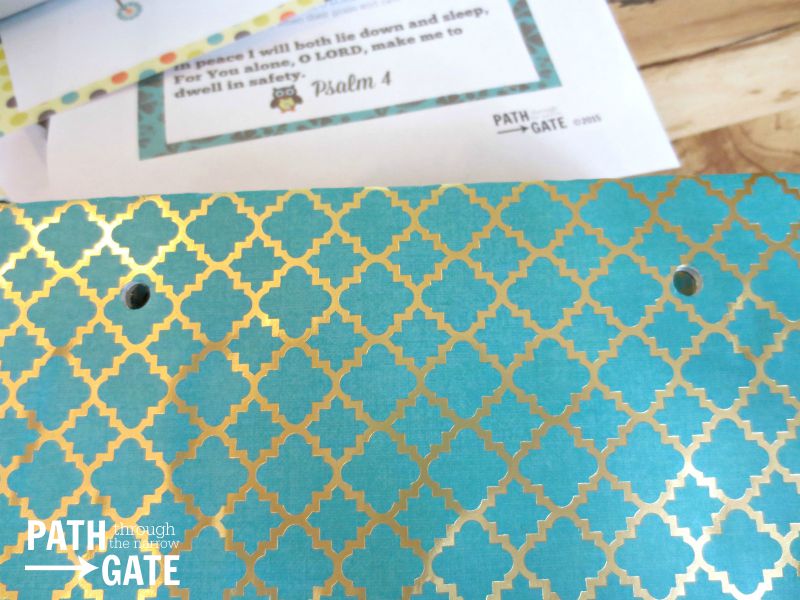
3. Your box should now look like the picture above. Cut a strip of contact paper or a strip of packing tape and place it on the back side of the box over the top inside and the top outside to reinforce the cardboard where you will be punching the holes and hanging the box.
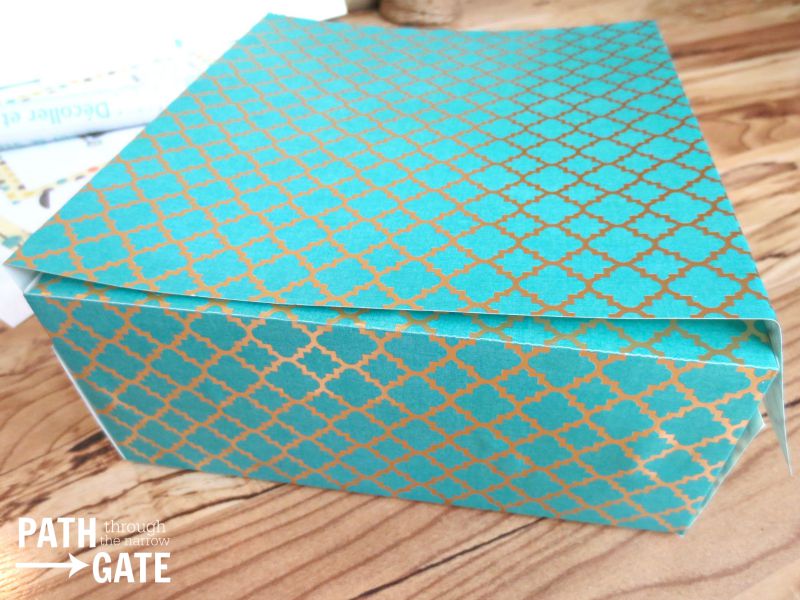
4. Using your pretty paper, wrap the box just like you would wrap a gift, but leave a 2 inch overhang of the paper over the top edge of the box. If you are using heavy cardstock paper, you may find that scoring the paper on the pretty side with a ruler and scissors really helps the folds to look good. To score the paper, determine where the paper will need to fold, then set the ruler on that line and, using an open pair of scissors, very gently cut just the top layer of the paper down the straight edge. When you finish scoring the paper, it should look like the picture below.

5. Glue or tape the paper into place. Be careful not to use too much white glue or your paper could “buckle” as you can see that mine did on the bottom of the box in the picture above.
6. Cut little triangles into the corners of the top overhang, and fold the overhang paper down over the top of the box. Tape into place.

7. Now for the difficult part. Use your hole punch to punch two holes in the back of the box, equal distance from the sides and from the top. The holes will go through the reinforced side of the box. You may have to push pretty hard to get the holes punched, especially if your hole puncher is as old and dull as mine is!
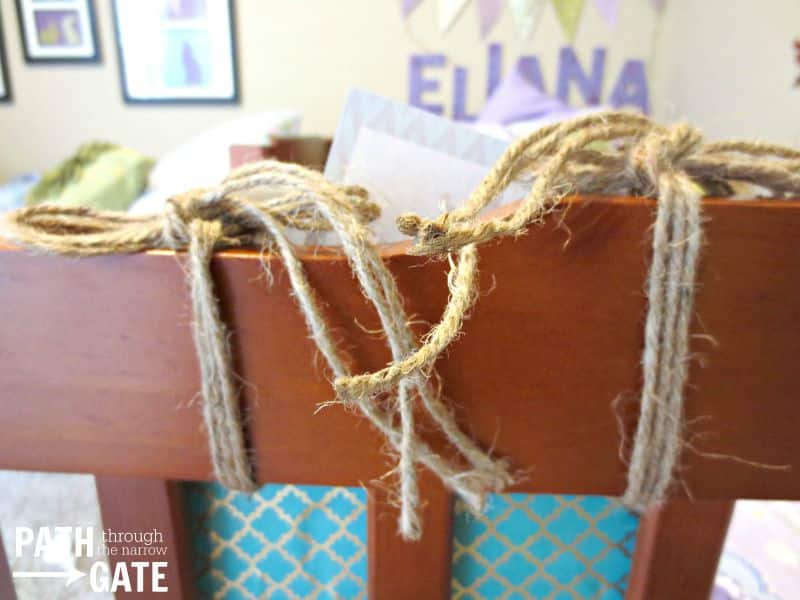
8. Thread twine or ribbon through the holes. Use pieces that are about 16 inches long so you will have plenty of room to tie them. I like the look of three pieces of twine through each hole.

9. Cut the “front plate” picture out of the printables and glue to the front of the box, if desired.
10. Cut the printable verses out and place them into the box with a flashlight, if desired.
11. Tie the box to the head or foot railing on the bed.
There! You are done! Stand back and admire your creation.
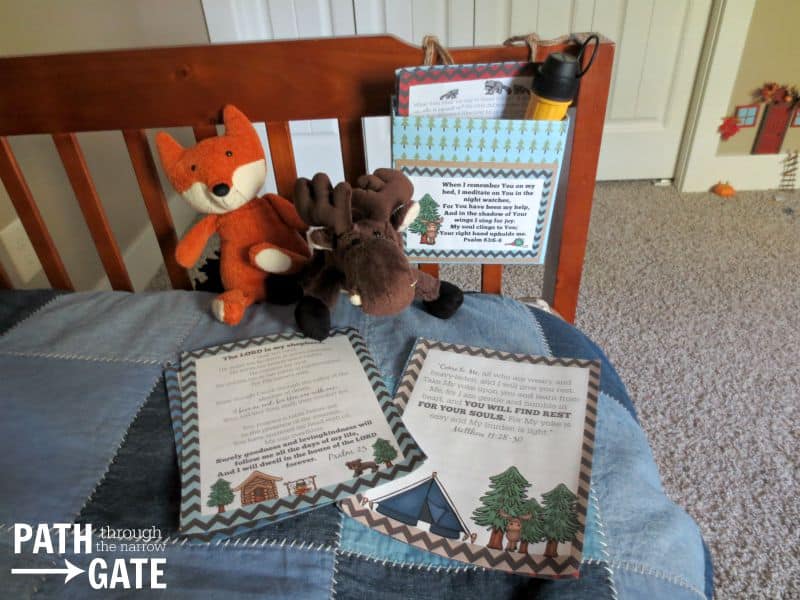
And, for the boys or your wilderness-loving girl, here is an example of the Wilderness Adventures theme:
All verses for this project are taken from the New American Standard Bible version.
Print the Night Owl Bible Meditations Pages
Print the Outdoor Adventures Bible Meditations Pages
If you make a Night Owl or Outdoor Adventure Bible Meditation Box, I would love to hear about it! Please scroll down to comment.

My granddaughters are having trouble getting to sleep or waking up in the night. They read till they can sleep. I thought this would be a great tool to help them in this uncertain time of isolation too. Thank you.
My 10 year old has anxiety, especially at bed time and when waking at night. We keep these at his bedside with a mini flashlight to read before bed and if he wakes up during the night. It has been a huge help! Thank you so much!
Thank you so much for these prints! Everything’s gonna be a big help in building character and to encourage a child to read. I’m so blessed with these beautiful articles!
Thank you for that encouragement, Maria. May God bless you!
I homeschool 3 of my grandchildren and this will be a great project to work on, and share with with our friends, thanks
I cannot wait to make one of these!
I hope you have fun making it, Susan! Thanks for stopping by.
This is precious! Thank you for sharing your talents and ideas with us!
You’re very welcome, Haley! Thanks for stopping by.