
Do you need a quiet activity that can keep your child engaged during a church service or any other place? You need to try out the Dry Erase Church Quiet Bag!
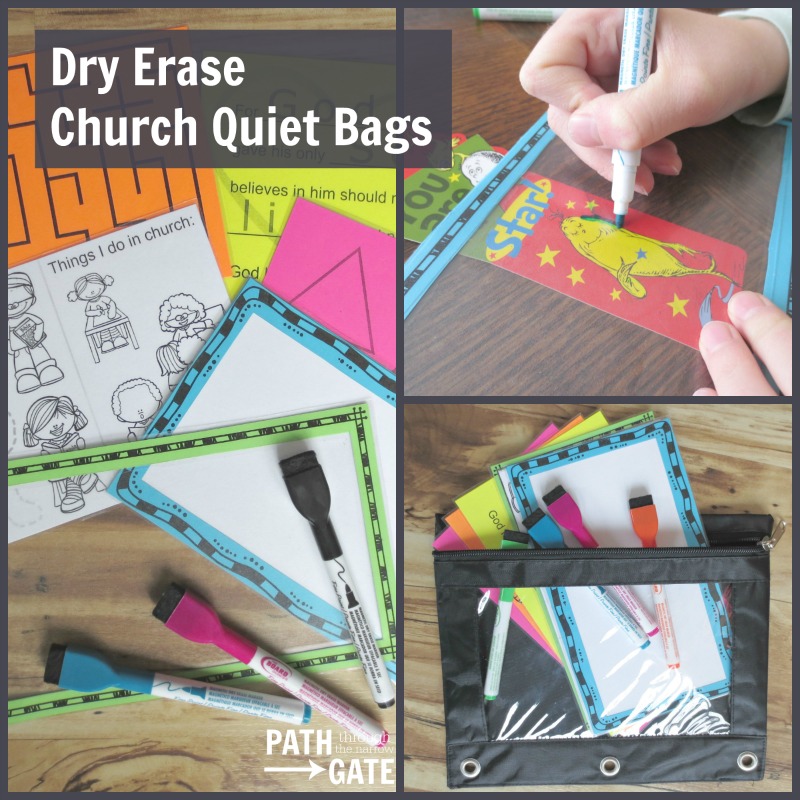
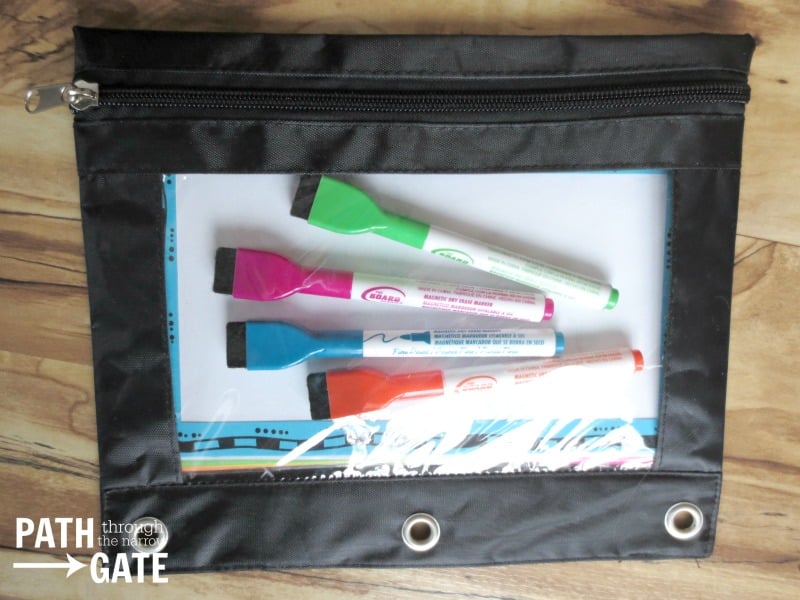
The Dry Erase Church Quiet Bag includes several activity cards, a homemade dry erase “board”, and a transparent dry erase frame. It conveniently fits into a binder pouch for easy storage and portability.
Let’s get started.
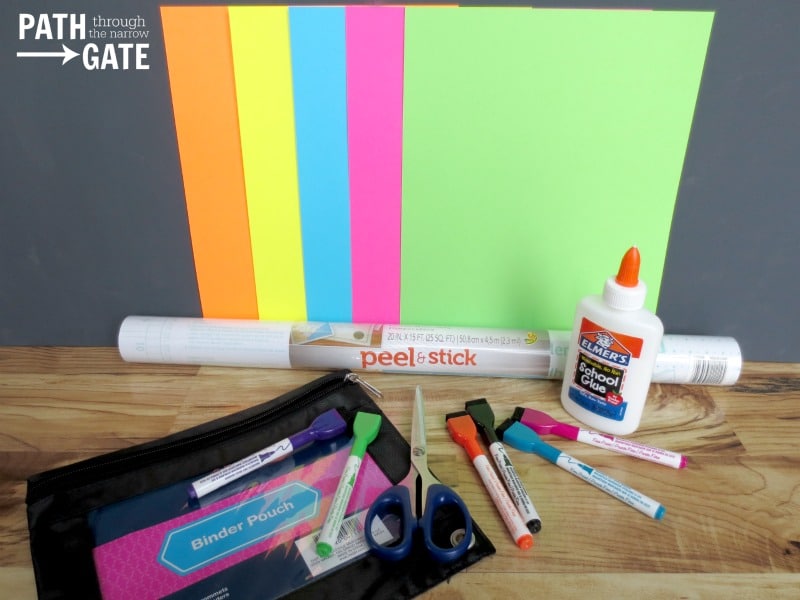
Dry Erase Church Quiet Bag Materials:
Colored cardstock paper (8.5 X 11 inch sheets)
Printer
Dry Erase Church Quiet Bag Printables [Print them Now!]
Contact Paper
Glue (or other adhesive)
Tape
Scissors
Dry Erase Pens
Binder Pouch
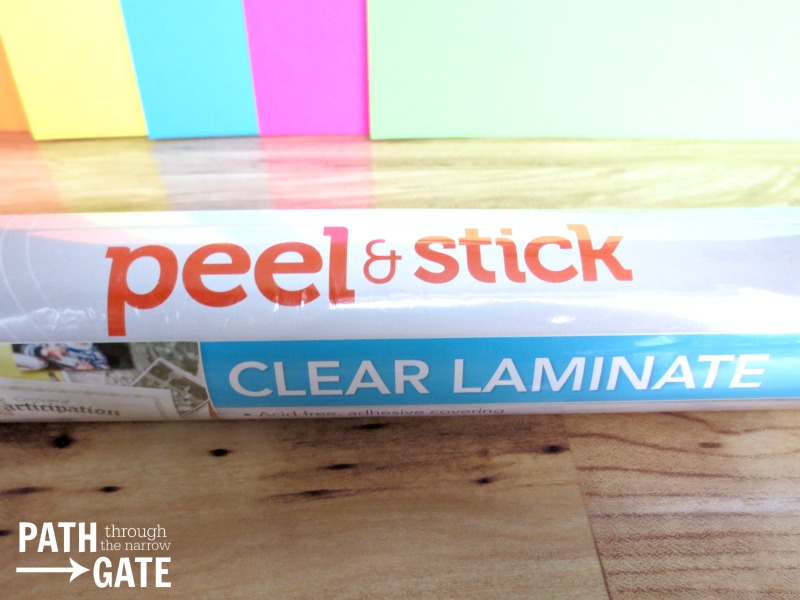
This is a picture of my “contact paper”. I found mine in the kitchen organization section of my local grocery store, because it is often used to line drawers. Just FYI, it was much cheaper at my local grocery store than it was at the arts and crafts store.
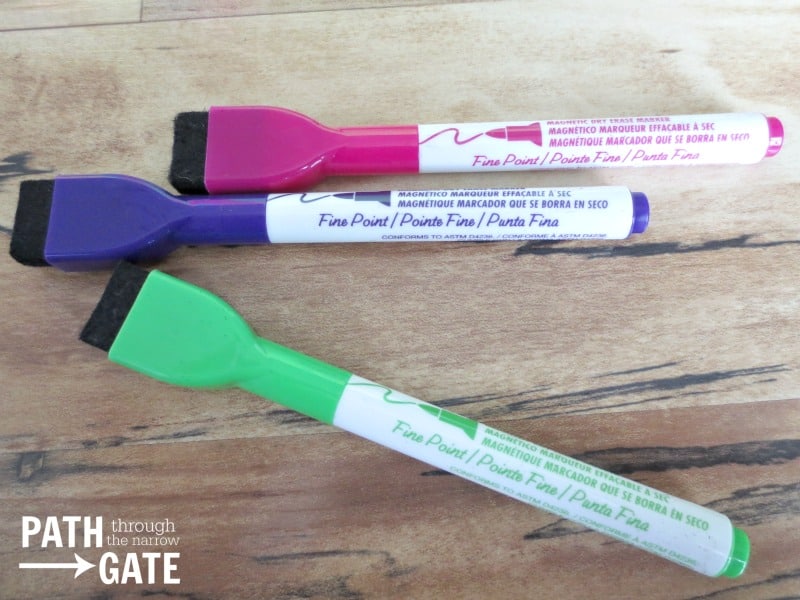
Dry Erase markers – I love these because they are fine point AND have an eraser in the lid.
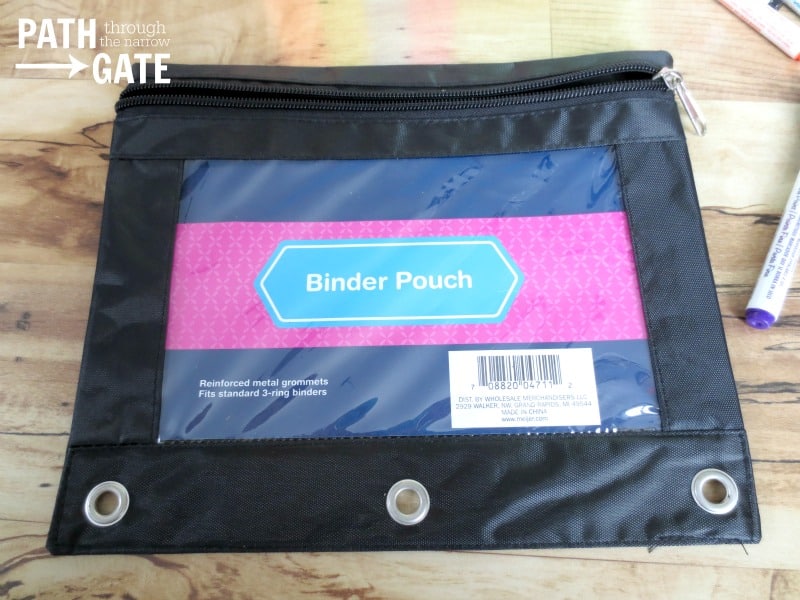
Binder pouch – I found these in the “school supplies” section of my local grocery store, and they are quite inexpensive ($1.50 to $2 apiece). The pockets on mine are about 9.5 by 6 inches.
Directions for Dry Erase Church Quiet Bags:
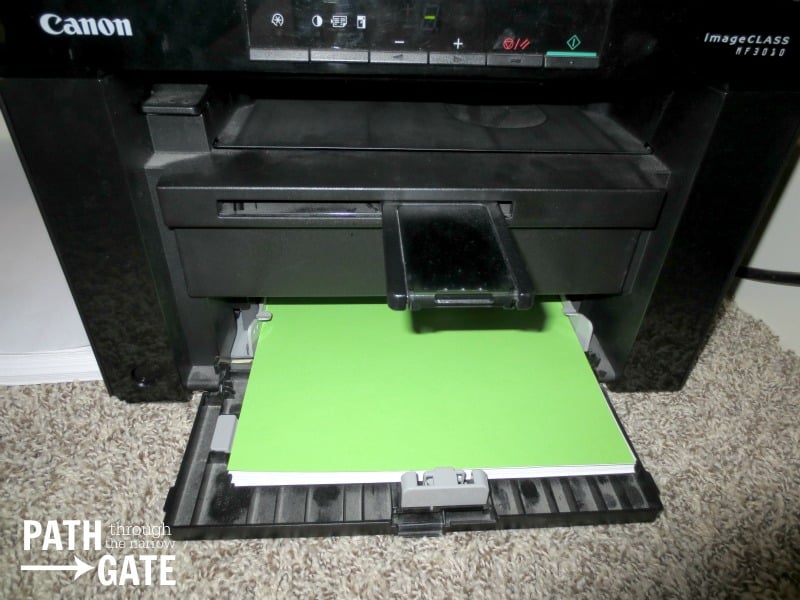
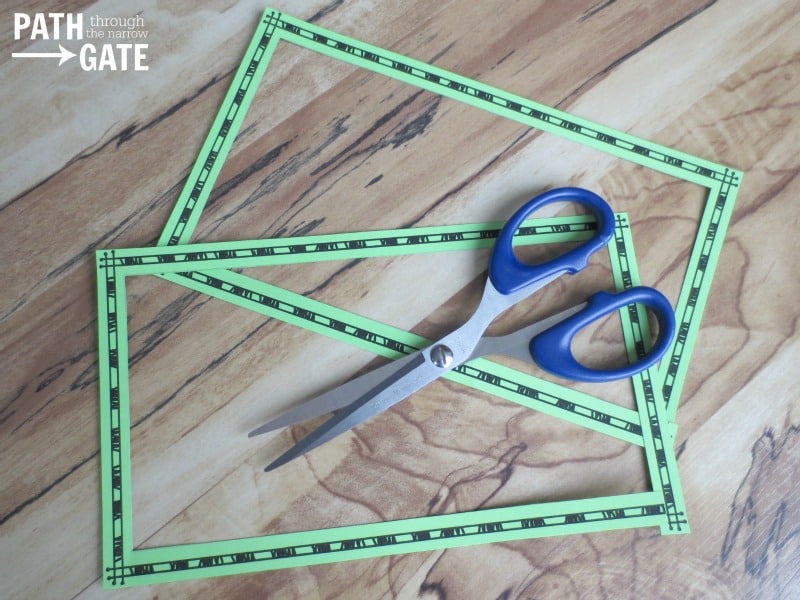
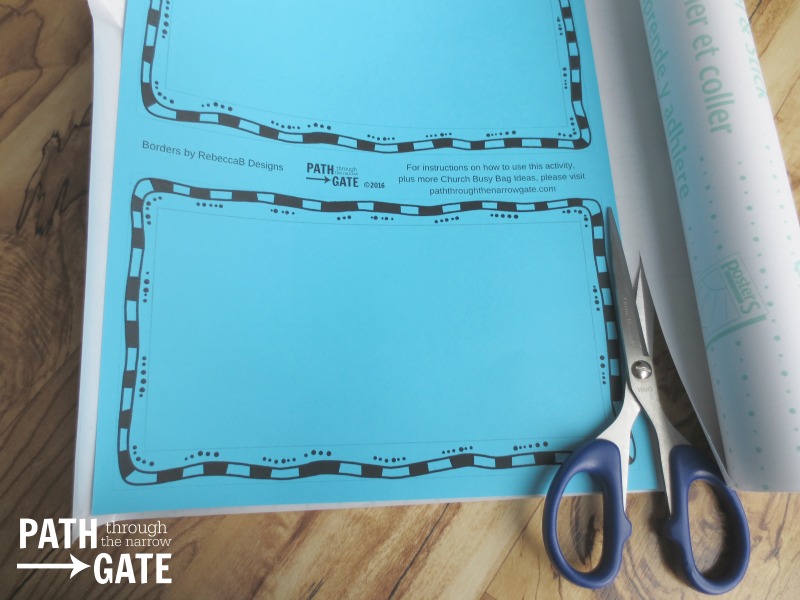
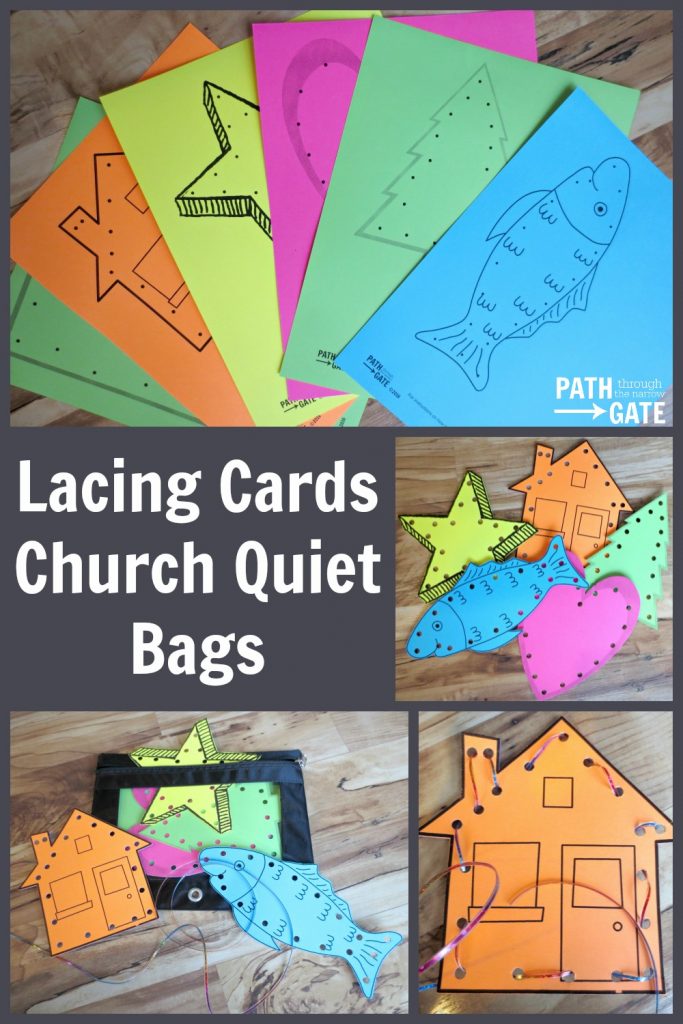
1. Print the printable cards onto your cardstock sheets. I printed off the sheets one at a time onto different colors of the cardstock.
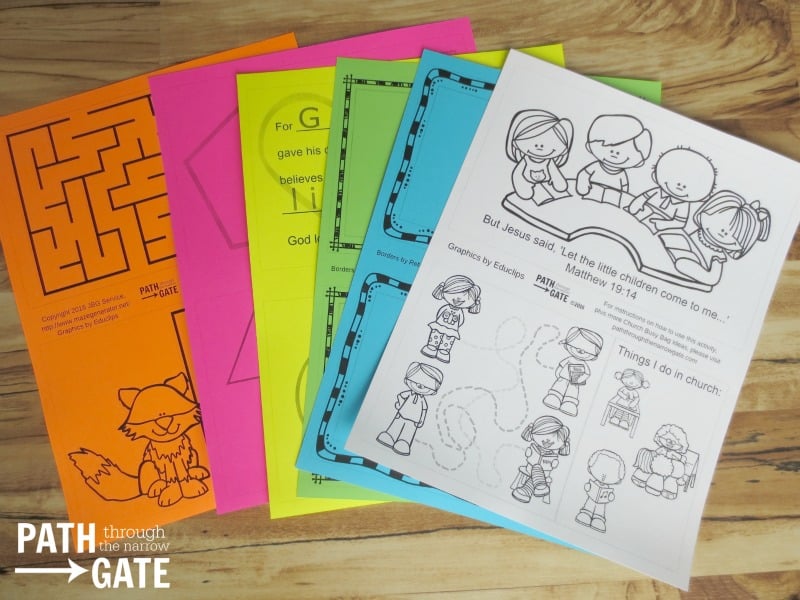
They’re already adorable, aren’t they?
You can scroll down to read how to make these clear frames, but here’s a video to help you out.
2. Pick one of the two “frame” printables to make into a clear frame.
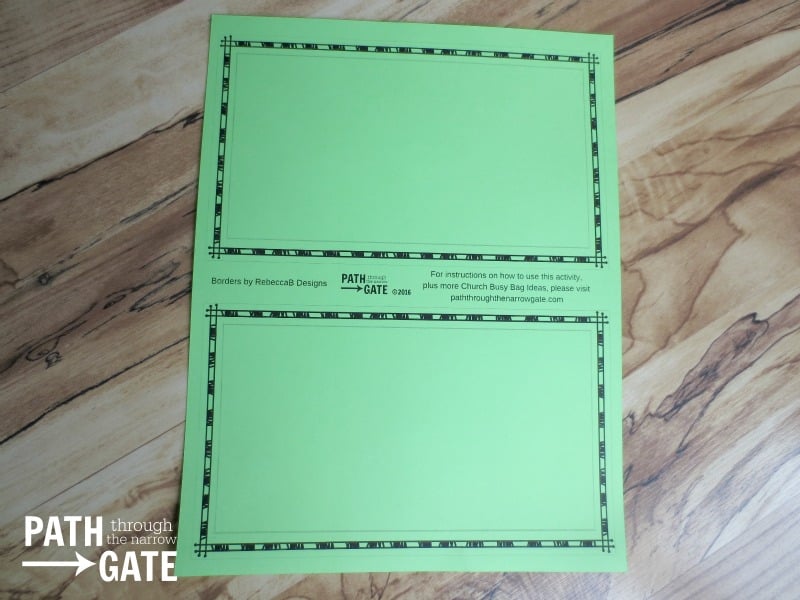
3. Cut the frames out on the thin gray lines. You can make a single cut into the frame to cut out the interior.
4. Tape the “cut” back together on the backside of both frames.

Now, on to the hard part. I love contact paper, but it hates me.
5. Cut a strip of contact paper (at least 9 inches wide). I used a printable sheet and cut the contact paper slightly larger.
6. Cut the contact paper strip into smaller rectangles, using your frame as a guide and making sure that the contact paper is larger than your frame.
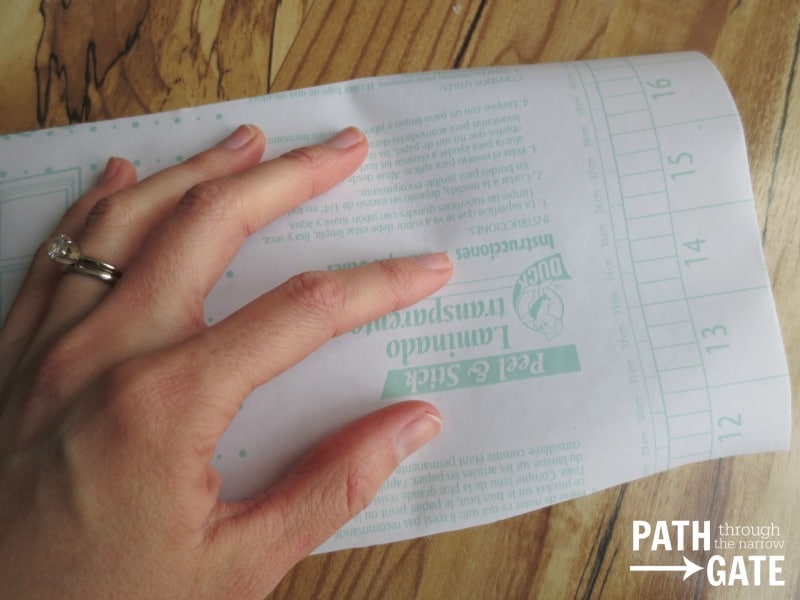
7. Place the contact paper shiny side down onto a flat work surface.
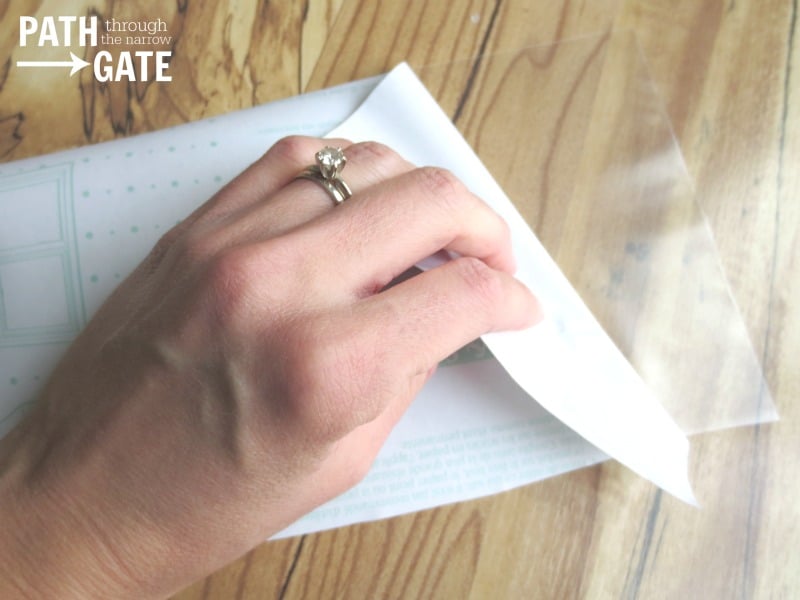
8. Carefully peel the backing off the paper. It should lay flat once the backing is off.
9. Place your frame onto the contact paper, right side of frame down onto the sticky part of the paper.
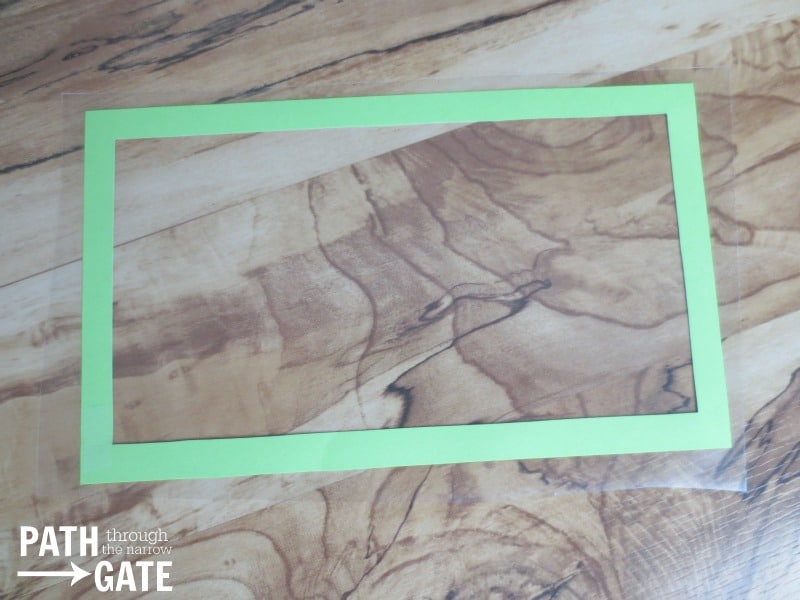
10. Use a dot glue or another adhesive in each of the four corners of your frame.
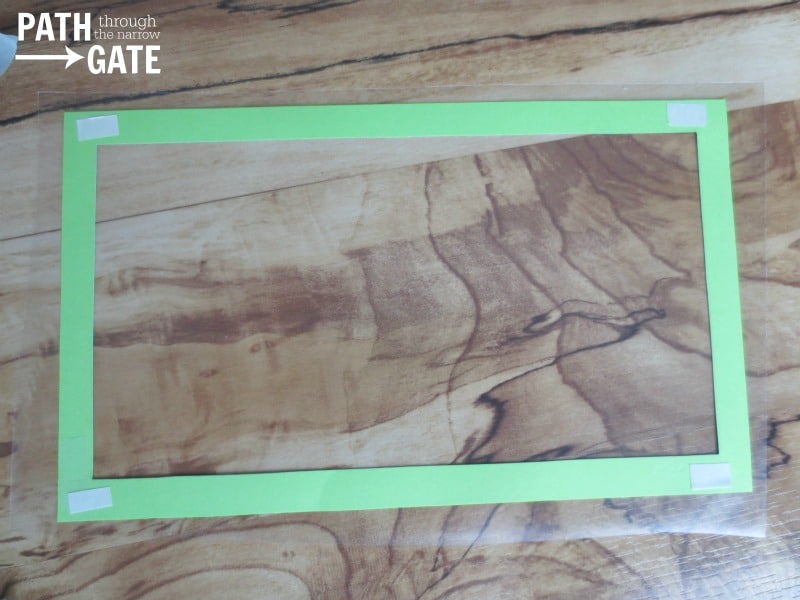
11. Set the other frame on top, right side up.
12. Repeat steps six through eight with a second piece of contact paper. Then, lift your first frame/contact paper combo, turn it upside down (sticky side down), and carefully place it onto your second rectangle of contact paper. When you are done with this step, you will have a sandwich of contact paper, frame, frame, contact paper, with both sticky sides of the contact paper together on the inside and the shiny sides of the contact paper facing out. If you get any bubbles when trying to stick the contact paper frames together, carefully push the bubbles toward the outside of the frame.
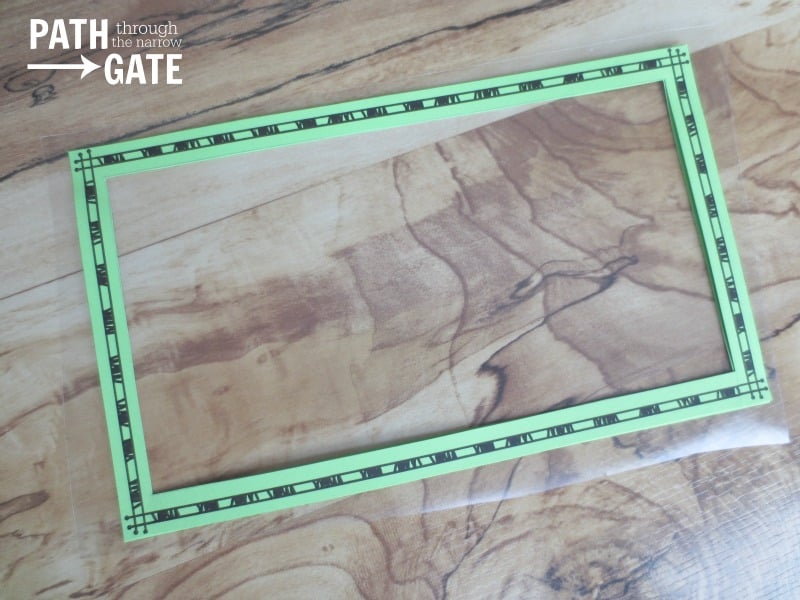
13. Cut the excess contact paper away from the outside of the frame.
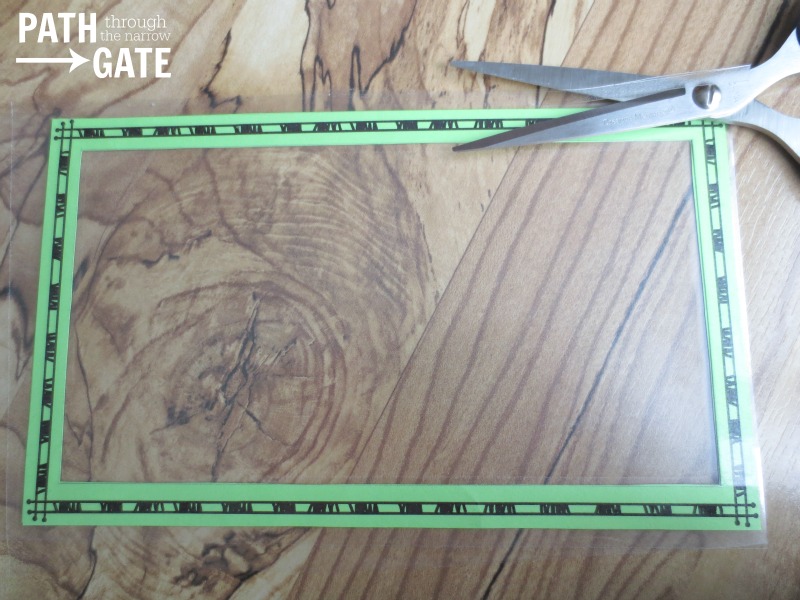
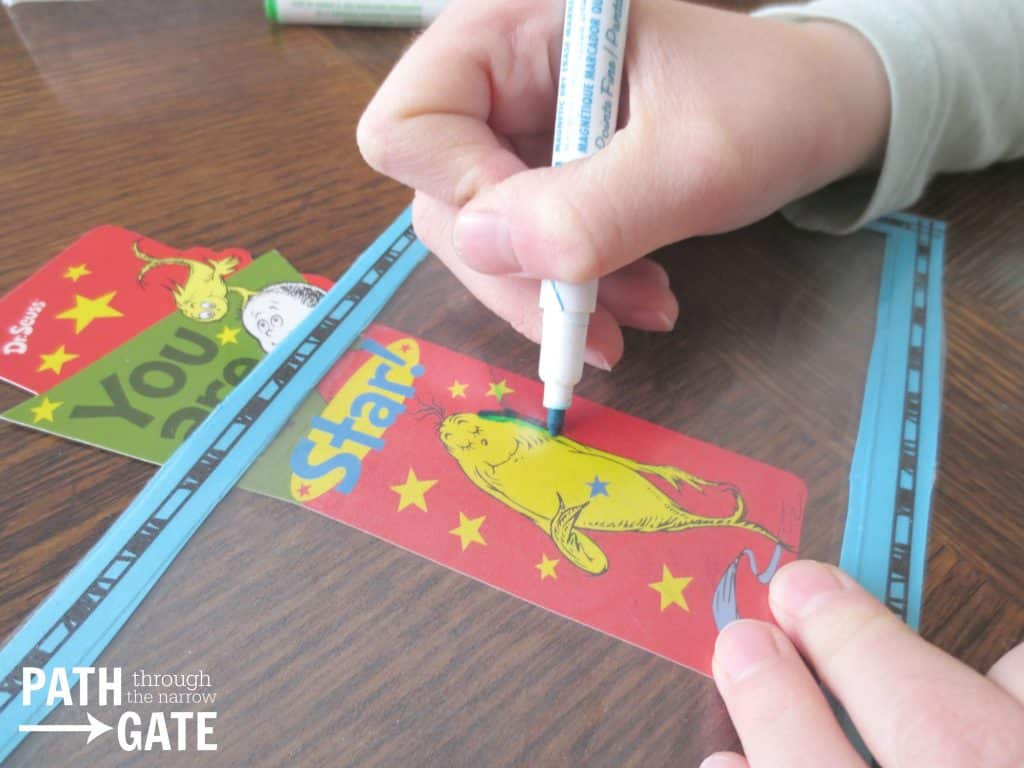
14. You now have a frame around a clear section of contact paper. Your child can trace things with a dry erase marker into the center of the frame, then wipe off and trace again.
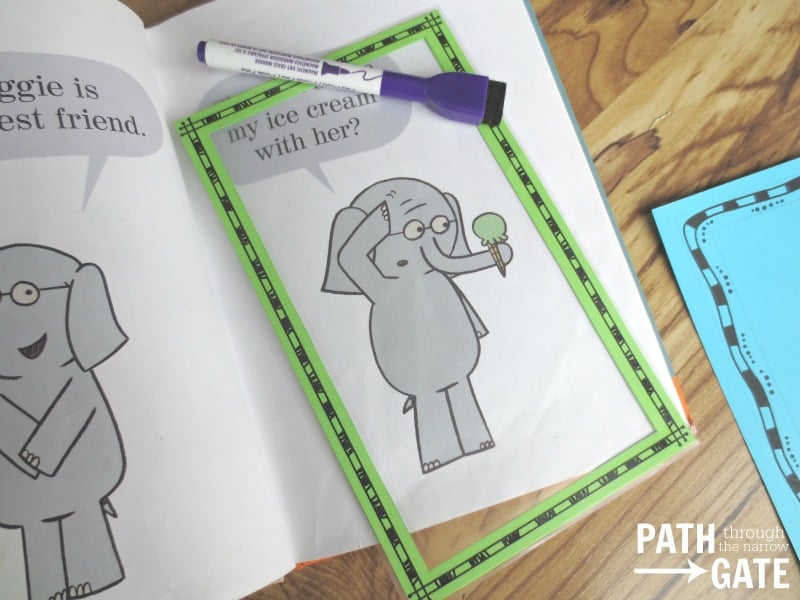
Even my older kids were fascinated with this and wanted to try it out. If you do allow young children to use this to trace pictures in books, make sure that they fully understand the difference between tracing on the frame and actually writing in books.
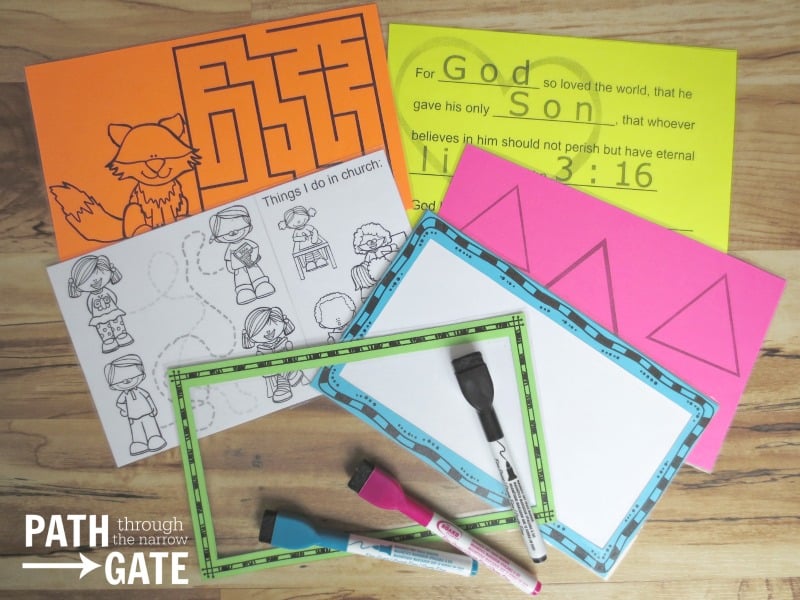
The other cards are much simpler to make. Simply follow the directions above, but don’t cut out the interiors. For the second frame, I cut out the interior of one of the frames but not the other. I inserted a third piece of paper (white cardstock) between the two frames. This way, one side features a “white” dry erase board, and the other side has a “blue” dry erase board.
Each of my cards have a design on the front and back.
The shape cards can be used to trace or draw on. For example, you might encourage your child to draw faces on the circles or monsters on the triangles.
When finished, slip the dry erase cards, frames, and pens into the binder pouch.
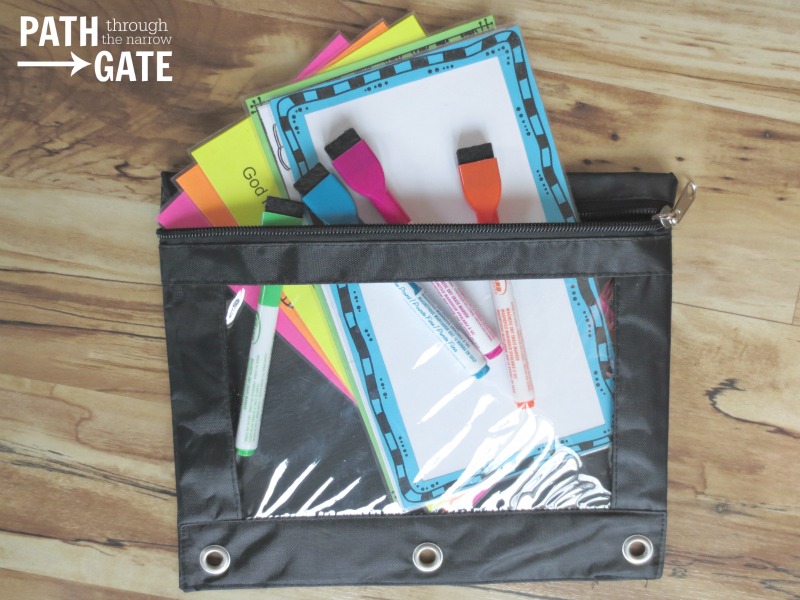
You can put the whole pouch into a diaper bag or purse to keep handy.
As with all Church Quiet Bags, this Dry Erase Church Quiet Bag is intended to be used with adult supervision. Also, be please be aware that dry erase markers will stain clothes.
Now its your turn! Will you be making this project? Do you have any questions or suggestions? I would love to hear from you. Please scroll down to comment.
More Posts from Path Through the Narrow Gate:


Very ingenious! Can’t wait to try these ideas for my Sunday School class. Thanks for taking the time to illustrate and provide instructions.
I love this idea and thank you for sharing this with us. Blessings!!!
I’m in the process of making these and I’m using my personal (cheap) laminator. It makes it this go so quickly! I can’t wait to add pages for holidays in the church year.
Cute idea…. my only concern would be that Dry Erase markers leave stains in clothes that are almost impossible to get out. I can remove “Sharpie” pen marks easier than I can remove Dry Erase.
Thanks for pointing that out, Meg. I have actually never had my kids get dry erase on their clothes, so I didn’t realize that was an issue. Good to know!
We had the same problem until I found out that they make washable dry erase markers!!! It’s worth the extra couple bucks 😉
Although my children are a little older (youngest is 8), I’m soon to be a grandmother so can see me making these in the future! I have a laminator so will be using that instead of contact paper. I already have travel dry erase activity packs for my children which they use in the car. I laminated them and it works really well.
Gwen, a laminator would make this project so much easier! Thanks for the recommendation. May God bless you.